This page contains a description of the fields under Category in Item Registers.
Brand
The Brand register displays an overview of the registered brands. You can maintain existing brands, add new ones, and deactivate brands.
You can also specify a default brand, which is then preselected on screens containing the “Brand” field.
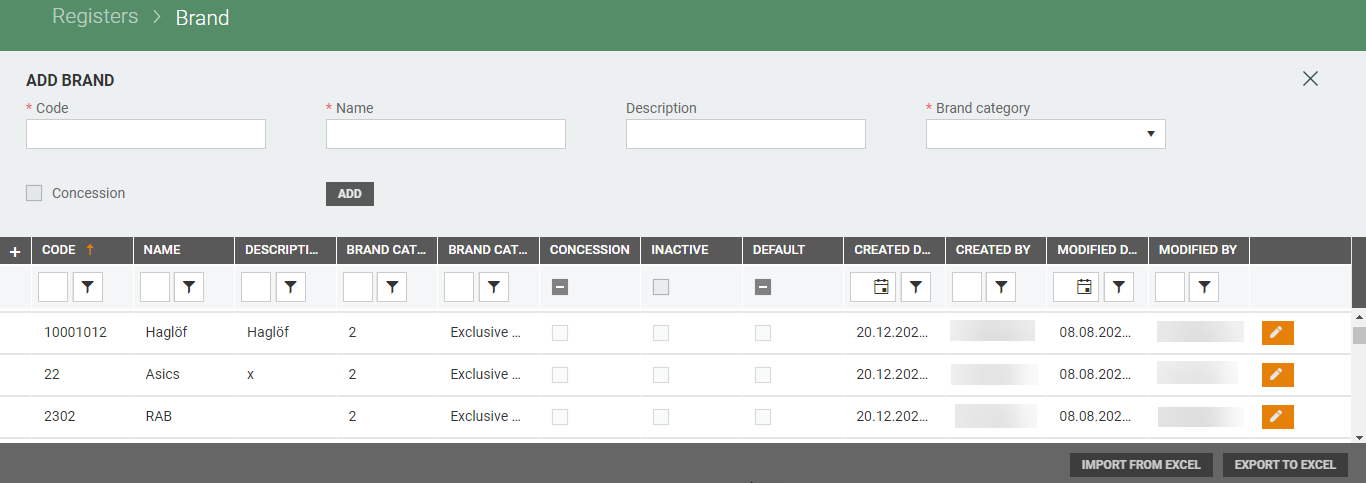
Add brand
You can create a new brand manually using the Add brand section at the top of the screen. Enter a code, a name, and an optional description, select a brand category (required), and tick the concession box where applicable.

Click on the Add button to create the brand.
Edit brand
Brands can be edited. Select the relevant brand and click on the “pencil” icon.
The “Edit brand” dialog opens.
Edit the values as required and click on Save.
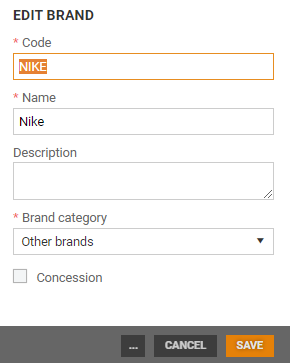
The “more” button contains the “Deactivate” and “Set as default” functions. Use these functions to deactivate brands and to specify a default brand, respectively.
.png "image(84).png")
Export to Excel
Brands can be exported to Excel. You can use the filter function to specify what you want to export, click on the Export to Excel button to export the selection to Excel.
You can use the filter function to specify what you want to export, click on the Export to Excel button to export the selection to Excel.

When the export is ready you can open the file by clicking on the link in the notification. After downloading the file, you can modify/correct the content of the Excel file.
The exported Excel file can be used as a template for the Excel import!
Import from Excel
It is possible to use Import to create new brands and updating existing brands from Excel. The import function is only available if the user has permission to create new values and edit existing values for registers.
File can contain Code, Name, Description, Brand category code, Brand category name, Concession, Inactive columns (same file template as in Excel export).
Click on the Import from Excel button. The "Import brands" dialog opens.
You can modify the exported Brand file and use it as a template for the import.
Remember: NOT remove or unhide row 2 which contains the column definitions!
Required columns are Code and Brand category code.
Click on Select file to select a file to upload. This file must be in .xlsx format. Select a file and click on Open to upload the file.
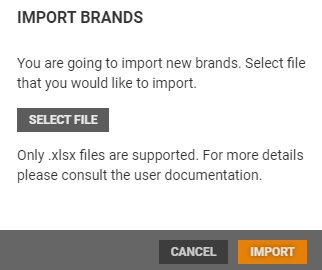
Click on Import, to import brands.
Brand category
The Brand category register displays an overview of the registered Brand categories. Brand categories are used for grouping of brands. You can maintain existing brand categories, add new ones, and deactivate brand categories. The brand categories are used to group brands when registering brands.
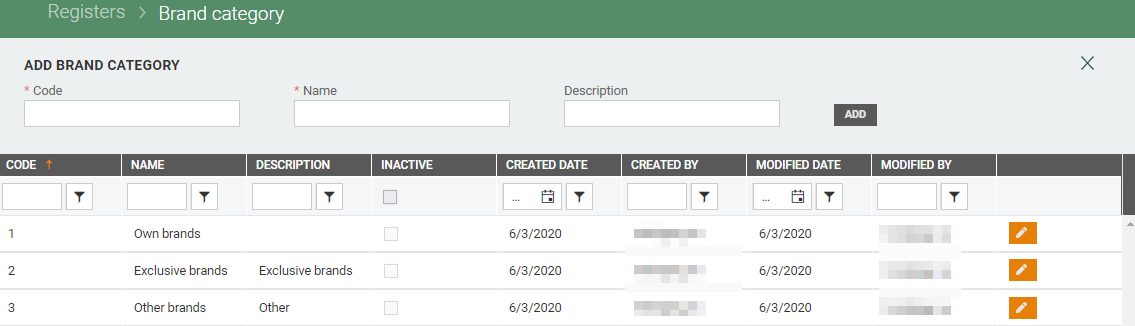
Add category brand
You can create a new brand category manually using the Add brand category section at the top of the screen. Enter a code, a name, and an optional description.

Click on the Add button to create the brand category.
Edit category
Brand categories can be edited.
Select the relevant brand category and click on the “pencil” icon.
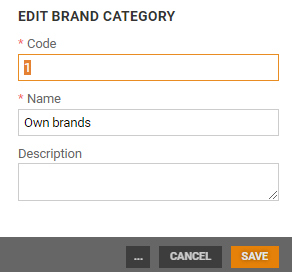
The “Edit brand category” dialog opens.
Edit the values as required and click on Save.
The “more” button contains the “Deactivate” and “Set as default” functions. Use these functions to deactivate brand categories and to specify a default brand category, respectively.
Classification
The Classification register displays an overview of the registered classifications. Classification is a grouping attribute for products. It can be used in item segmentation and visualized in POS.
You can maintain existing classifications, add new ones, and deactivate classifications. You can also specify a default classification, which is then preselected on screens containing the “Classification” field.

Add classification
You can create a new classification manually using the Add classification section at the top of the screen. Enter a code, a name, and an optional description.

Click on the Add button to create the classification.
Edit classification
Classifications can be edited.
Select the relevant classification and click on the “pencil” icon.
The “Edit classification” dialog opens.
Edit the values as required and click on Save.

The “more” button contains the “Deactivate” and “Set as default” functions. Use these functions to deactivate classifications and to specify a default classification, respectively.
Item type
The Item type register displays an overview of the registered item types. Item type is a grouping attribute for products. It can be used in item segmentation and visualized in POS.
You can maintain existing item types, add new ones, and deactivate item types. You can also specify a default item type, which is automatically entered on screens containing the item type field.
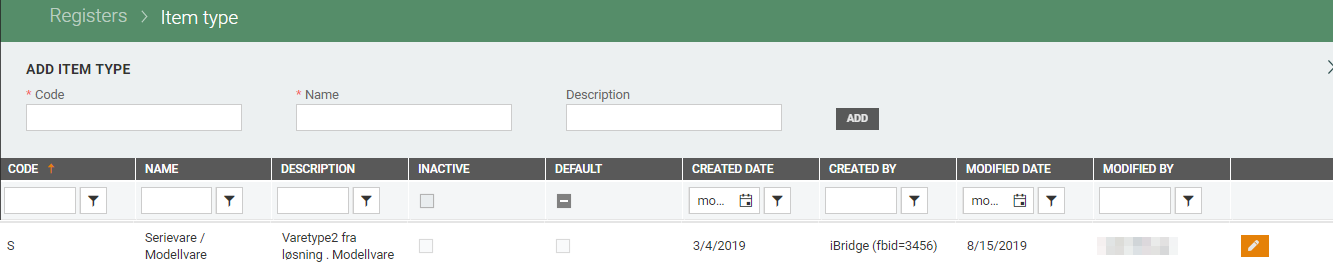
Add item type
You can create a new item type manually using the Add item type section at the top of the screen. Enter a code, a name, and an optional description.

Click on the Add button to create a new item type.
Edit item type
Item types can be edited.
Select the relevant item type and click on the “pencil” icon.
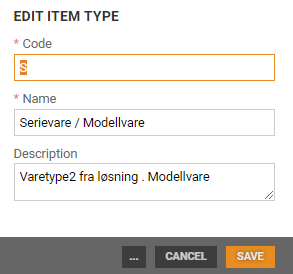
The “Edit item type” dialog opens.
Edit the values as required and click on Save.
The “more” button contains the “Deactivate” and “Set as default” functions. Use these functions to deactivate item types and specify a default item type, respectively.
Item category
The Item category register displays an overview of the registered item categories. Item category is a grouping attribute for products. It can be used in item segmentation and visualized in POS.
You can maintain existing item categories, add new ones, and deactivate item categories. You can also specify a default item category, which is automatically entered on screens containing the item category field.

Add item category
You can create a new item category manually using the Add item category section at the top of the screen. Enter a Code, a Name, and an optional Description.

Click on the Add button to create a new item category.
Edit item category
Item categories can be edited.
Select the relevant item category and click on the “pencil” icon.
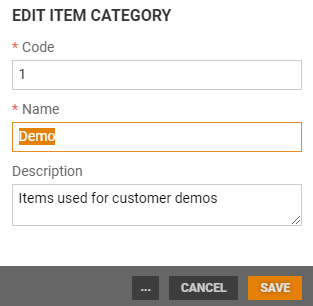
The “Edit item category” dialog opens.
Edit the values as required and click on Save.
The “more” button contains the “Deactivate” and “Set as default” functions. Use these functions to deactivate item categories and specify a default item category.
Report category
The Report category register displays an overview of the registered report categories. Report category is a grouping attribute for products. It can be used in item segmentation and visualized in POS.
You can maintain existing report categories, add new ones, and deactivate report categories. You can also specify a default report category, which is then preselected on screens containing the “Report category” field.
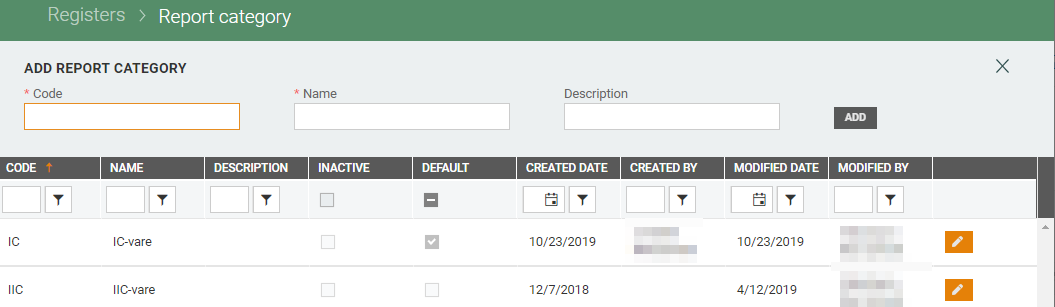
Add report category
You can create a new report category manually using the Add report category section at the top of the screen. Enter a code, a name, and an optional description.

Click on the Add button to create a new report category.
Edit report category
Report categories can be edited.
Select the relevant report category and click on the “pencil” icon.
The “Edit report category” dialog opens.
Edit the values as required and click on Save.
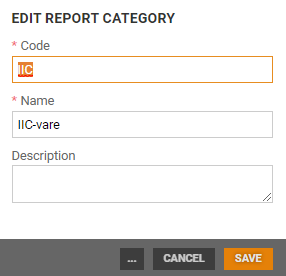
The “more” button contains the “Deactivate” and “Set as default” functions. Use these functions to deactivate report categories and specify a default report category.
Special group
The Special group register displays an overview of the registered special groups. Special group is a grouping attribute for products. It can be used in item segmentation and visualized in POS.
You can maintain existing special groups, add new ones, and deactivate special groups. You can also specify a default special group, which is then preselected on screens containing the “Special group” field.
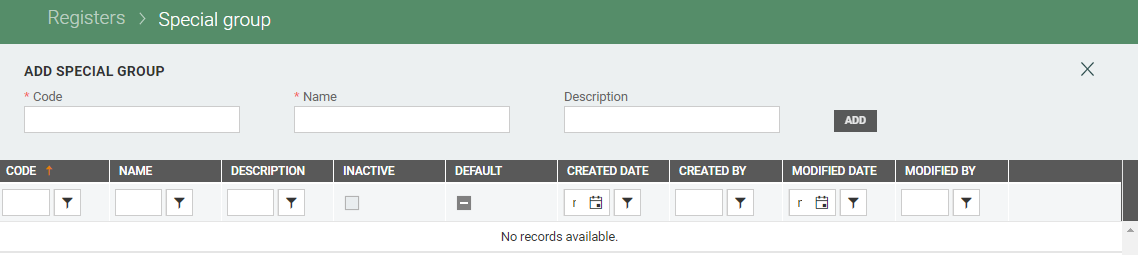
Add special group
You can create a new special group manually using the Add special group section at the top of the screen. Enter a code, a name, and an optional description.

Click on the Add button to create a special group.
Edit special group
Special groups can be edited.
Select the relevant special group and click on the “pencil” icon.
The “Edit special group” dialog opens.
Edit the values as required and click on Save.
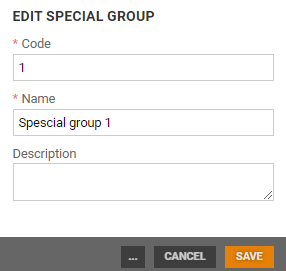
The “more” button contains the “Deactivate” and “Set as default” functions. Use these functions to deactivate special groups and to specify a default special group respectively.
Risk item
The Risk item register displays an overview of the registered risk items. Risk items are used to define the type of risk. Products with this attribute will generate a pop-up message in POS, informing the cashier of special treatment for this product.
You can maintain existing risk items, add new ones, and deactivate risk items. You can also specify a default risk item, which is then preselected on screens containing the “Risk item” field.
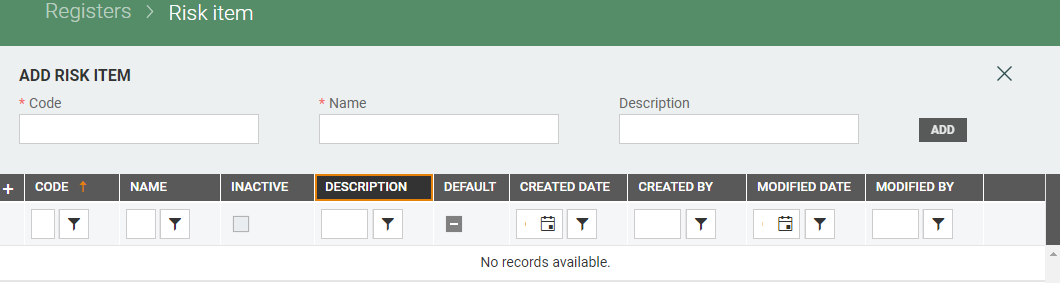
Add risk item
You can create new risk item manually using the Add risk item section on top of the screen. Enter a Code, a Name, and description (optional).

Click on the Add button to create a risk item.
Edit risk item
Risk items can be edited.
Select the relevant risk item and click on the “pencil” icon.
The “Edit risk item” dialog opens.
Edit the values as required and click on Save.
.png "image(87).png")
The “more” button contains the “Deactivate” and “Set as default” functions. Use these functions to deactivate risk items and specify a default risk item.
Category manager
The Category manager register displays an overview of the registered category managers. Category manager is used for defining the list of people responsible for items.
You can maintain existing category managers, add new ones, and deactivate category manager. You can also specify a default category manager, which is then preselected on screens containing the “Category manager” field.
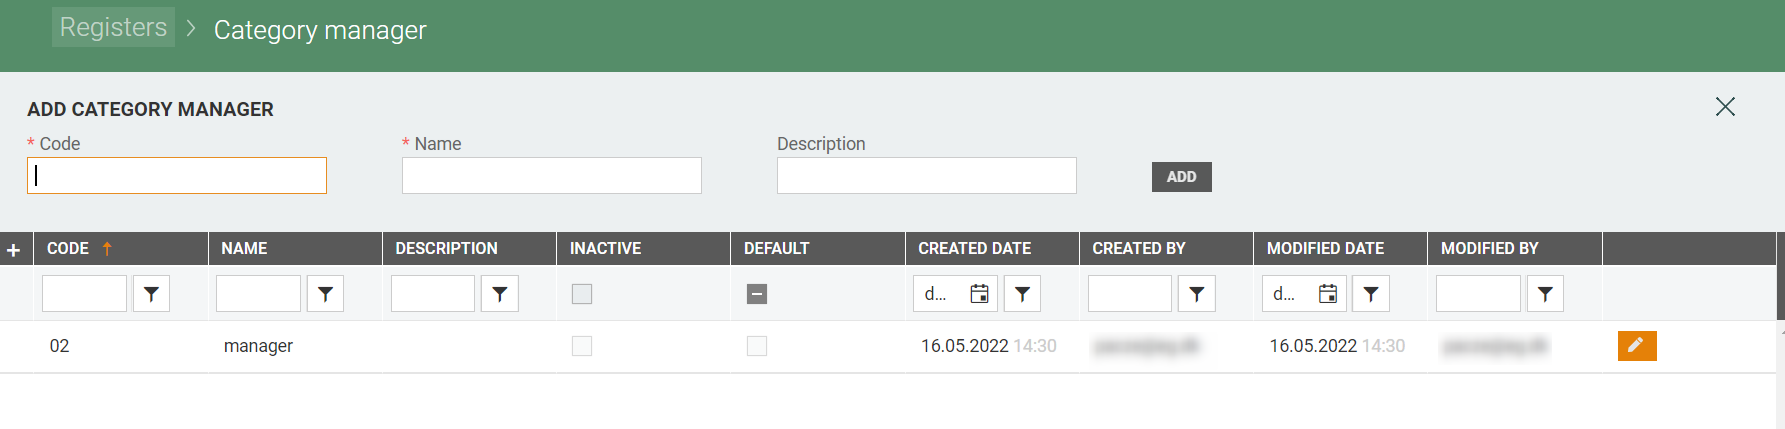
Add category manager
You can create a new category manager manually using the Add category manager section at the top of the screen. Enter a code, a name, and an optional description.

Click on the Add button to create a category manager.
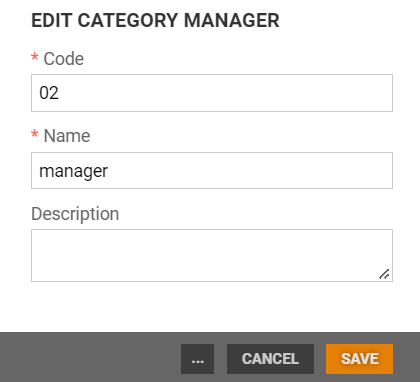
Edit category manager
Category manager can be edited.
Select the relevant category manager and click on the “pencil” icon.
The “Edit category manager” dialog opens. Edit the values as required and click on Save.
The “more” button contains the “Deactivate” and “Set as default” functions. Use these functions to deactivate category managers and specify a default category manager.
Product series
The Product series register displays an overview of the registered product series. You can maintain existing product series, add new ones, and deactivate product series. You can also specify a default product series, which is then preselected on screens containing the “Product series” field.

Add product series
You can create a new product series manually using the Add product series section at the top of the screen. Enter a code, a name, and an optional description.

Click on the Add button to create a product series.
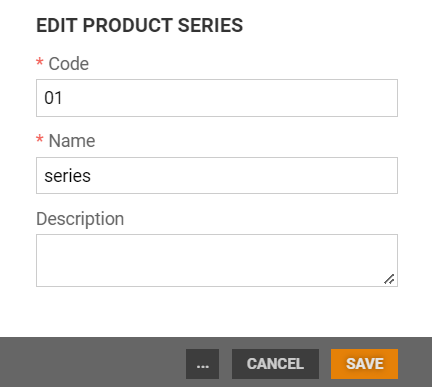
Edit product series
Product series can be edited.
Select the relevant product series and click on the “pencil” icon.
The “Edit product series” dialog opens. Edit the values as required and click on Save.
The “more” button contains the “Deactivate” and “Set as default” functions. Use these functions to deactivate product series and to specify a default product series, respectively.