Click and collect orders can be created in the web shop or in EG POS to reserve an item in another store. The customers mobile number is used to send SMS with status on the order when it is treated.
New click and collect order
Click and collect order can be created on the cash register if it is configured. If the item is out of stock, then you can check if the item is available in another store and reserve the item.
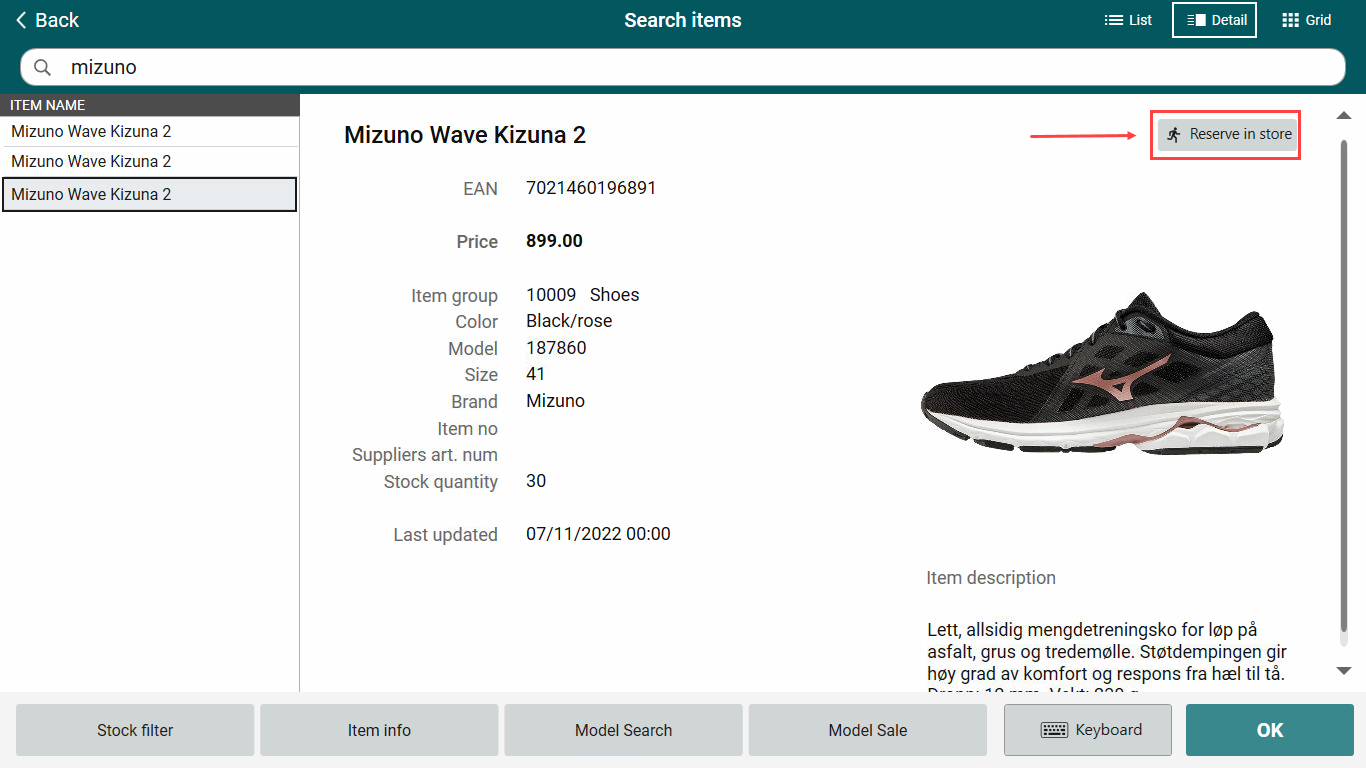
Search for item (in detail view). The Reserve in store button is displayed in the top right corner of the view.
Click on the Reserve in store button.
Note!
The Reserve in store button is only shown when the item search is in Detail view!
It is possible to configure that the item search should be opened directly in the Detail view!
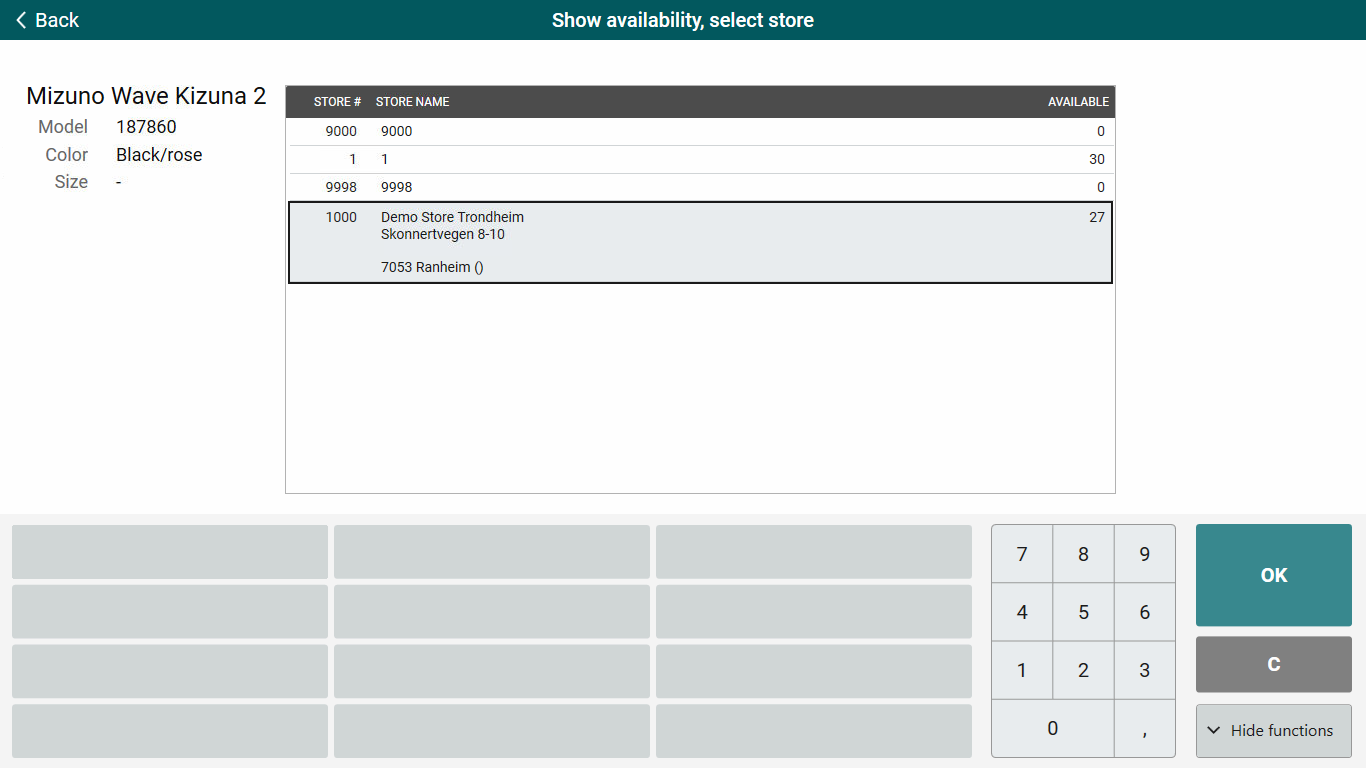
The "Show availability, select store" screen opens. It shows which stores have the item in stock.
Select wanted store for picking up the item(s).
Click OK/Enter.
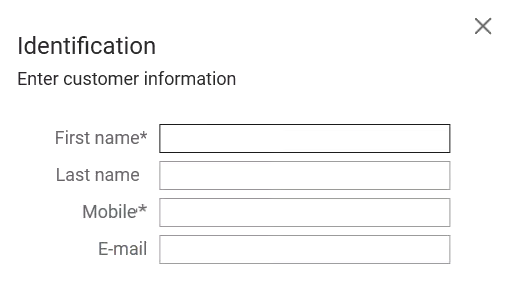
The "Identification" dialog opens.
Enter customer information. First name and Mobile number is required.
Click OK/Enter to register customer information.
The order opens, with the text "New customer order" at the top of the screen.
You can add more items by searching for item and add wanted items.
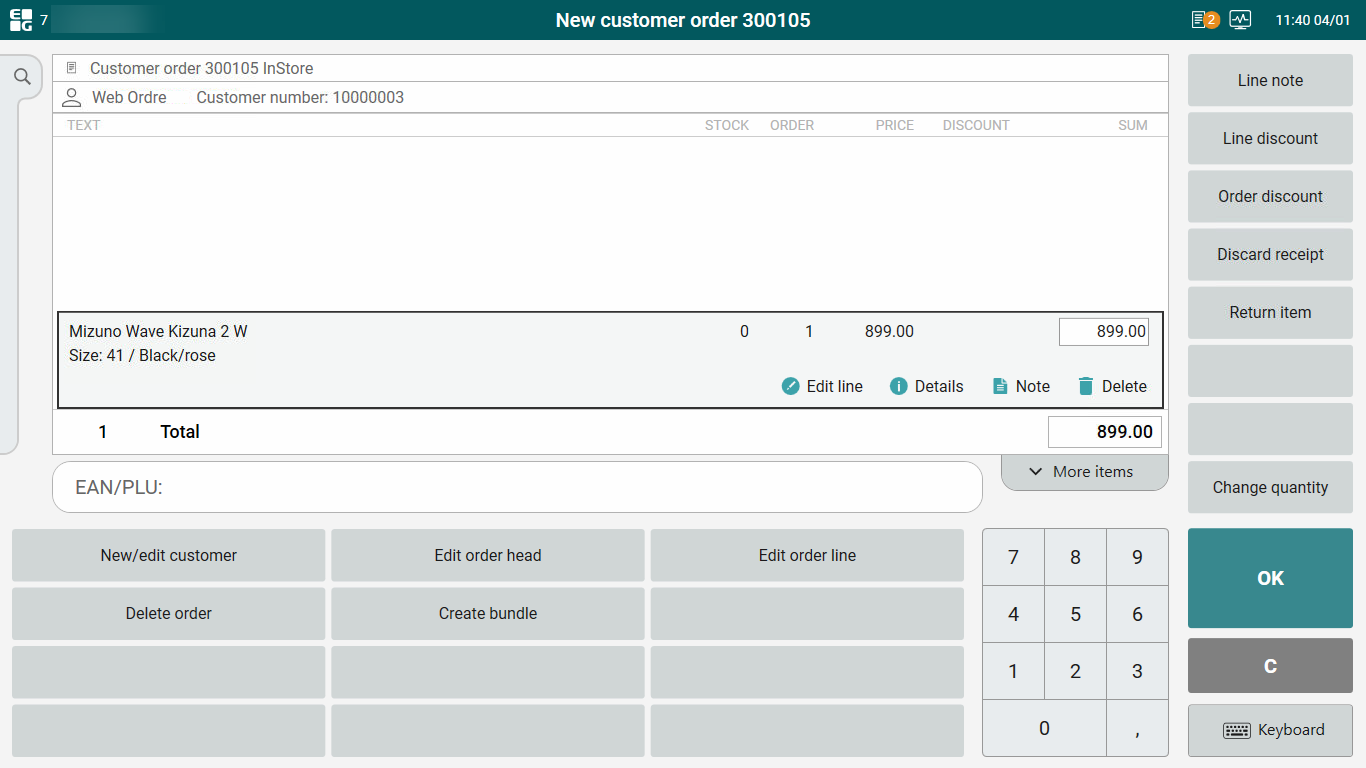
Click OK/Enter to finish order registration.
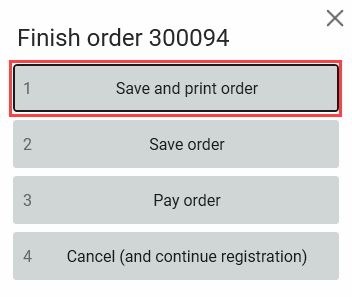
The "Finish order" dialog opens Select the wanted option for finishing order.
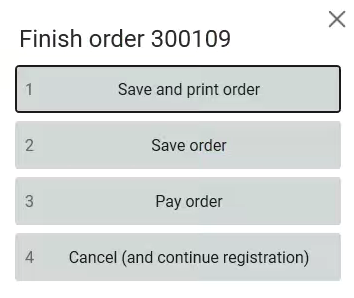
Customer order for picking
When an order is assigned a store, it is displayed on the status line at the top of the screen  . The number next to the order button shows the how many orders that are ready for picking. The order can either come from the web shop or be created in a store.

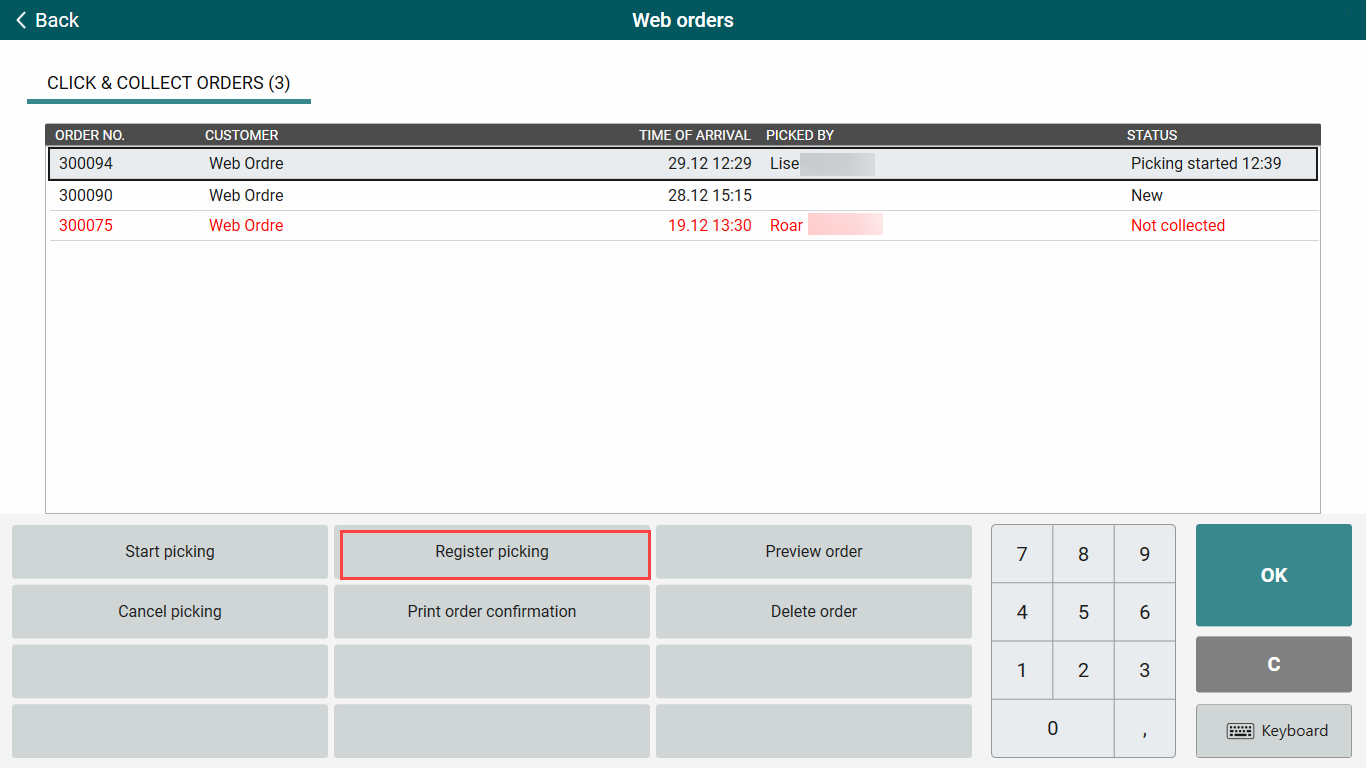
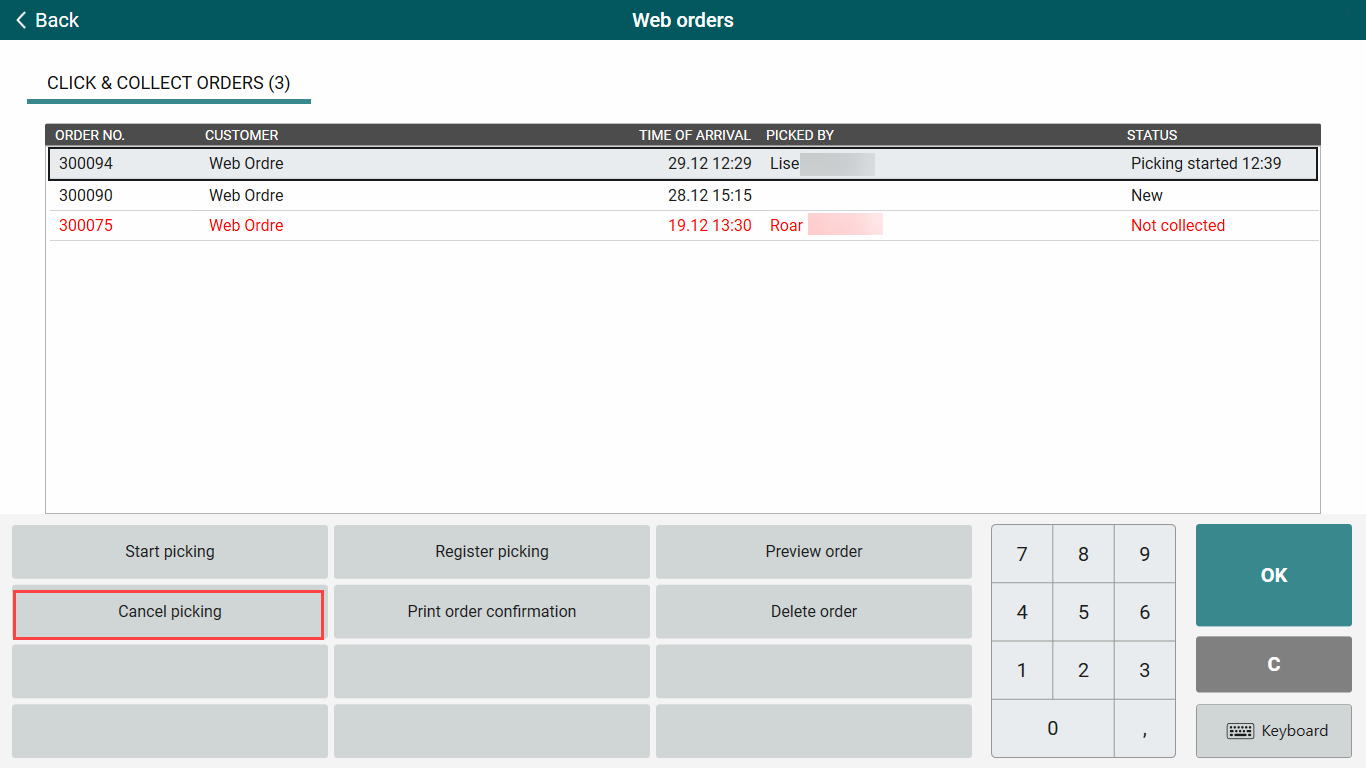
Click on the Order button. The Click & collect order screen opens. It display an overview of orders and the order status.
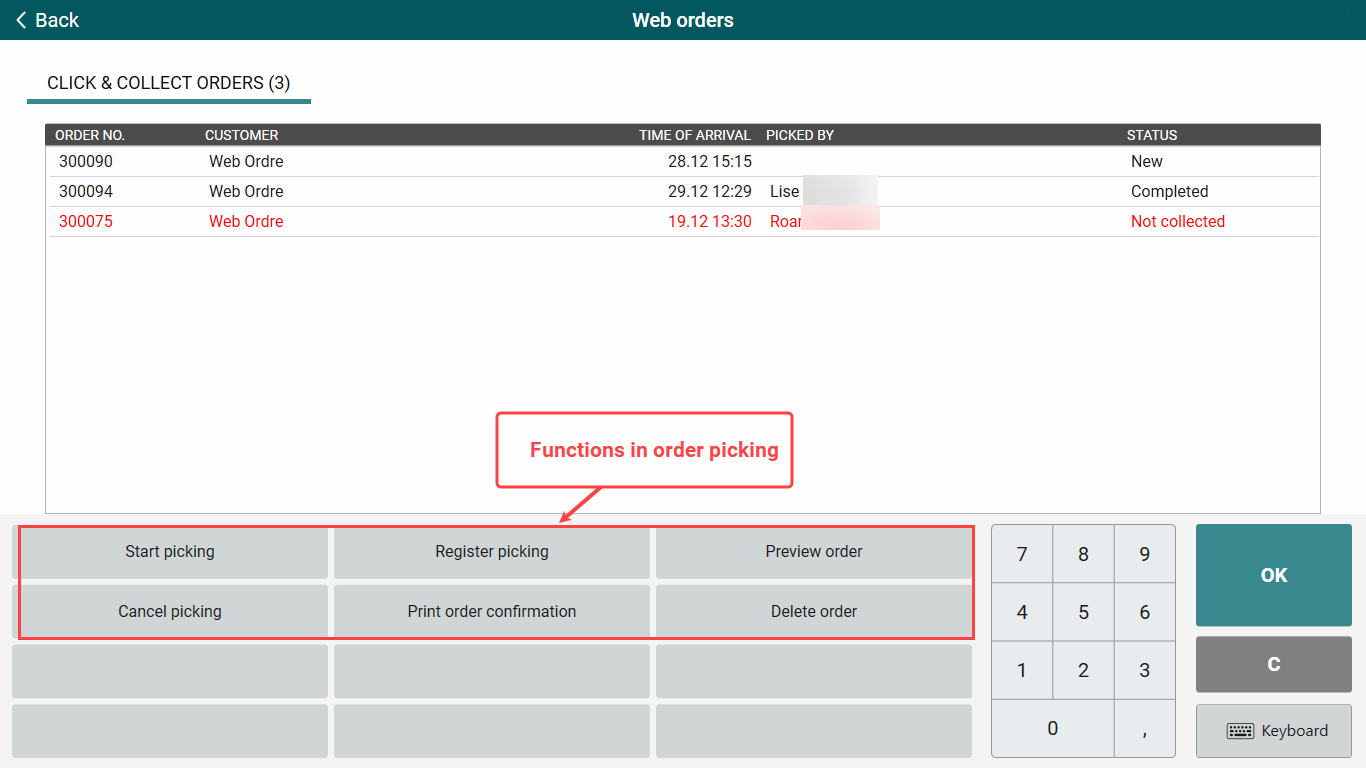
At the bottom of the screen there is 6 buttons that are used in connection with picking orders. They have the following functions:
Start picking: The function is used to start picking of marked order. When picking is started, the name of the cashier that started picking is shown in the "Picked by" column.
Register picking: The function is used to register that picking is executed. An order is created in the cash register. The order may be edited according to what has been picked.
Preview order: The function is used to preview order.
Cancel picking: The function is used to cancel picking. When picking is canceled, then the order is once again ready for picking.
Print order confirmation: The function is used to print an order confirmation.
Delete order: The function is used to delete an order (for instance when no items is available in the store).
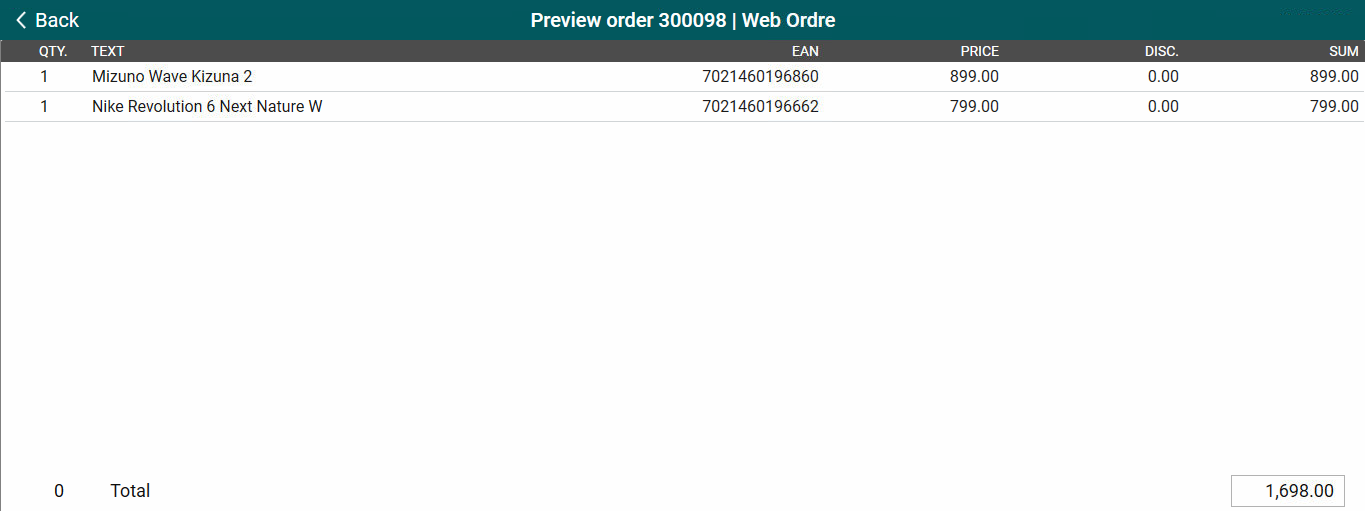
Preview order
You can preview the order in the cash register. Then you get an overview of the items in the order.
Mark wanted order.
Select Preview order.
A preview of the order is displayed at the screen.
Click on the < Back button in the upper left in the screen to go back to the order overview.
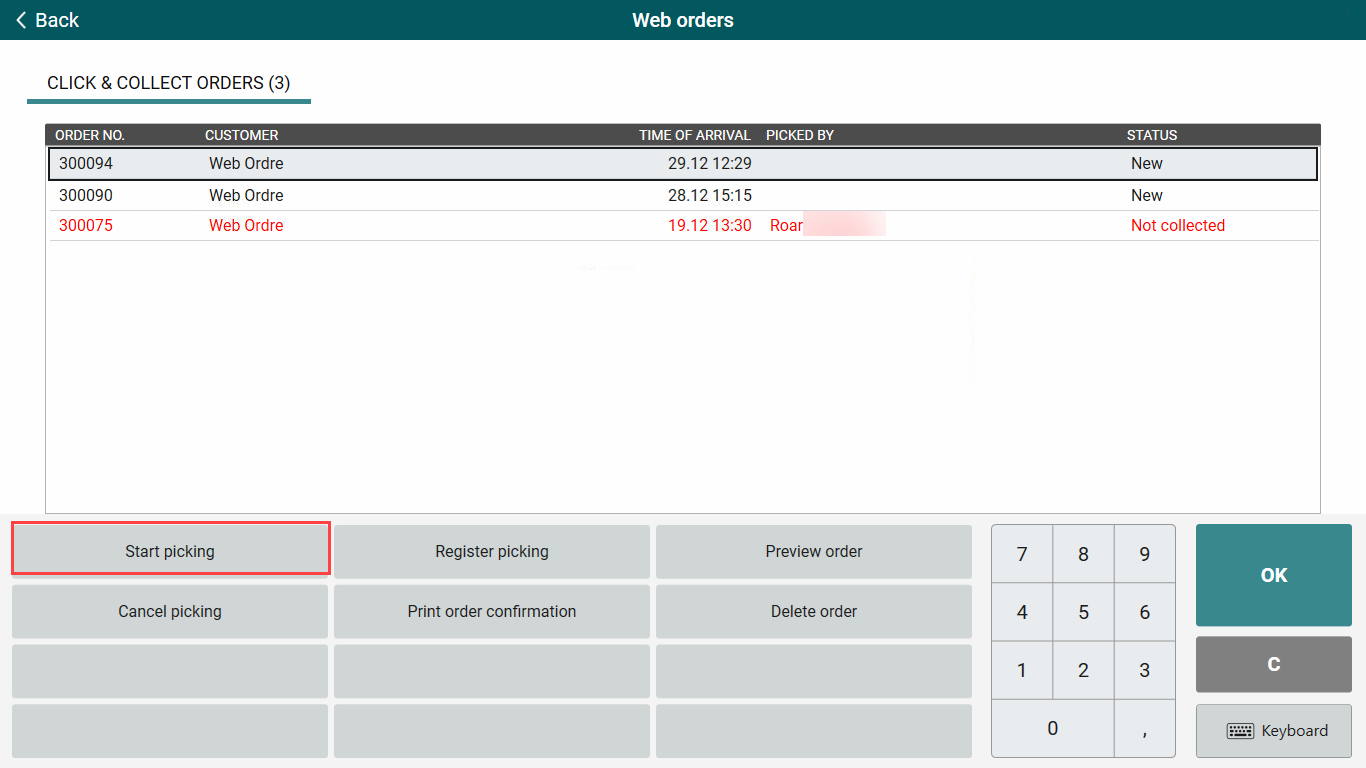
Start picking
The function is used to start picking the items.
Click on the Order button on the status line. The Click & collect order screen opens.
Mark the order you are going to pick. The marked order line get another background color, so that it is clear which line is selected.
Click on the Start picking button or click OK/Enter to start picking.
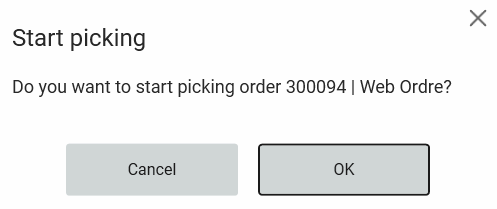
The "Start picking" dialog opens. You must confirm that picking should start. Click OK to confirm or Cancel to cancel.
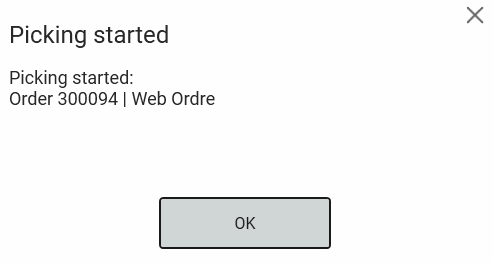
The Picking started dialog opens, informing about that picking has started. Click OK, cash register returns to normal sales view.
A picking list receipt is printed. It shows which items that should be picked and the quantity. Information on the picking list receipt is configurable.'
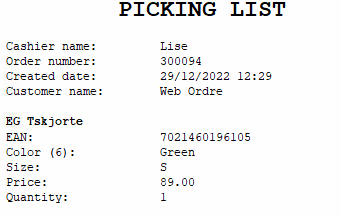
(In addition it is possible to configure that the line note should be printed on the pick list. Comment/line note added to the pick list are then displayed.)
Register picking
When all items in the pick list is picked, you go back to the cash register to register that picking is executed. It is several ways to register that an order is picked.
Scan pick list
Scan the barcode on the pick list.
The "Picking completed" dialog opens. You must confirm that the picking are completed. Select OK to confirm that picking is completed.

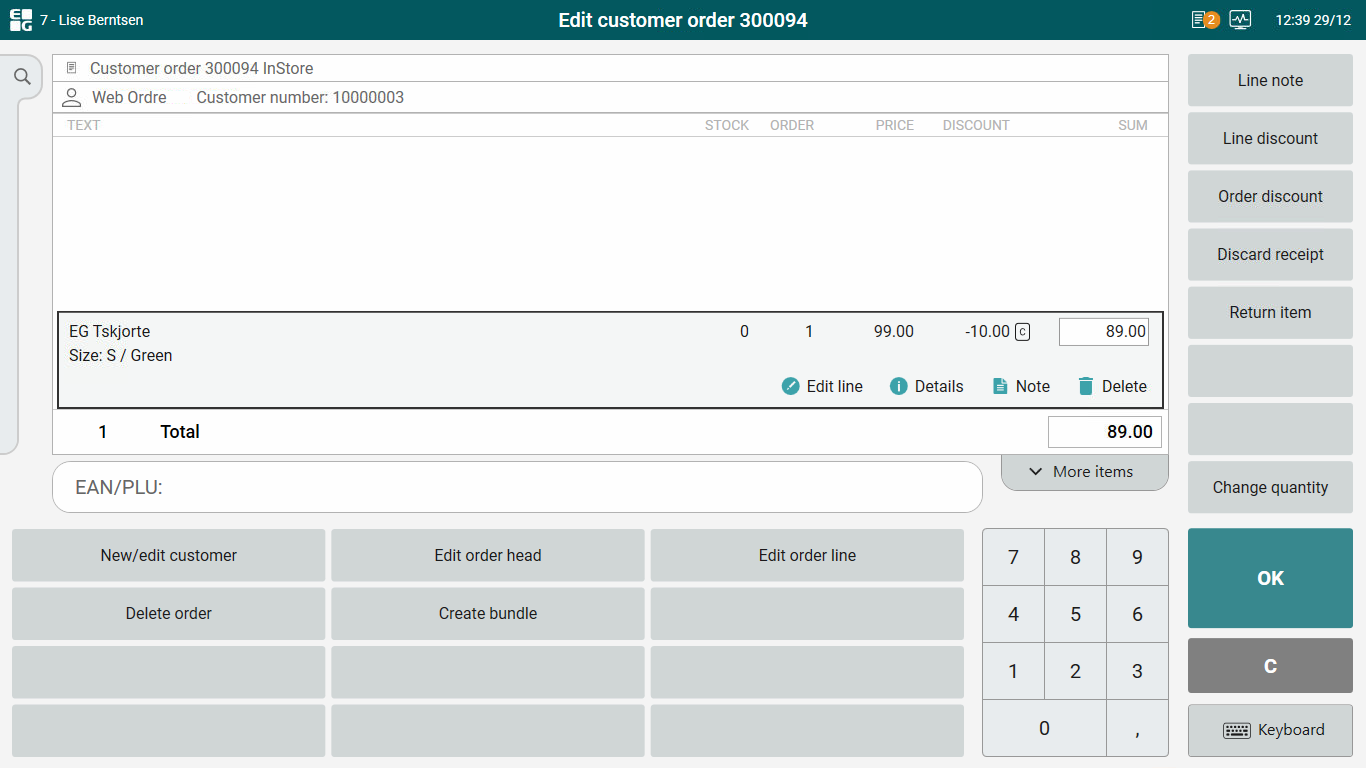
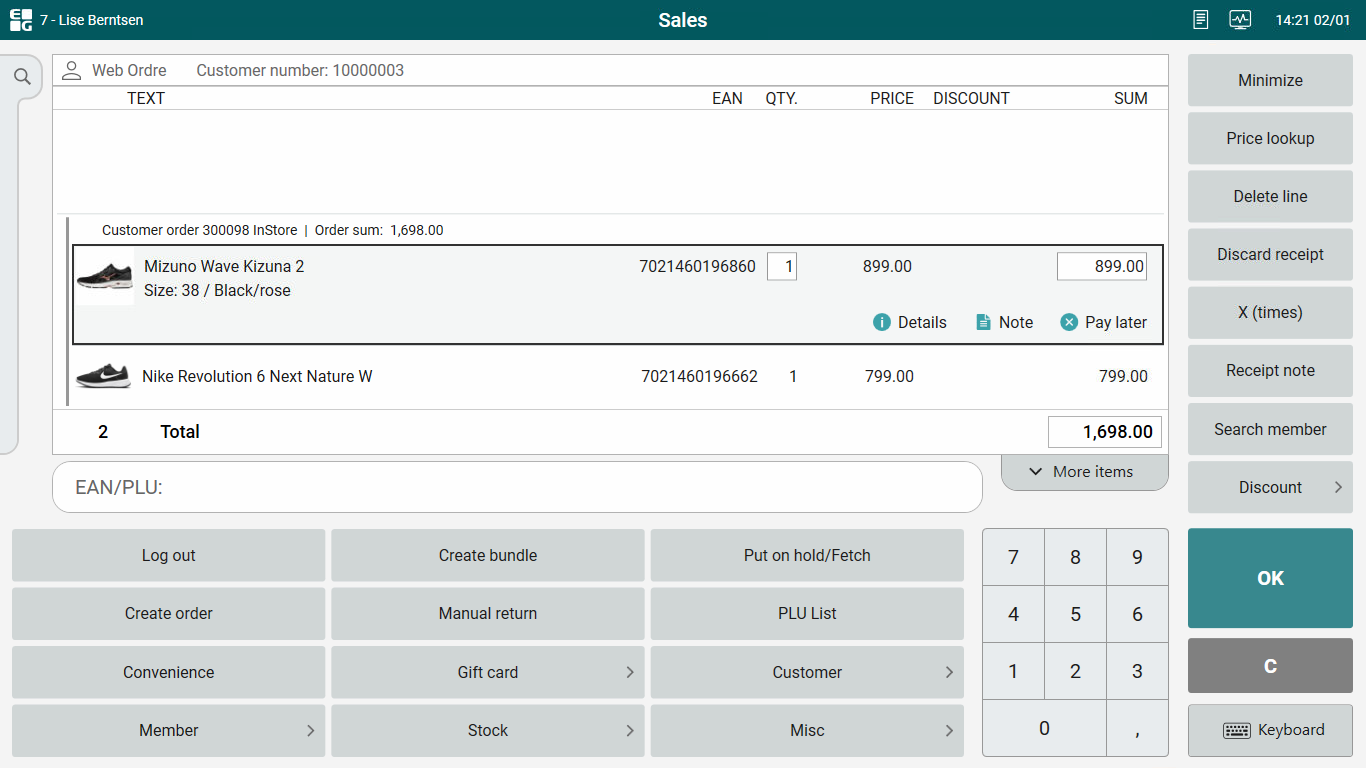
The order opens, the text "Edit customer order" appears at top of the sales view (order is in edit modus).
Edit the order according to what has been picked.
Click OK/Enter to confirm the order.
Select Save and print order. Order confirmation is printed on a receipt and attached to the items.
SMS/E-mail is sent to the customer (depending on the configuration).
Click & collect order screen
Click on the Order button on the status line. The Click & collect order screen opens.
Mark the picked order and click on the Register picking button.
Further procedure is the same as scanning the pick list.
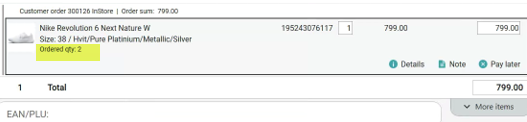
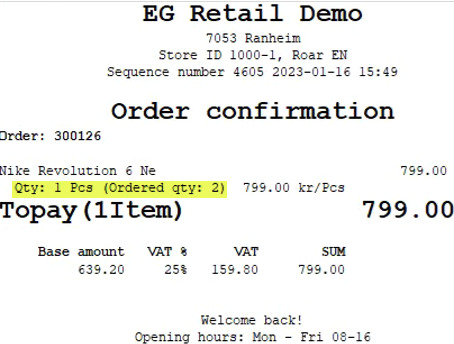
Show originally ordered quantity
If the number of items picked is different from the number of items ordered, this is shown in the sales view and on the receipt.
Sales view:
Receipt:
Delivery and payment of the items
Customer comes to the store to pick up and pay the items.
When picking has been registered, the order confirmation is placed together with the items, so it is ready for the customer to come to pick up the items.
You can retrieve the order by searching for the order, or by scanning the order confirmation.
Search for order
Select Order in the search menu at the left.
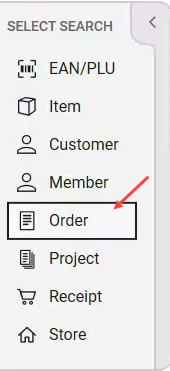
Order search opens. Enter order number (you find it on the order confirmation) and click OK/Enter.

The order is previewed. Click OK to select the order.
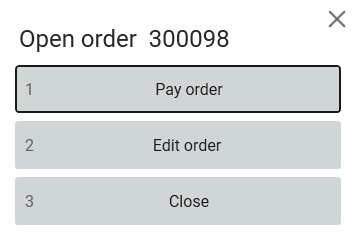
The "Open order" dialog opens. Select "Pay order".
The order opens in the sales view.
Go to the payment view and pay order.
Scan order confirmation
Scan barcode on the order confirmation.
The "Open order" dialog opens. Select "Pay order".
The order opens in the sales view.
Go to the payment view and pay order.
Additional items can be added if the customer want to buy more items at the same time.
Regret/cancel start picking
The cashier has clicked on the Order button on the status line, and the "Click & collect order" screen is opened.
If the cashier does not want to pick any orders, the cashier can click on the C-key or click on the < Back button top left on the view to close the view.
Cancel picking
The cashier has started picking but does not want to pick the items.
Click on the Order button on the status line, the "Click & collect order" screen opens.
When picking is started the order status is "Picking started", and the cashier name is displayed in the "Picked by" column.
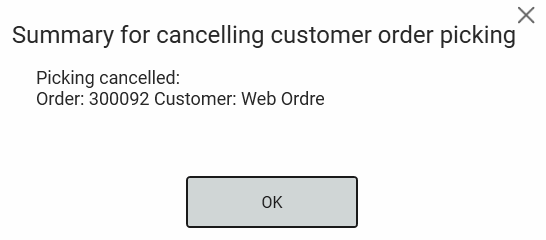
Select Cancel picking, the "Summary for cancelling customer order picking" dialog opens. Click OK to cancel picking.
Picking is canceled and the order is once again ready for picking.
If you don't want to cancel picking you click on the X in the upper right corner of the "Summary for cancelling customer order picking" dialog.
None of the items are available in store - delete order
When the cashier start picking, it turns out that none of the items reserved via the web shop/another store is available in the store, due to incorrect stock balance.
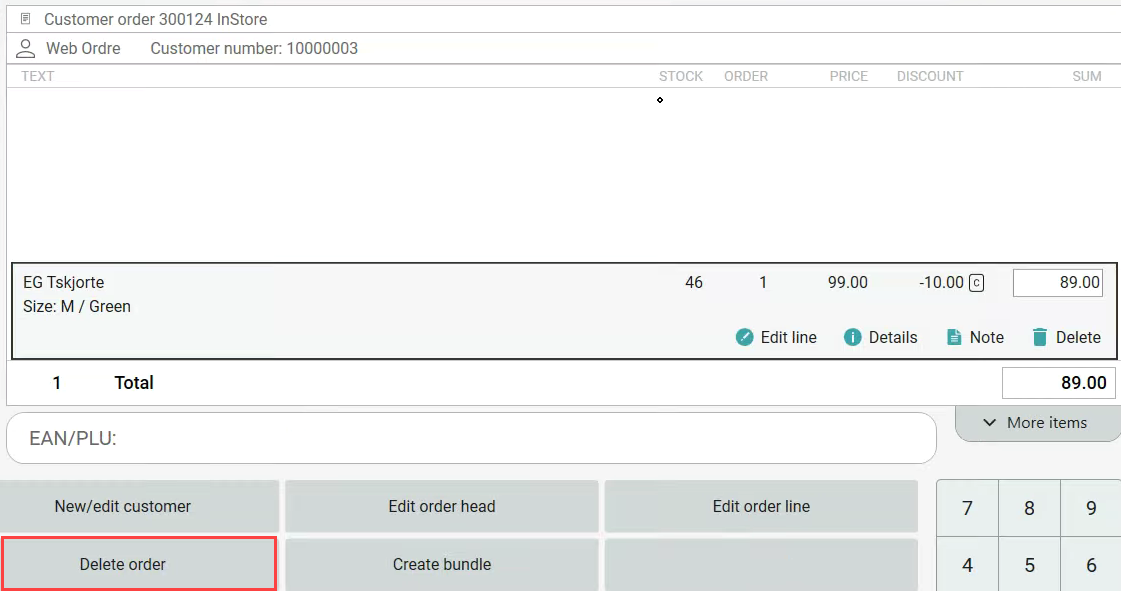
The order can be deleted from the Click & collect order screen. Click on the Order icon at the top of the screen. The Click & collect screen opens.
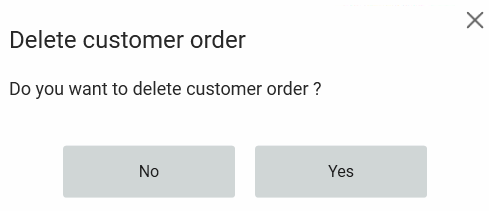
Mark the order you want to delete and click on the Delete order button. The "Delete customer order" dialog opens. You must confirm that you want to delete the order.
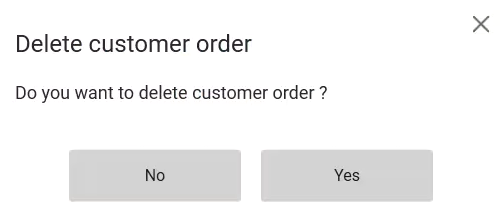
Click Yes to delete order.
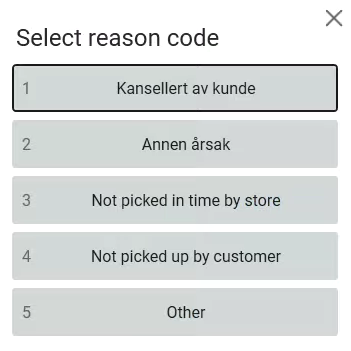
A dialog to select reason code opens (if configured). Select reason code.
Note!
SMS and E-mail messages is configured in POS Configuration.
Customer does not collect item(s)
The items have been picked and order confirmation has been printed.
The customer does not collect the items within the expected time. Order must be deleted.
Scan the barcode on the order confirmation.
The "Open order" dialog opens. Select "Edit order".
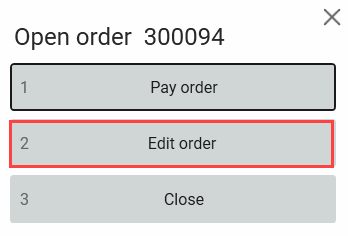
Order opens in edit customer order mode. Select the "Delete order" function.
The "Delete customer order" dialog opens. Select Yes to confirm deletion.
A dialog to select reason code opens (if configured). Select reason code.

Order is deleted. A receipt is printed with the deleted order.
It is also possible to configure automatic deletion of click & collect orders.
Warning - picking not completed
You have searched for an order, but the order you selected has not been completed.
If you select an order that has not been completed, a warning that picking has not been completed opens. You must confirm whether you wish to continue picking if you want to continue picking.
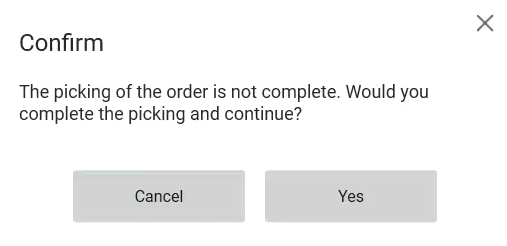
Select Cancel if you don't want to continue.
Select Yes if you want to complete picking.
If you select to complete picking the order, the "Picking completed" dialog opens. You must confirm that picking has been completed.
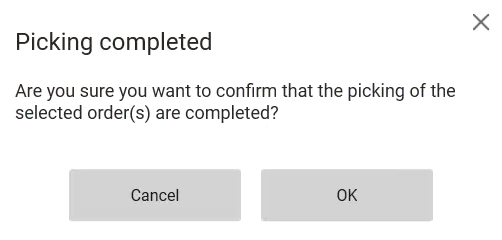
Select OK to confirm that picking has been completed.
Order opens in edit customer order mode. Further procedure is the same as for Register picking.
