The Merchant menu displays an overview of the configured merchants for EG Payment Service. It is possible to create new merchants, and you can view/edit existing merchants.
A merchant is a group of one or more payment integrations used by a store/retailer. One EG merchant can provide access to use Vipps, Swish and Klarna for example.
When communicating with the Payment Service API, the external ID is used to identify which merchant is used.

Merchants overview
The PaymentService ExternalId/MerchantId is not to be confused with the MerchantID provided by the Payment provider (VippsMobilePay, Swish etc.). The MerchantID from the Payment provider is used when configuring access to the provider in a later step.
Create new merchant
New merchant can be created by clicking on the Create new merchant button. The “Create new merchant and connect providers” dialog opens.
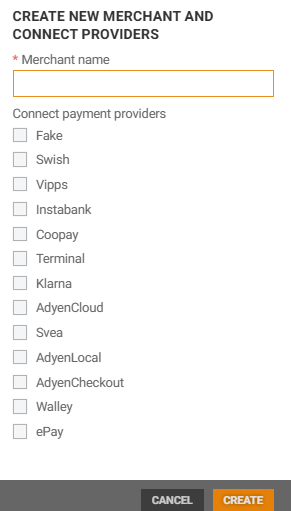
Enter Merchant name and tick relevant Payment providers. It is also possible to add providers later by using the Connect payment providers function.
Click on the Create button, to create the new merchant. Merchant ID and External ID is automatically added.
It is recommended do have at least one merchant per country due to currency.
Merchant details
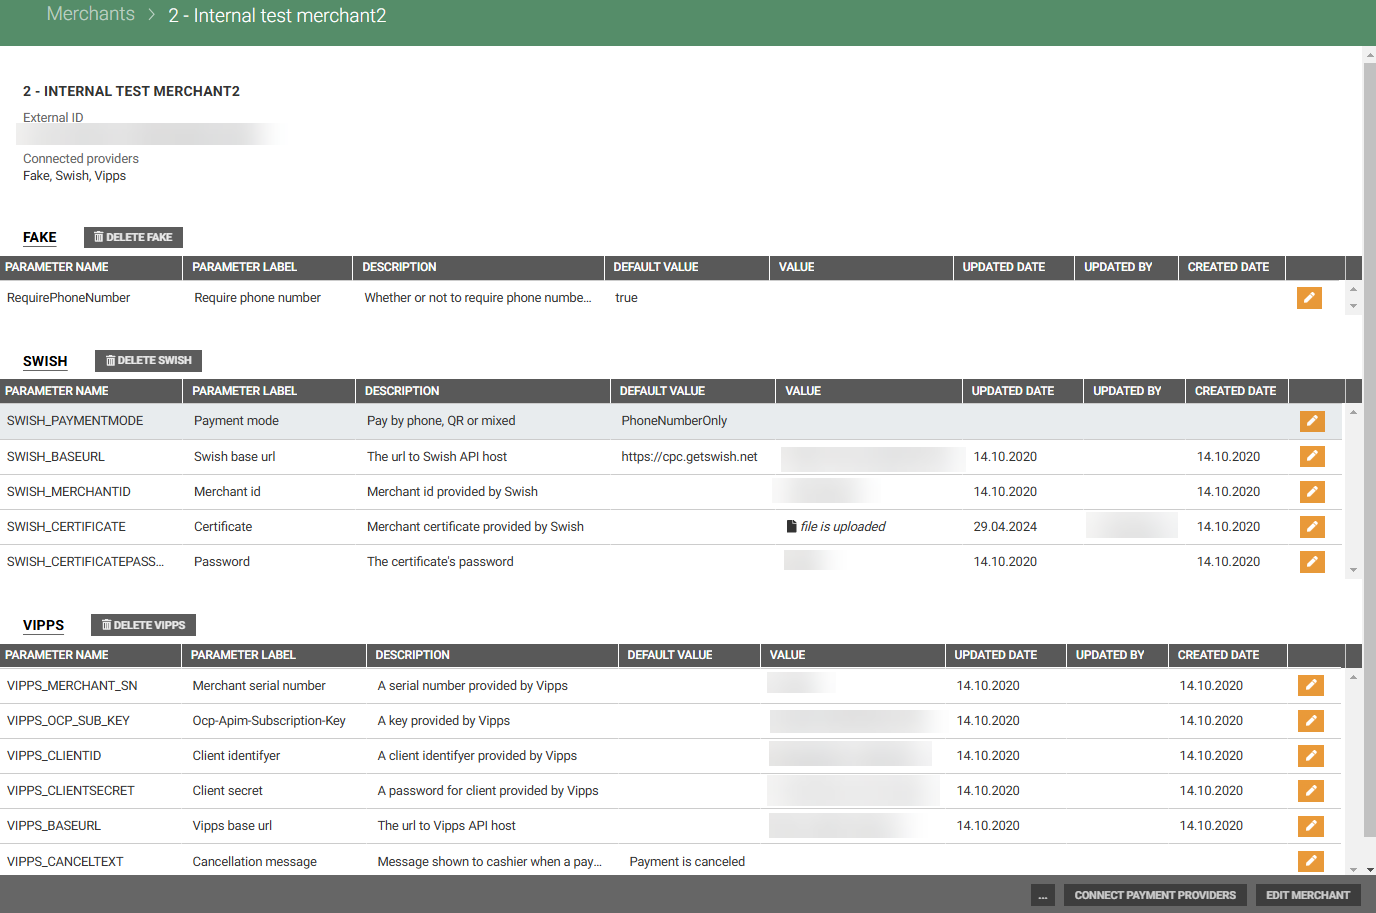
You view merchant details by clicking on the Merchant name in the “Merchant name” column. The Merchant details opens.
At the top of the page information about the Merchant is displayed:
Name - name of the Merchant
External ID - this is the PaymentService merchantId.
Connected payment providers - the providers connected to the Merchant.
Below this information there is a grid for each connected Payment provider, with the payment provider parameters. It is possible to add a specific parameter value to a parameter for the payment provider.
Edit merchant
It is possible to edit the name of the Merchant by clicking on the Edit merchant button at the bottom of the merchant details page. The “Update merchant” dialog opens.
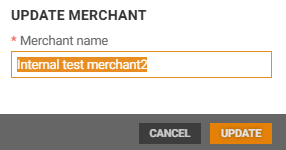
Edit merchant name and click Update to update the name.
Connect payment providers
Payment providers can be connected to the merchant by clicking on the Connect payment providers button at the bottom of the merchant details page. The “connect payment providers” page opens.
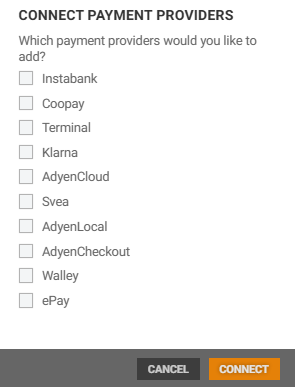
Tick relevant payment providers and click Connect. The selected payment providers with payment provider parameters are added to the merchant.
Update parameter value
Payment provider parameter value can be updated with a specific value that applies to the merchant.
Click on the “pencil icon” to the right on the relevant parameter.

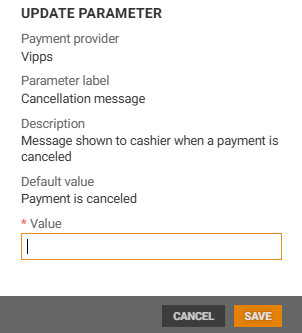
The “Update parameter” dialog opens. Add/edit the parameter value and click Save.
When you update a parameter value in the merchant details view it only applies to this merchant.
Delete payment provider
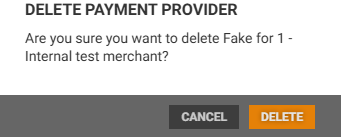
A payment provider can be deleted from the merchant by clicking on the delete button  at the top of the payment provider grid.
If you click on the delete button, you must confirm that you are sure that you want to delete the payment provider from the merchant by clicking the Delete button or Cancel to cancel.
Delete merchant

Merchant can be deleted by clicking on the “More button” and select “Delete merchant”.
Payment provider details
Payment provider details can be opened by clicking on the name of the payment provider above the payment provider parameter grid. It is a link to the Payment provider details view.


Vipps payment provider details