The Order picking menu is used to register picking of items in dispatch orders.
Order picking is a process with 5 steps; Select the order/orders to be picked, pick items, pack items, confirm picking, packing slip and shipping label is printed, and carrier picks up the package and deliver it to the customer.

Start order picking
Select "Order picking" in the menu. An overview of available orders with status "Not started", "Picking" and "Paused" opens.
Select which orders to pick by ticking them.
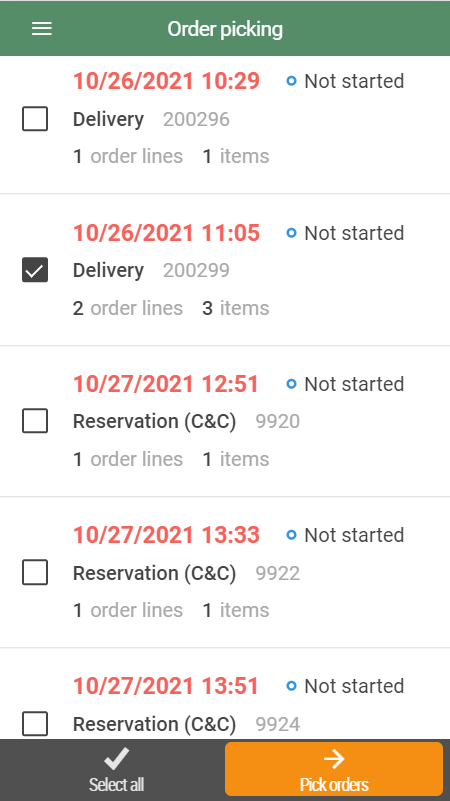
If you want to pick all orders you can click on the Select all button. All orders are selected (ticked).
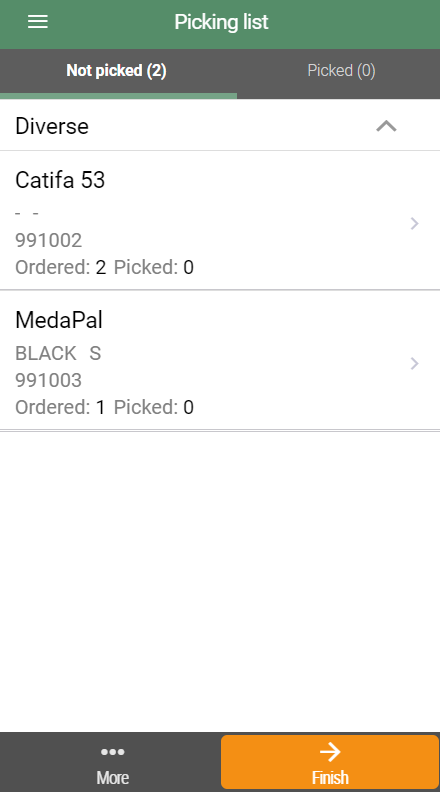
Click the Pick orders button to start picking. “Picking list” view opens.
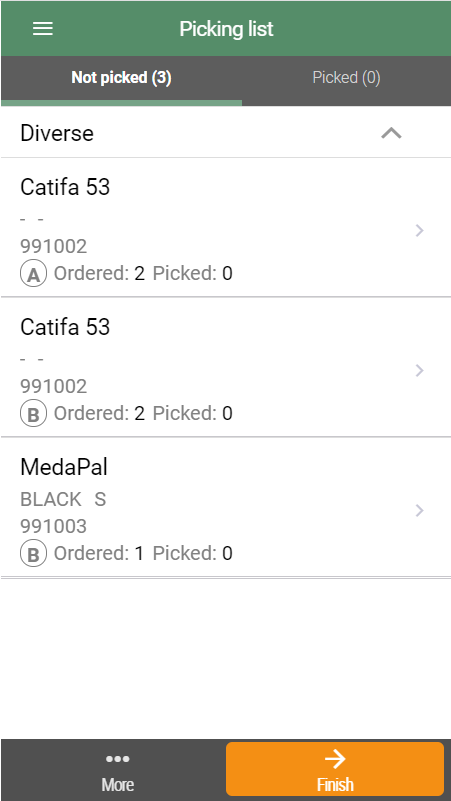
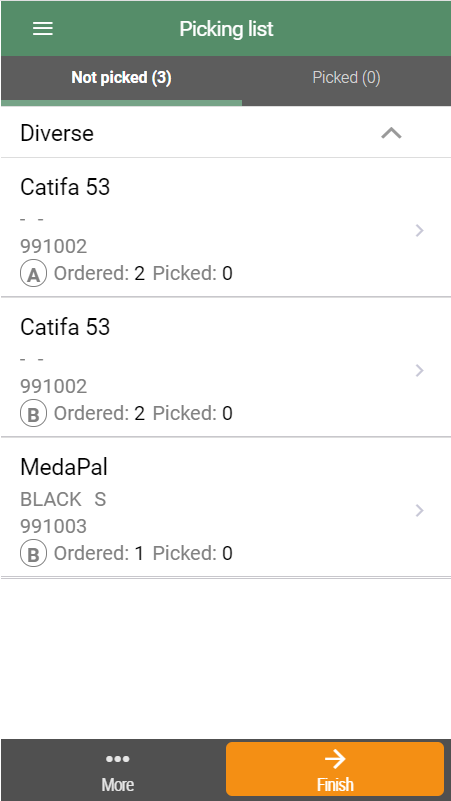
When more than one order is picked at time, these are differentiated by using letters (A, B, C…).
Picking list view is separated in two tabs: "Not picked" and "Picked". When an item is picked, the item is moved to the "Picked tab".
Select from order details
If you click on an order in the “Order Picking” view, the order details opens. The details view contains an overview of items with amount ordered.
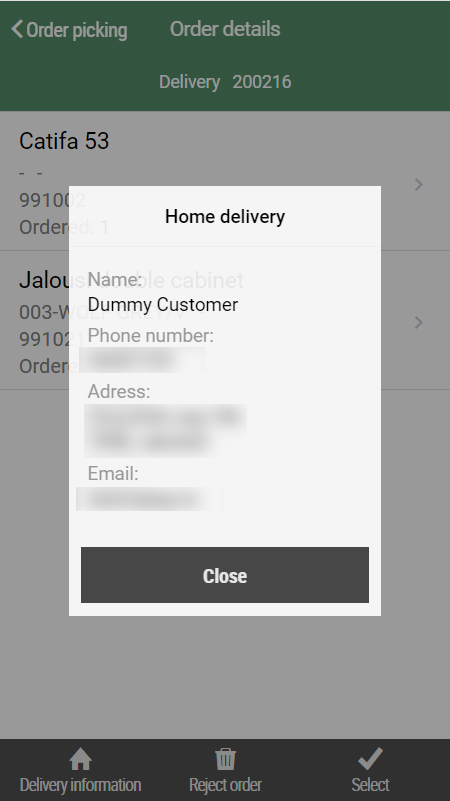
You can click on the Delivery information button to see details regarding customer and delivery method.
To include the order in the picking list, click on the Select button.
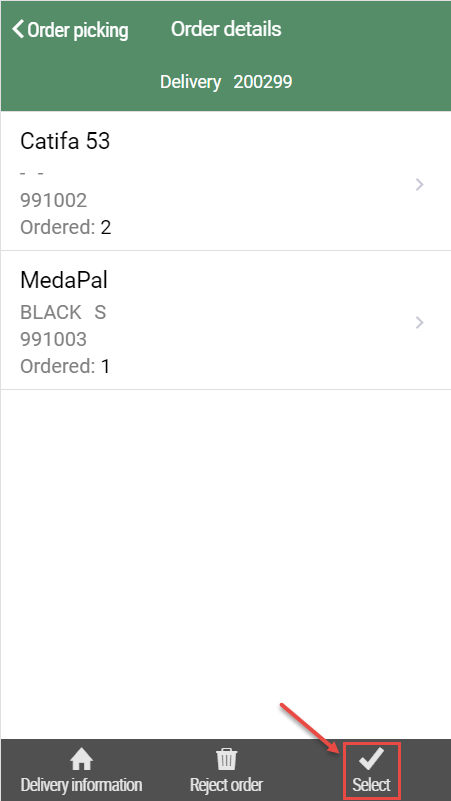
User is returned to the order overview, the order is selected (it is ticked).
Click on the Pick orders button when you have selected the orders you want to pick. "Picking list" view opens.
Register picking
Items are normally picked by scanning to ensure that the correct item is picked. When the items are registered, the amount is updated.
It is also possible to pick item manually, e.g. if the item is missing barcode or barcode is broken. Select the item in the list, "Item details" view opens.
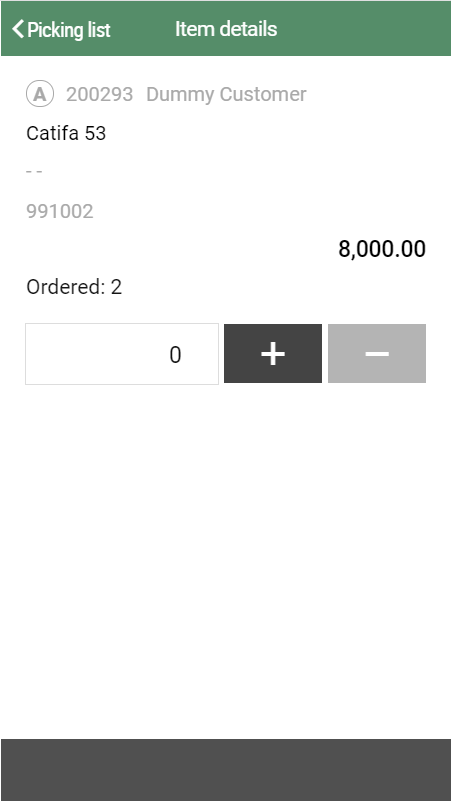
Enter picked amount (or use +/- buttons to enter amount). Click "Picking list" at the top to go back to the picking list.
The picking is finished when all items are moved to the “Picked tab”.
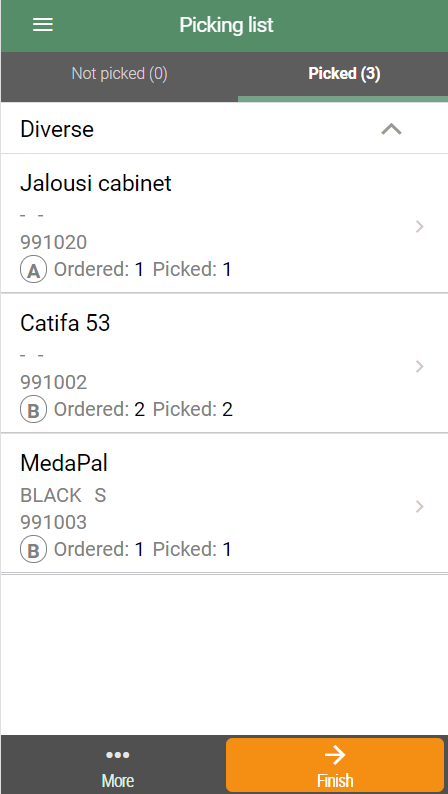
Click on Finish to complete picking.
Complete picking
When orders are fully picked, they must be confirmed finished. When orders are fully picked, they get a green tag with "Picked".
If some items in the order isn't picked, they get at tag with "Partly picked".
Click on the Finish button.
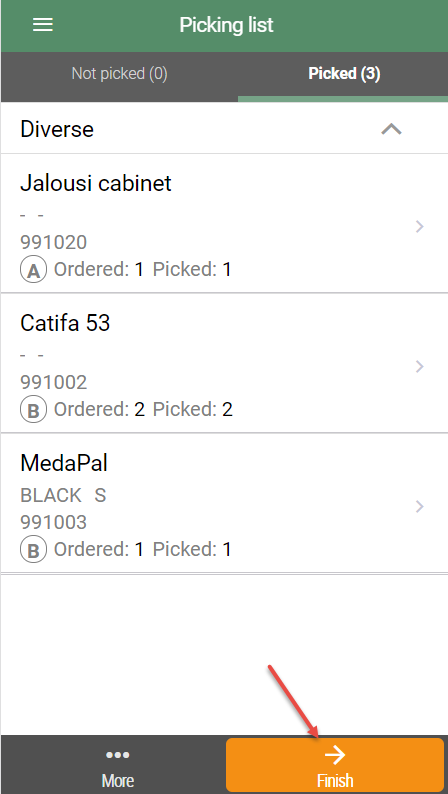
The "Finish picking" view opens.
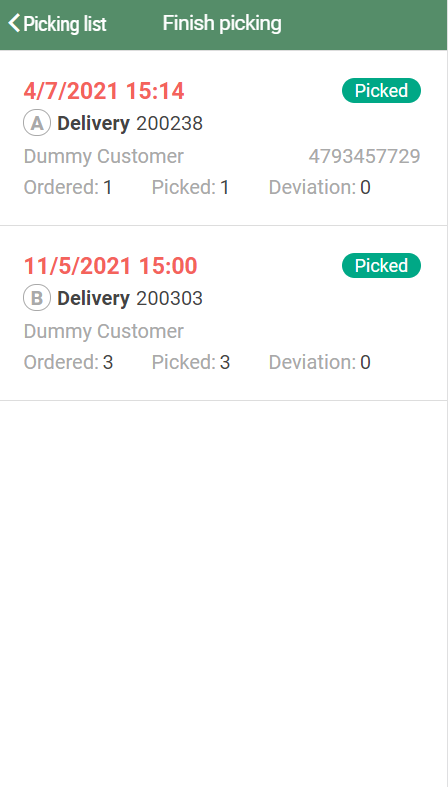
Before completing the order, the items must be sorted to confirm that everything is picked correctly, by scanning items in the order overview. This is not necessary if you pick only one order.
Confirm picking
Click on the order, "Order details" opens. Scan items to confirm that they are picked.
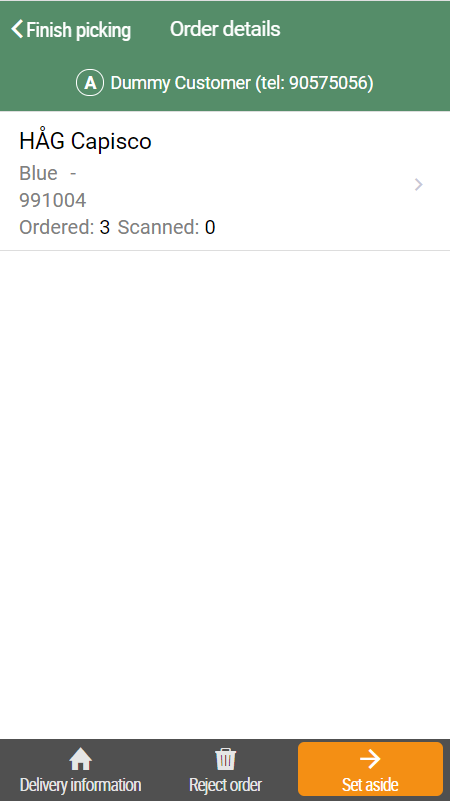
You can also confirm picking manually. Click on the item line "Item details" opens, add picked amount.
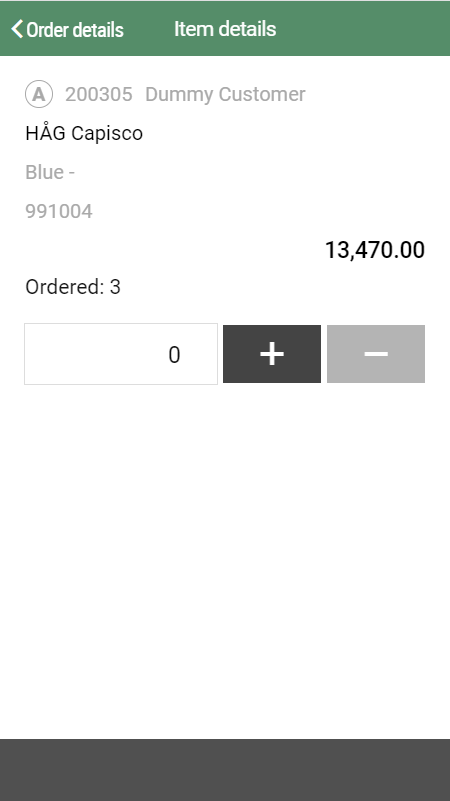
Click on "Order details" to go back to Order details view.
Click on the Finish button when all item in the order is scanned/manually picked.
Delivery information dialog opens.
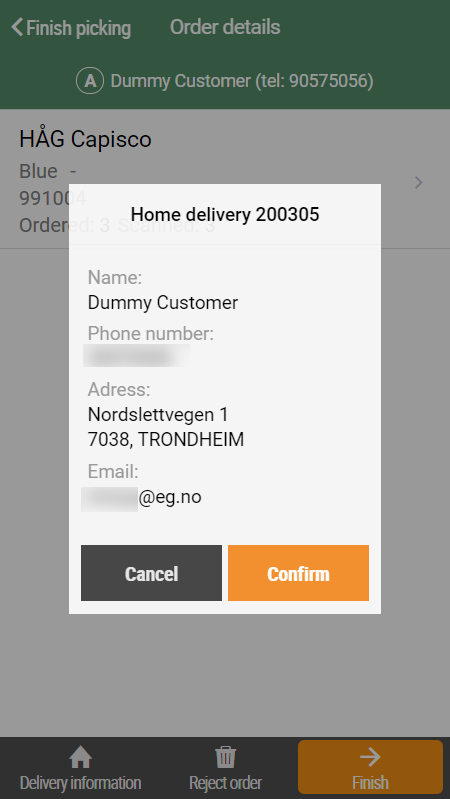
Click Confirm to finish.
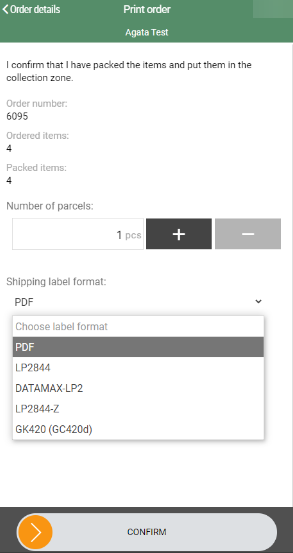
Print order view opens. You must confirm that everything is packed and put in the collection zone.
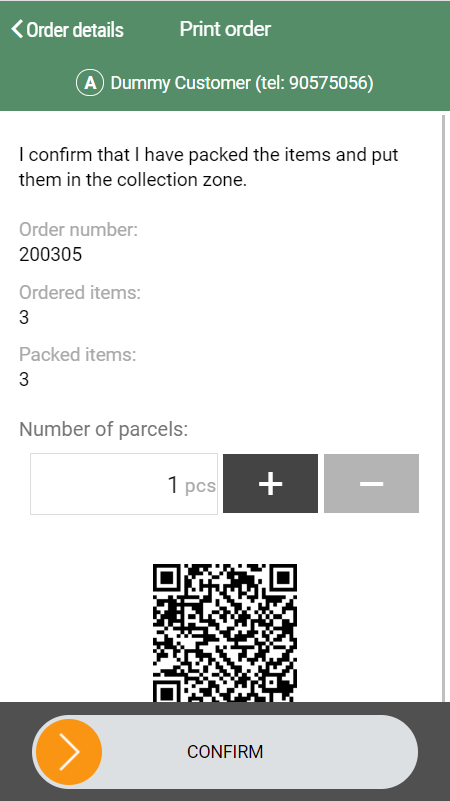
Swipe the Confirm button to the right to confirm that picking is finished.
If there are more orders to pick the Finish order view opens. You can continue picking the rest of the orders.
Set aside order
If an order is partly picked and you click Finish, you get an warning; "Not all items have been picked".
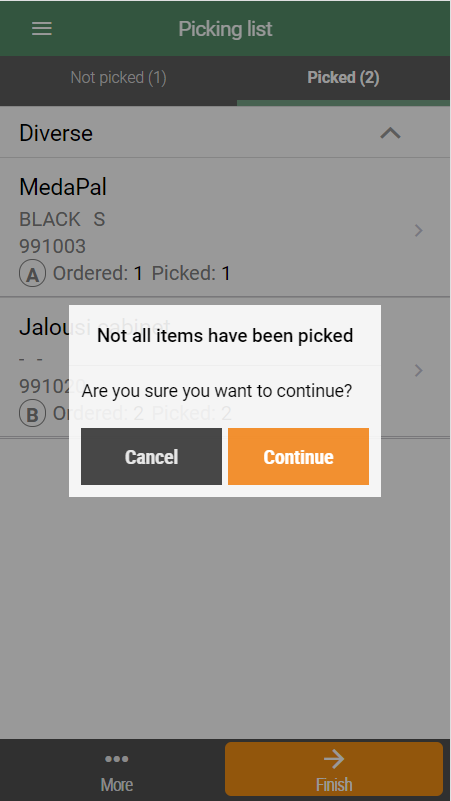
Click Continue, to continue. The "Finish picking" view opens.
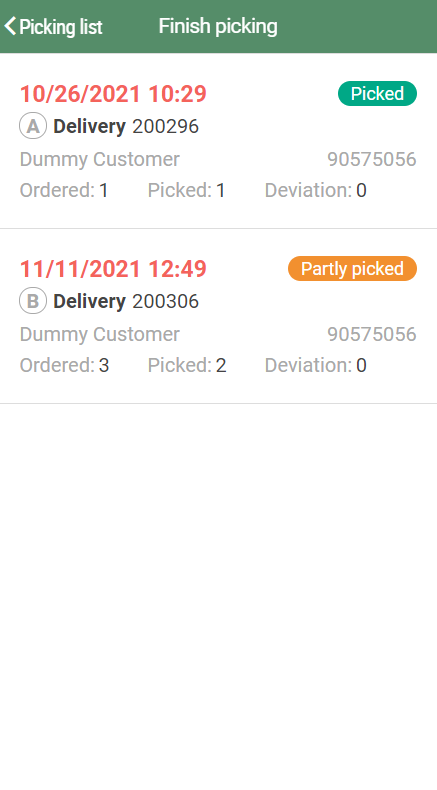
The partly picked order is marked with an orange "Partly picked" tag.
Click on the partly picked order. The “order details” view opens.
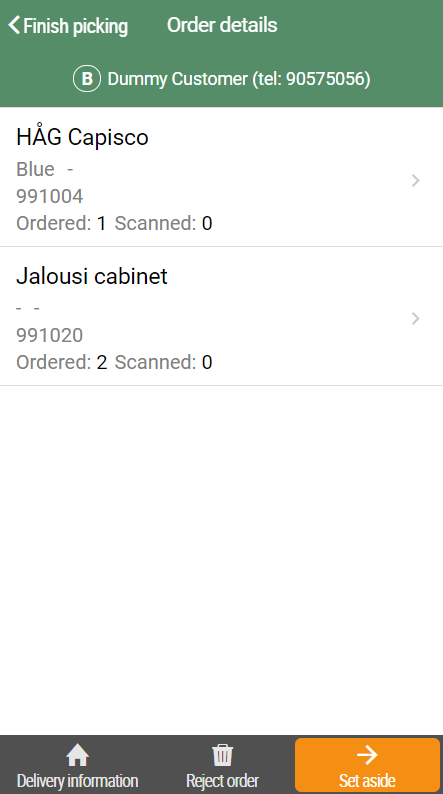
Click Set aside to set aside the order.
The "Set aside" dialog opens. Register placement for the order by selecting from the list.
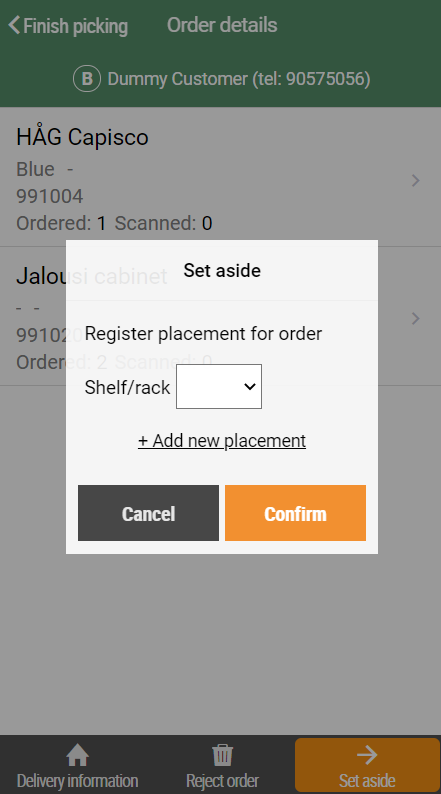
You can also add new placement by clicking on "Add new placement". Register the name of the new placement, and click Confirm.
When an order is set aside, the order is marked with a tag with the placement.
Pause picking
You can pause a picking. Click on the "More …" button, select "Pause picking".
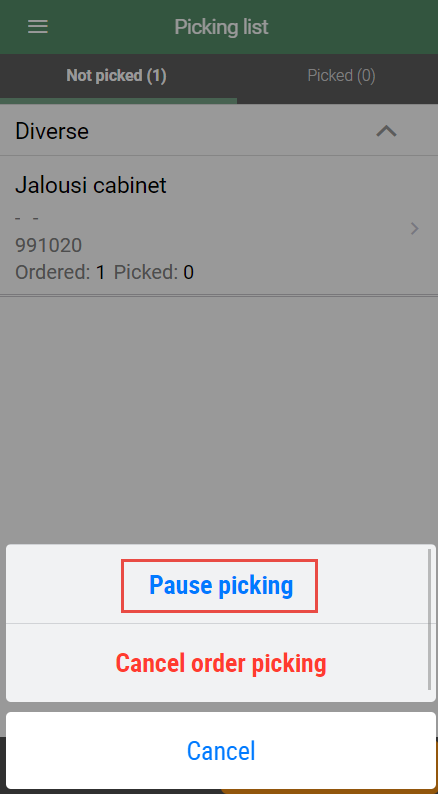
All orders are selected to pause. The "Pause picking all orders" dialog opens.
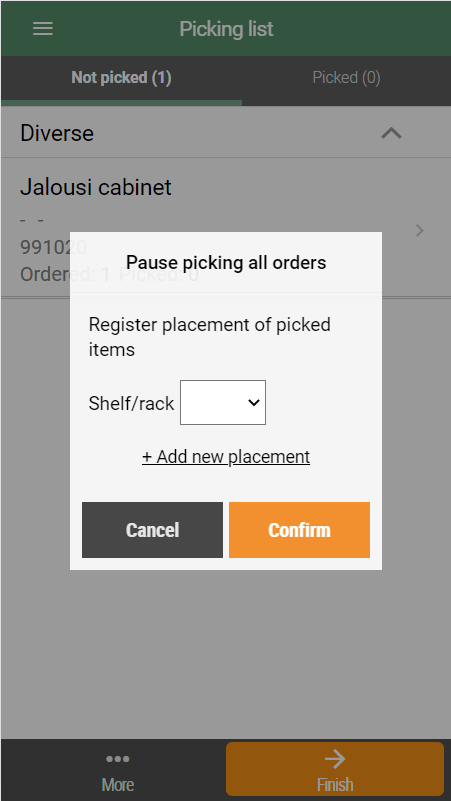
Register placement of the picked items, and click Confirm.
Picking is paused.
In the Order picking overview you see that the order has status "Paused".
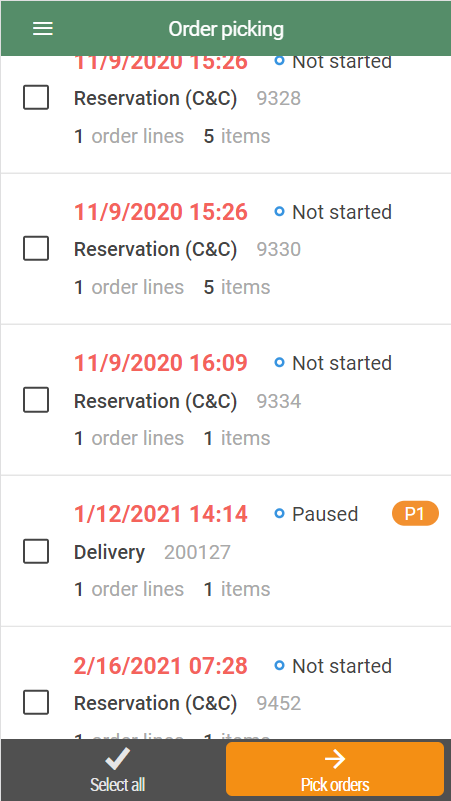
Cancel picking
To cancel picking, click on the "More…" button, select "Cancel order picking".
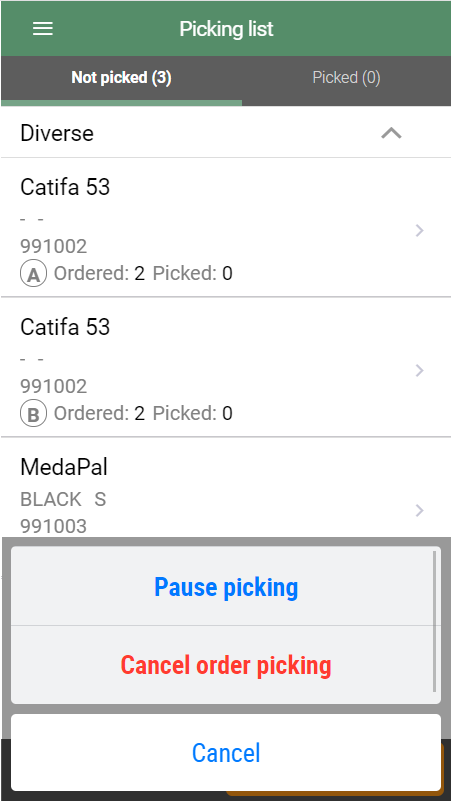
The "Cancel picking" dialog opens.
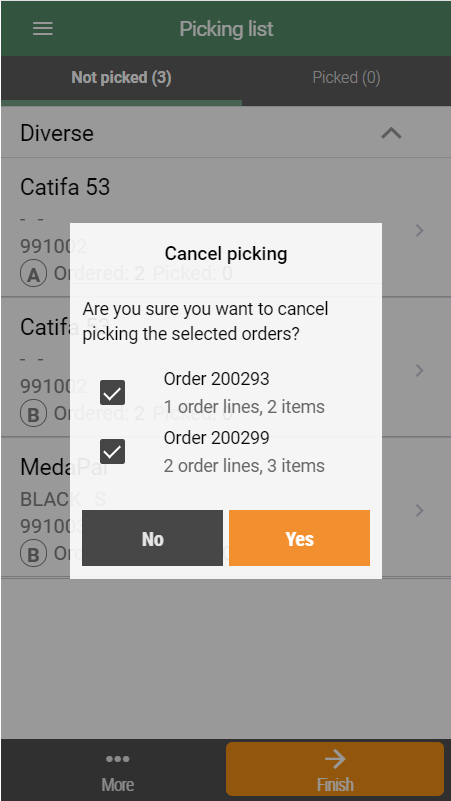
If the picking contains more than order, all orders are automatically selected, but you can unselect orders that still should be picked.
Click on Yes to cancel picking, items in selected order is removed.
If some orders are unselected you can continue picking them.
Take over picking responsibility
It is possible to take over picking responsibility if you select an order that is being picked by someone else.
Select the orders you want to pick and click on "Pick orders".
If another user have started picking (order has status "Picking") you get a warning asking if you want to take over picking responsibility.
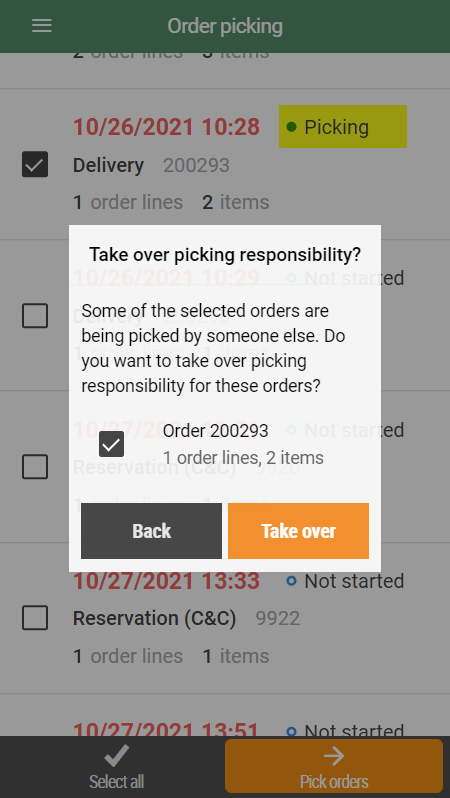
Click Take over if you want to take over picking.
Picking list with the order opens, and you can pick the order.
The user who initially picked this order receives a popup when scanning the next item in the picking list, notifying them that their picking responsibility has changed.
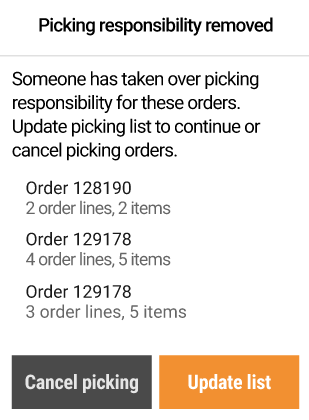
Resume picking
If you have an active picking list, and the app is closed before finishing orders, a question appears when you reopen it.

You must decide if you want to resume picking or cancel picking.
If you select Cancel picking, the picking is canceled, and the order overview opens.
If you select Resume, the picking list opens. The items in the picking list must be scanned again.
Reject order
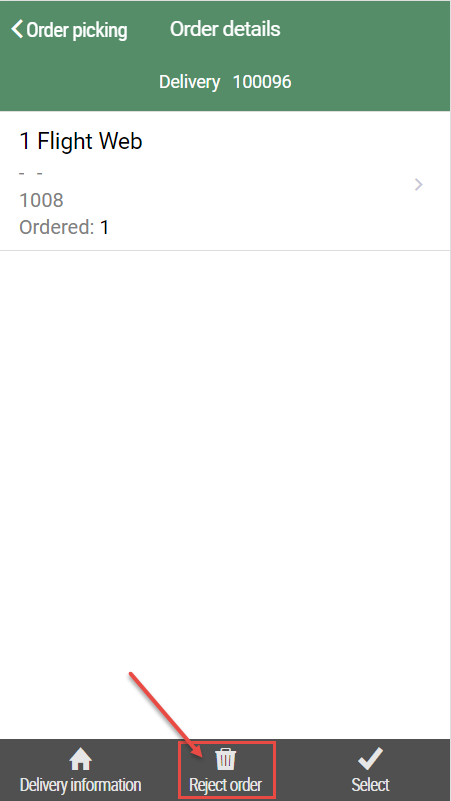
It is possible to reject an order.
Click Reject order, the order is removed from the list of order to pick, and reassigned to another store.
Configuration
InStore App can create shipments using nShift and print shipping labels in the store. This is performed during the last steps of order picking if configured.
In the settings page of InStore App, nShift settings needs to be added.
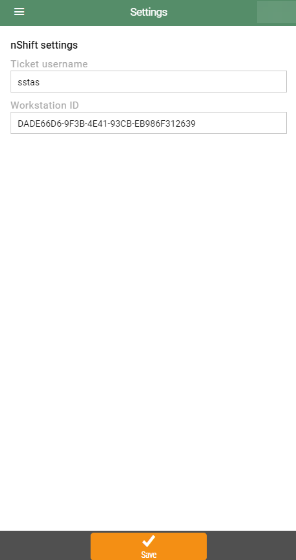
New system parameter is created called "UseDispatchServiceForShipments ". If this parameter is set to True, "label format" dropdown is displayed (see image below). If set to false, label format will not be available.
