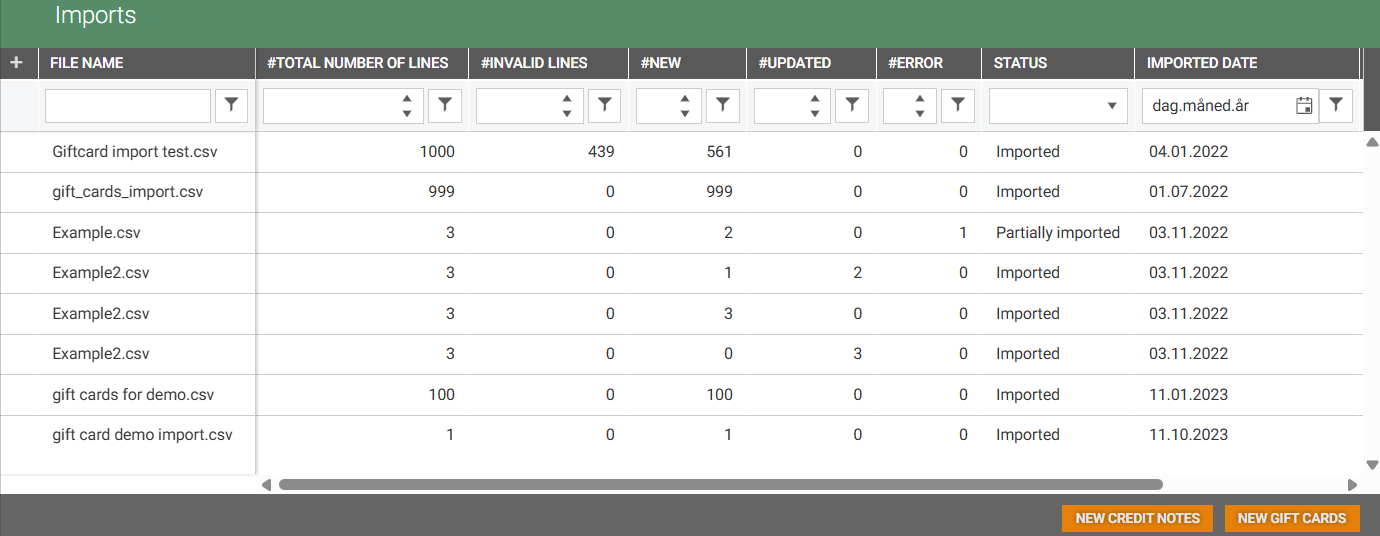
The Imports menu provides an overview of all imported gift cards and credit notes files and show details about each import.
You can import new credit notes and gift cards and from this view.
Import gift Cards
Follow these steps to import a new gift card file:
Click the New gift cards button to import new gift cards . The "New import" dialog will open.
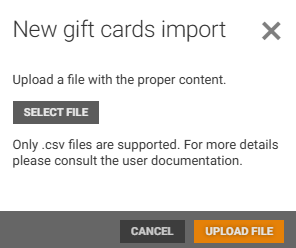
Click the Select file button to open the file selection window.
Select the relevant Excel file in .csv format.
Click Open to confirm your selection.
The selected file will appear in the "New import" dialog.
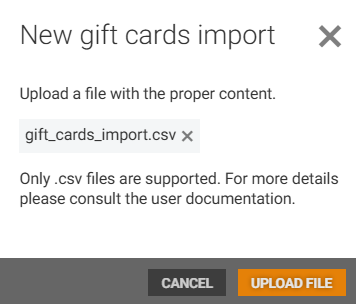
Click the Upload file button. Information about the content in the file is displayed.
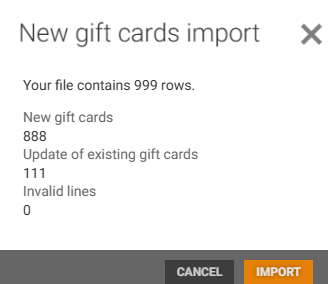
Click the Import button to start the import process.
The file will be added to the Import overview with status “Pending”.
Once the import job is completed, the status will change to “Imported”.
Import file specifications - Gift cards
*Bold columns are required in the import file:
Number* - String
PreloadedType* - String
Active* - Bool
PinCode - String
Balance - Decimal
ExpiresUtc - DateTimeOffset - Mandatory if active, mandatory if NotPreloaded.
IssuedUtc - DateTimeOffset - Must be 0 if Preloaded and inactive, must be greater than 0 if PreloadedWithValue.
ValidFromUtc - DateTimeOffset
OwnerPhoneNumber - String
OwnerEmail - String
StoreNumber - String - Must be greater than 0 if active, or if NotPreloaded.
CurrencyCode - String - Default = NOK
ProfileID - String
GiftCardTypeID - Int - Default = 1
GiftCardTypeName - String
IssuesReceiptID - String
IssuedCashRegister - String
LastUsedUtc - DateTimeOffset
File example
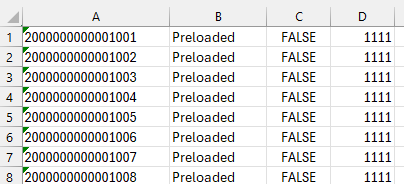
Gift card import file example
Import Credit notes
Follow these steps to import new Credit notes file:
Click the New credit notes button to import new credit notes . The "New import" dialog will open.
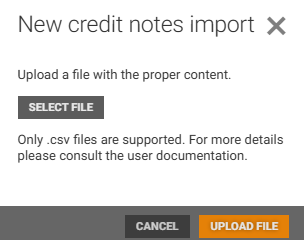
Click the Select file button to open the file selection window.
Select the relevant Excel file in .csv format.
Click Open to confirm your selection.
The selected file will appear in the "New import" dialog.
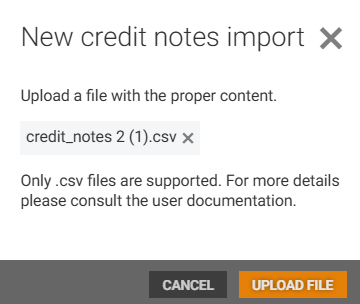
Click on the Upload file button to upload the file. Information about the content in the file is displayed.
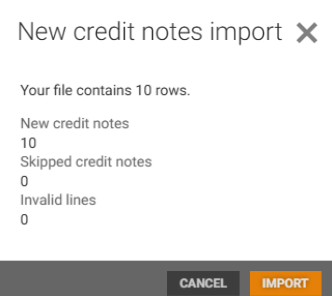
Click the Import button to start the import process.
The file will be added to the Import overview with status “Pending”.
Once the import job is completed, the status will change to “Imported”.
Import file specifications - Credit notes
The .csv file with the credit notes should contain the data with the columns specified below in the same order:
Required fields:
StoreNumber
CreditNoteNumber
Identification type - It should always be equal to 0 or be empty.
Mode - It should always be equal to 0 or be empty.
IssuedDate - dd/mm/yy format.
IssuedTime - in seconds (e.g. 19643).
IssuedCashRegister
IssuedCashier
IssuedReceiptId
UsedInStoreNumber
ExpiresDate - dd/mm/yy format.
Balance
Optional fields:
LastUsedDate - dd/mm/yy format.
LastUsedTime - in seconds (e.g., 19643)
Additional Formatting Rules:
Field delimiter: Semicolon ( ; )
CreditNoteNumber: Quoted with double quotes (")
Other fields: Numeric or string as appropriate; empty fields represented by consecutive delimiters ( ;; )
Optional fields: May be omitted entirely or included at the end of the row.
Date fields: Always in dd/mm/yy format.
Time fields: Represented as seconds (integer).
Examples of the proper formatting:
Redeemed Credit Note:
222137017;"00222137017080000000023106";0;0;25/01/21;19643;8;253;27788;222137017;26/07/02;394
222137017;"00222137017080000000023106";;;25/01/21;19643;8;253;27788;222137017;26/07/02;394
Not Redeemed Credit Note:
222;"00222080000000023107";0;0;25/02/03;19884;8;253;27789;222;26/07/02;674
222;"00222080000000023107";;;25/02/03;19884;8;253;27789;222;26/07/02;674