Create a new campaign by clicking on the New Campaign button. The "New Campaign" dialog opens. The dialog has 3 steps.
Step 1:Campaign details
Enter name of the campaign.
Enter description (optional).
Select a campaign type. You can choose between: “Standard”, "A/B testing, “Stamp Card” or “Event-driven”.
Click Next > to continue to the next step.
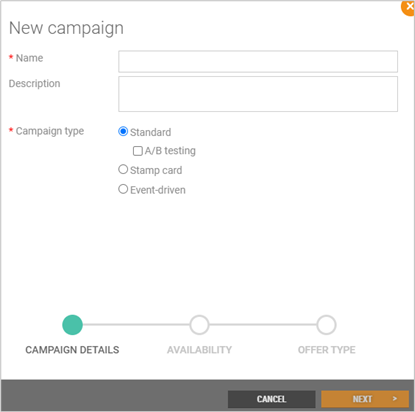
The appearance of the subsequent steps will depend on the type of campaign. The steps for creating a standard campaign are described below.
Step 2: Availability
Select the campaign period by specifying a date for valid from/to.
Choose the stores in which the campaign must be available:
All stores: create a new central campaign.
Selected stores: creates a new local campaign; select the stores in which the campaign must be available.
Selected team: creates a new local campaign for a team; selects the team for which the campaign must be available.
All stores except from: creates a campaign for all store except the selected stores.
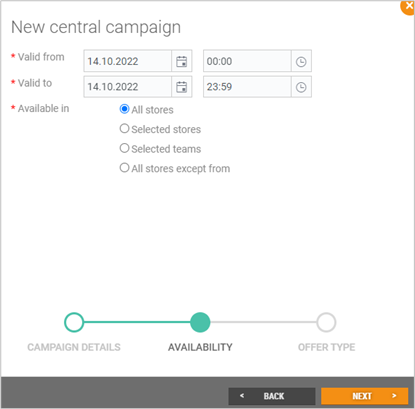
Dialog when all stores are selected
Click Next > to continue to the final step.
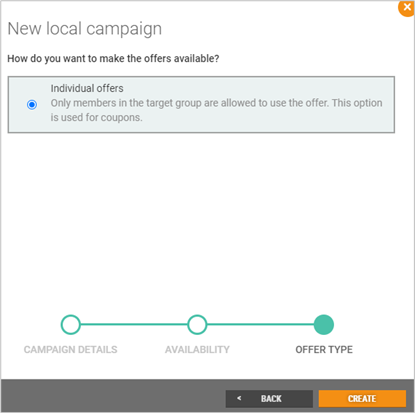
Step 3 – Offer type
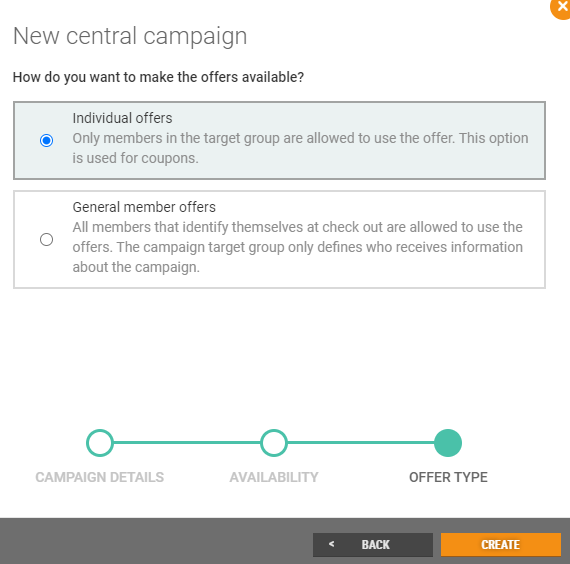
In the last step you choose how you want to make the offers available. You have two options:
Individual offers: Only members in the target group can use the offer. This option is used for coupons.
General member offers: All member can identify themselves at check out are allowed to use the offers.
Click Create to create the campaign.
The Standard campaign registration view opens when the campaign is created. In this view you can create offers linked to the campaign, define your target group, and choose how to distribute the campaign.
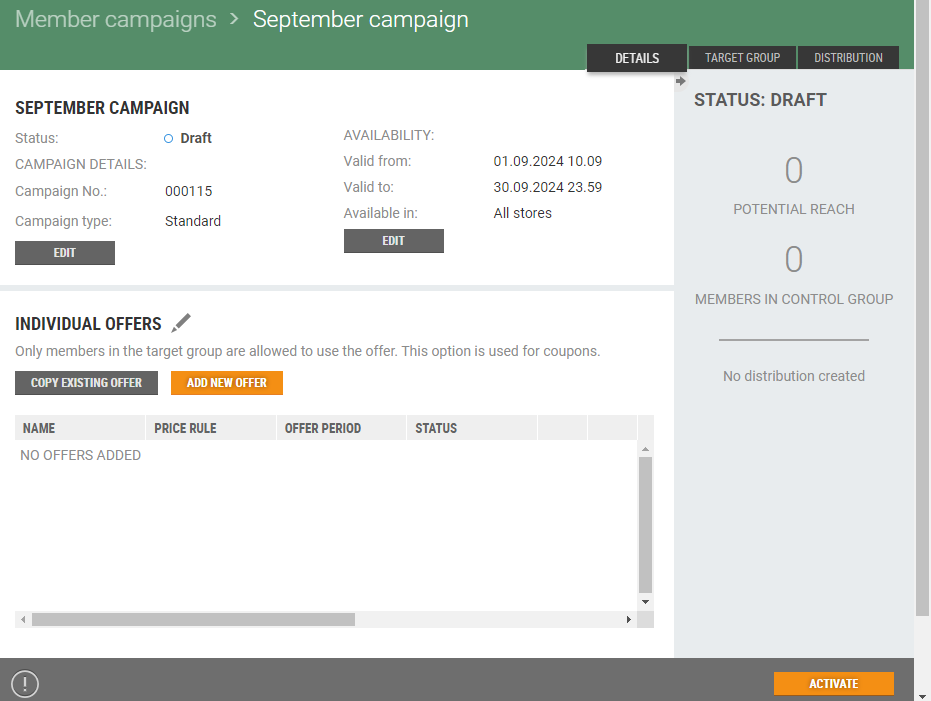
Edit campaign details
Campaign details can be changed after the campaign has been created, BEFORE the campaign is activated. It is possible to change your campaign details and availability, among other things.
Campaign details
Click on the Edit button. The “Campaign details” dialog opens.
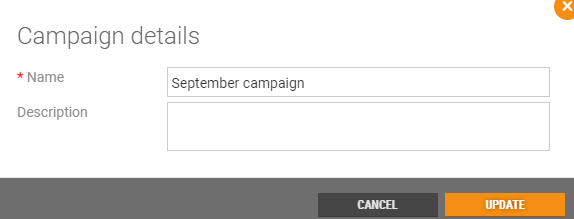
You can change the name and description.
Click Update to update the changes or click Cancel, to cancel.
Availability
Click on the Edit button. The "Availability" dialog opens.
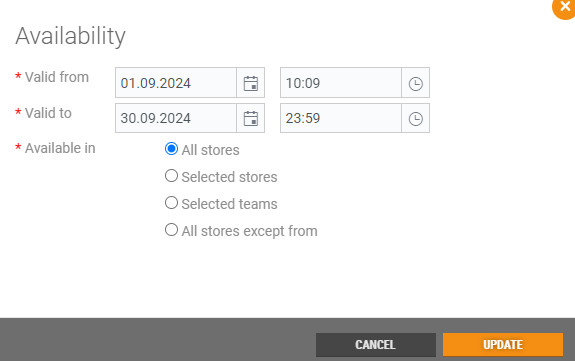
You can change the period in which the campaign must be available and select the stores/teams in which the campaign must be available.
Click Update to update the changes or click Cancel, to cancel.