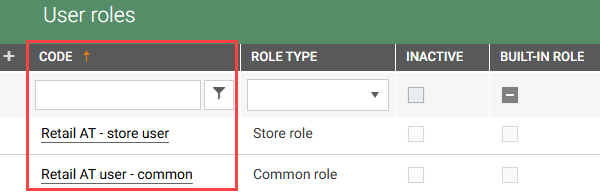
To view and edit the “User role ”, click the desired role in the Code column for the relevant user role.
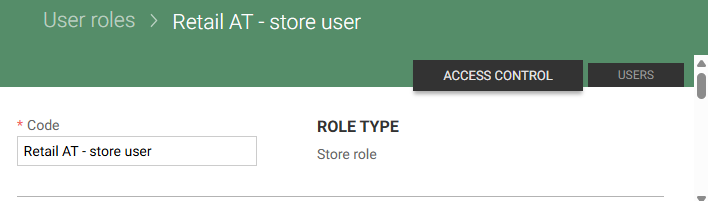
The User role details view will open, divided into two tabs:
Access control
Users
Access control tab
This tab allows you to manage permissions for the selected user role.
At the top you see:
Role code (role name)
Role type
Below that is the permission section, where you can configure access rights.
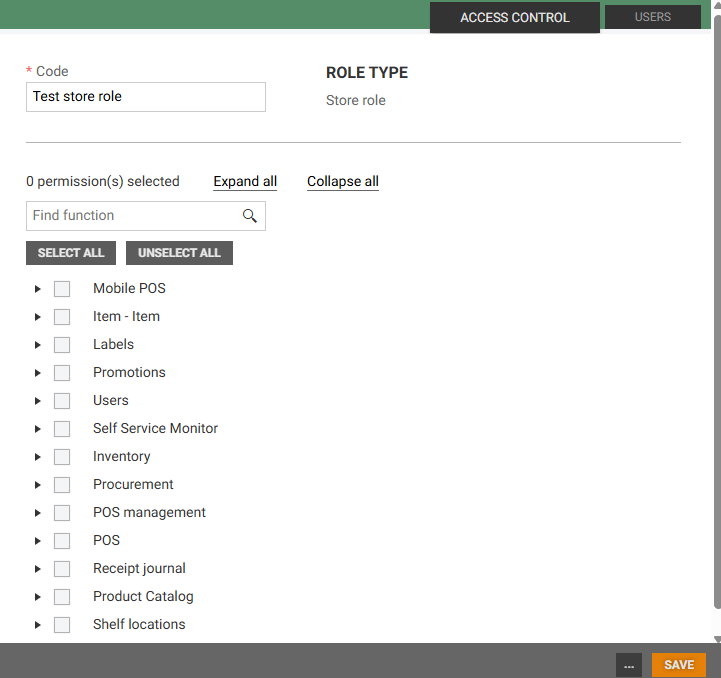
Role permissions
Permissions are organized in a hierarchical structure. You can:
Expand functions by clicking the triangle icon.
Select specific functions by ticking the checkboxes.
Note: Selecting a higher-level function (e.g., Item) automatically grants access to all sub-functions (e.g., All items). You can drill down to grant access to specific sub-functions only.

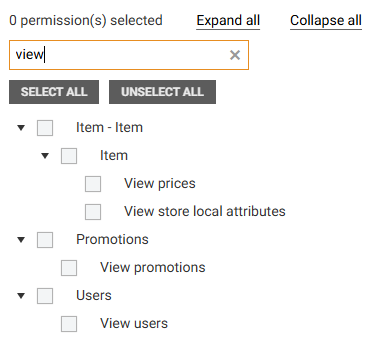
Search function
Use the search box to quickly find specific functions.

Matching results will appear below, where you can select the desired permissions.
Expand all/Collapse all
Expand all: View all permission levels at once for easier selection.
Collapse all: Collapse the hierarchy to show only top-level menus.

Select all/Unselect all
Select all: Grants all available permissions. If a search is active, only the search results will be selected.
Unselect all: Clear all selected permissions.

Users tab
This tab displays users assigned to the selected role. You can also add or remove users here.
Add user
Select a user from the drop-down list or start typing their email.
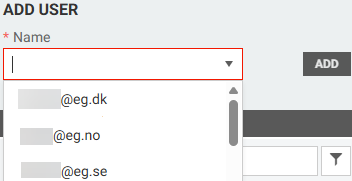
2. Click on the relevant user, then click Add. The user will be assigned to the role.
You can also assign roles for users from the Users menu below in the User details view, in the Role tab.
Remove user
To remove users from the role, click on the user and then click the “Bin icon” to the right . The user will no longer have access to the role.
