Customer orders can be created in EG POS, Chain (depending on the configuration). All order history is stored in Chain Classic/Chain Web. Below is a description of the processing of customer orders in EG POS.
General information about customer orders
Some solution principles:
Customer orders are created at the cash register and linked to a new or existing customer.
The customer order is sent to Chain for storage via the receipt flow (you will find all the history here and reports can also be extracted).
Customer orders can be looked up at the cash register for payment or modification.
Two modes: Order mode, where you create and modify customer orders/offers, and Sales mode, where customer orders are paid for.
Customer orders and new customers can be created even if the store does not have a connection to the backoffice system (offline situation). In this scenario, you will be unable to retrieve a customer order for payment or modification.
Note:
Customer order integration between the cash register and BackOffice is asynchronous and the order is updated in BackOffice via receipts. This normally results in a time delay of up to 1 minute. If you have recently modified an order, you must ensure that previous changes are included when you modify the same order again at the cash register.
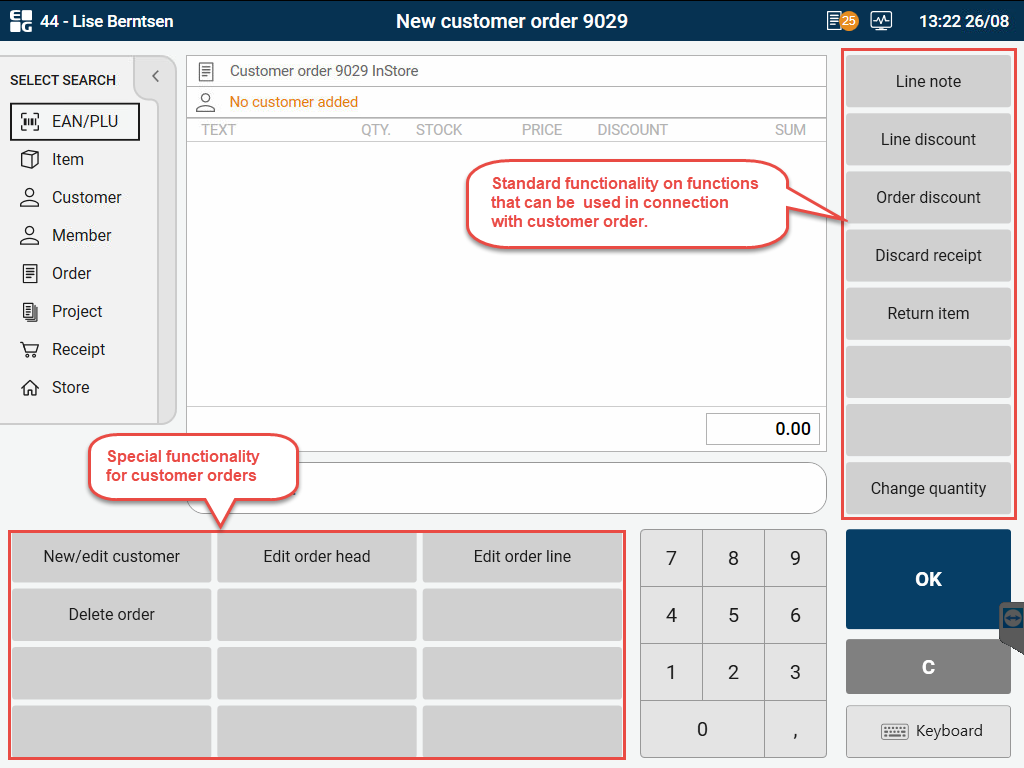
Separate function panel for customer orders
A separate function panel has been created for customer orders, which contains all the buttons and menus relating to customer orders. This is displayed when you edit or create a new customer order. The panel is configured in POS Configuration in line with the chain’s wishes but may look like the example below.
Create new order
Customer orders can be registered before or after the items have been added to the receipt. All customer orders must relate to a customer. The customer must be registered before the order can be confirmed or paid for. You can select an existing customer or create a new one (see Create new customer).
Below is a suggested order for doing this.
Select New Order (order mode opens). You will see “New customer order” displayed at the top of the screen.

Select a customer (or register a new one).
Register items in the same way that you would for an ordinary sale.
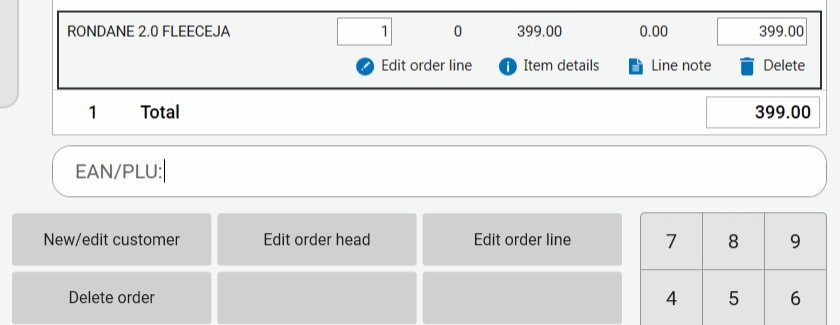
If necessary, edit information in the order header by tapping the customer order line at the top of the screen and selecting “Edit order header” (see description for Order header).

If necessary, edit information in the order lines by tapping the relevant order line and selecting “Edit order line”. See the description for Order lines!
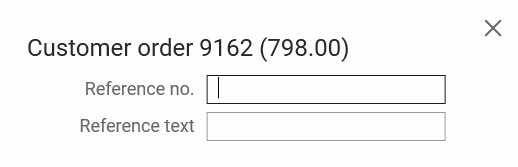
Press OK when you have finished registering the order.
A reference number and reference text can be entered (configurable).
The “Finish order” dialogue box opens, where you must select from the following options:
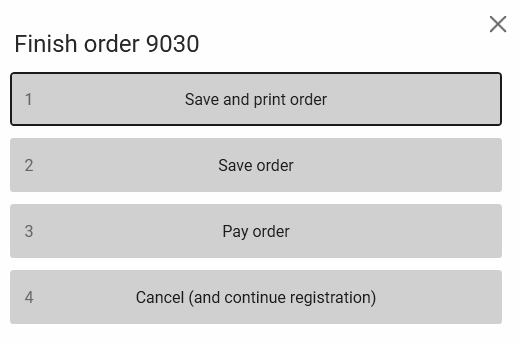
Save and print order: Select this option if you want to complete the order and print an order confirmation. Order mode is exited. The order must be retrieved for subsequent payment.
Save order: Select this option if you want to complete the order. Order mode is exited. The order must be retrieved for subsequent payment.
Pay order: Order mode is exited. Goes directly to the payment of all or parts of the customer order. For a description of payment, see “Pay customer order at the cash register”.
Cancel (and continue registration): Select this option if you want to continue to register the customer order.
Look up customer order
Existing customer orders can be looked up and retrieved for editing or payment.
If the order number is known:
Scan the barcode on the order confirmation.
Or: Select Order in the search menu. Enter the order number and press OK. A preview of the order is displayed on the screen (if you select detail view). Press OK if it is the correct order.
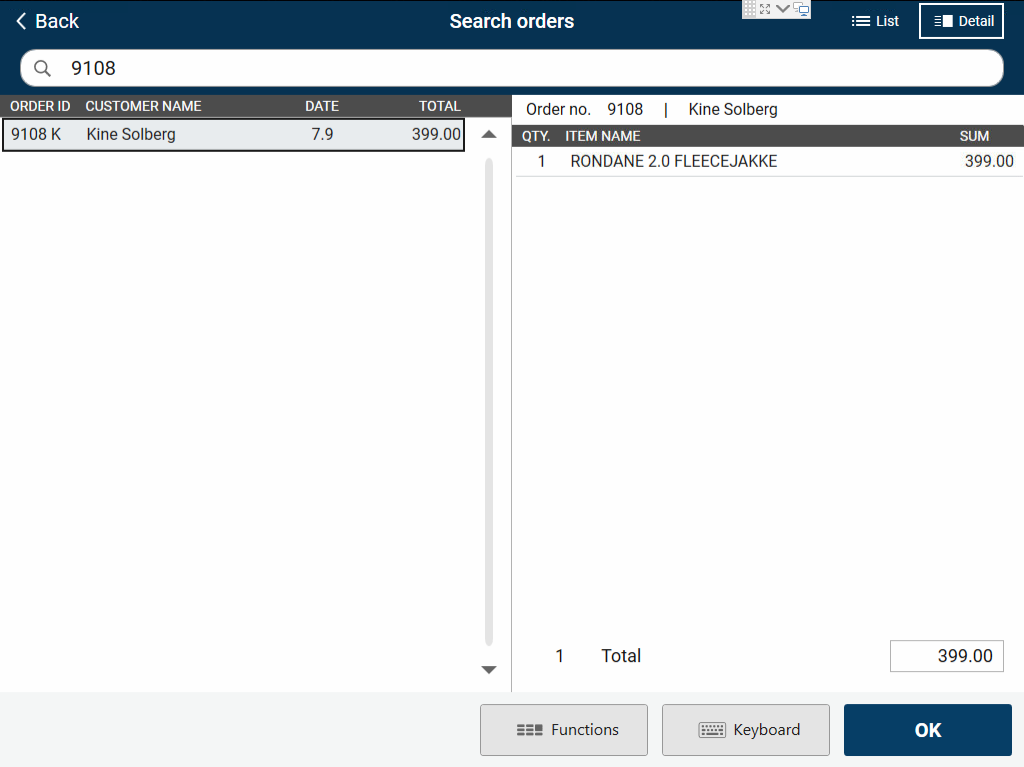
Please note:
Customer orders for which all order lines have been paid and delivered will not be shown in this search. If you require information about such a completed order, you will have to retrieve this data from Chain Classic/Chain Web.
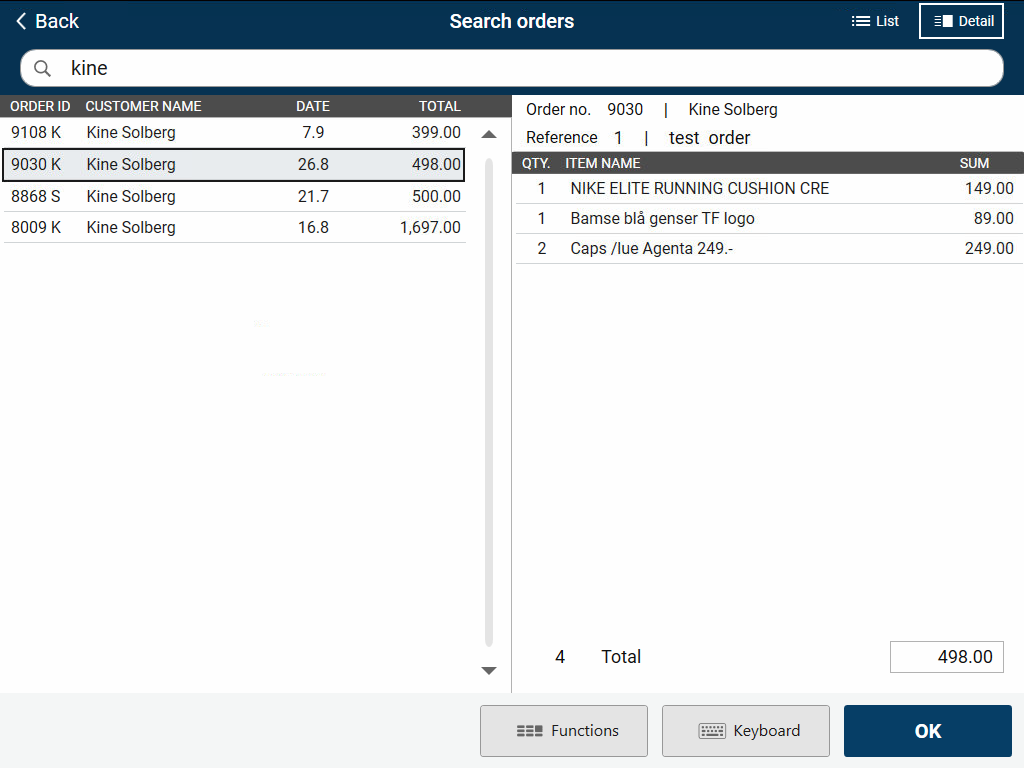
If the order number is unknown:
Select Order in the search menu. Enter the customer name (or parts of the customer name) and press OK.
Select the correct order from the search results by selecting it and pressing OK. You can select detail view for a preview of the selected order. Select the order you want and press OK to open the order.
Search for active and finished orders
Tap Order in the search menu. The order search opens.
Press OK/Enter without entering search text in the input field.
The “Search for customer orders” dialogue box opens. Select whether you want to search for active orders or orders that have been completed.
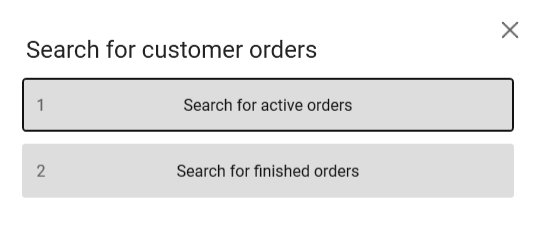
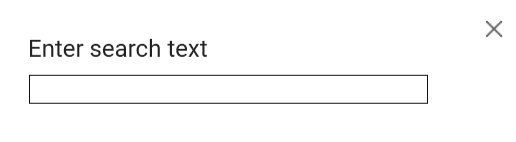
Enter the search text (number or name).
Note:
Finished orders will only be displayed in the list and you will not be able to see the order lines.
Edit order
This procedure is used to modify a previously registered order at the cash register.
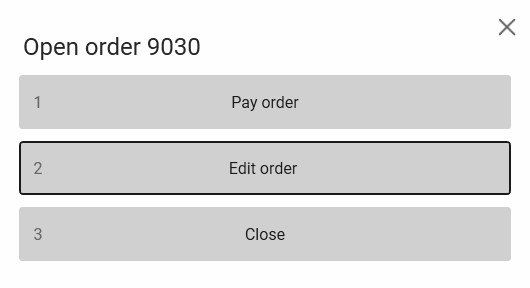
Look up the order. Press OK to select the order.
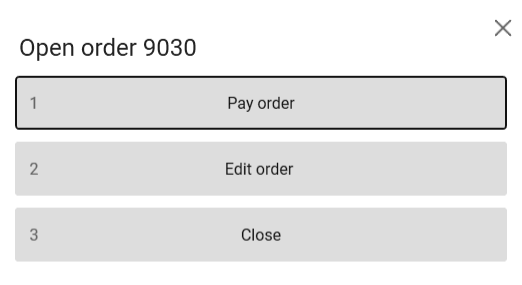
The “Open order” dialogue box opens. Select Edit order to edit the order.
The order opens in order mode and “Edit customer order” is displayed at the top of the screen. Make the necessary modifications to the order.
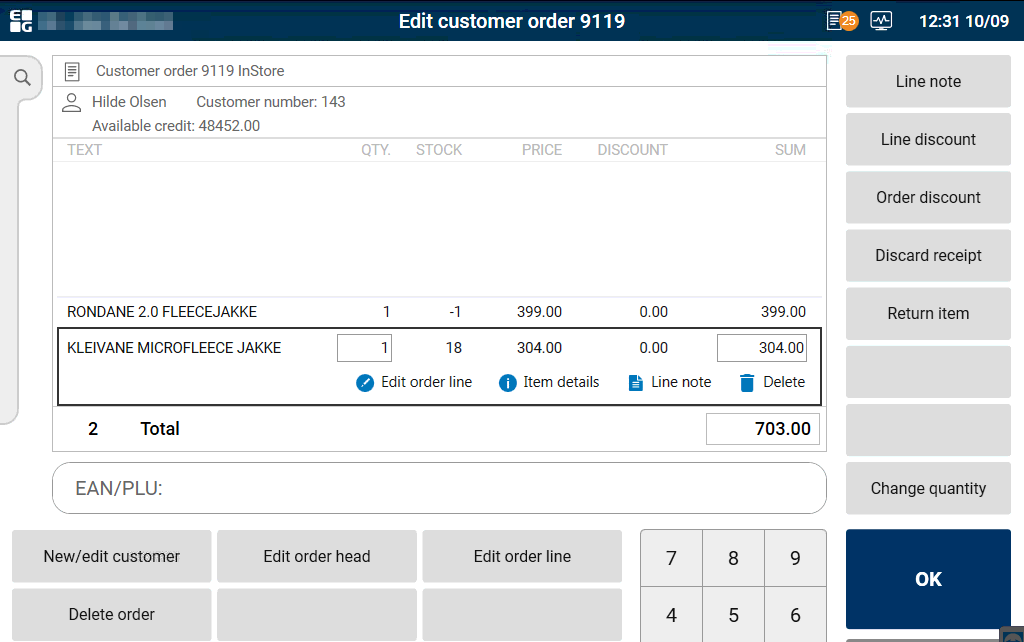
Press OK when you have finished registering the order.
The “Finish order” dialogue box opens, where you must select the required option (same options as for create new order).

Note:
You can exit customer order mode without saving any changes by tapping the Discard receipt button.
New customer
This procedure is used to create a new customer at the cash register. The customer is transferred to Chain/Chain Web (depending on the configuration) and assigned a customer number there. Fields marked with * must be completed, others are optional. Which fields are available depends on the configuration.
See Create new customer.
Order header
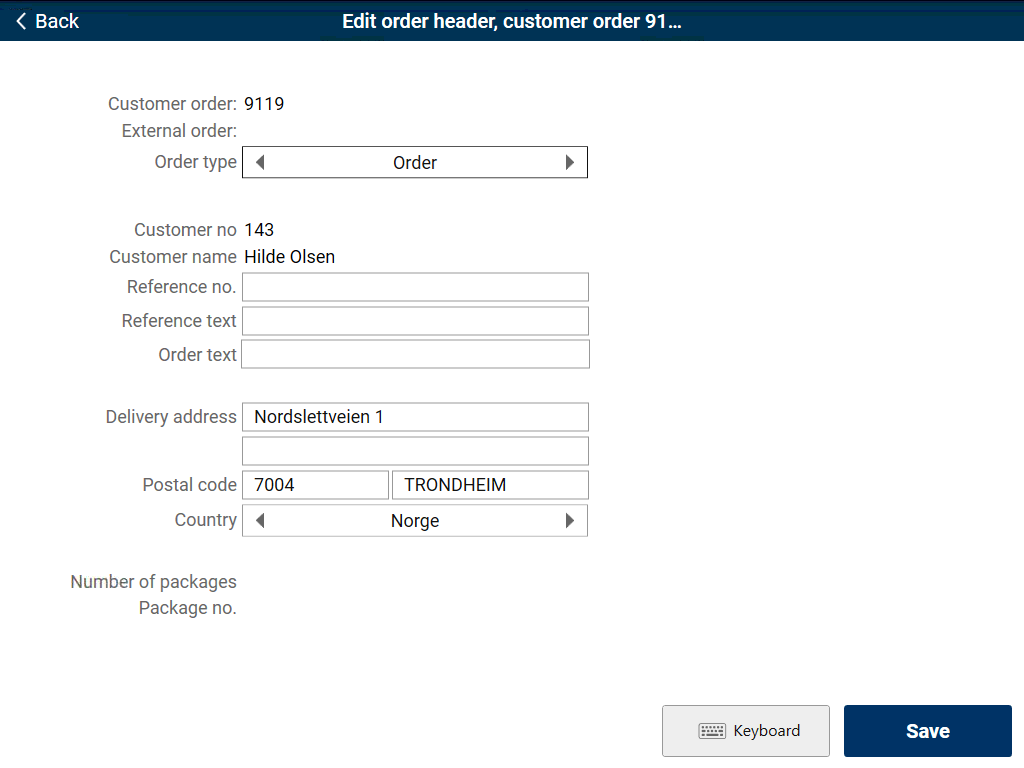
This function is used to modify/add additional information in the order header.
Tap “Customer order” at the top of the screen and select Edit order header.
The “Edit order header” dialogue box opens.
Complete the required fields and any optional fields.
Tap Save.
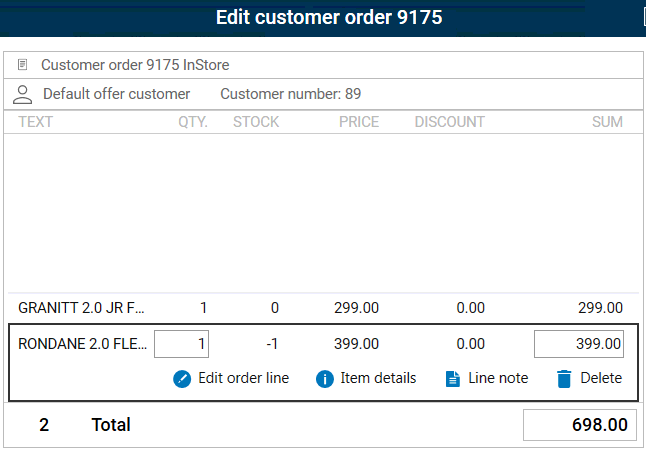
Order line
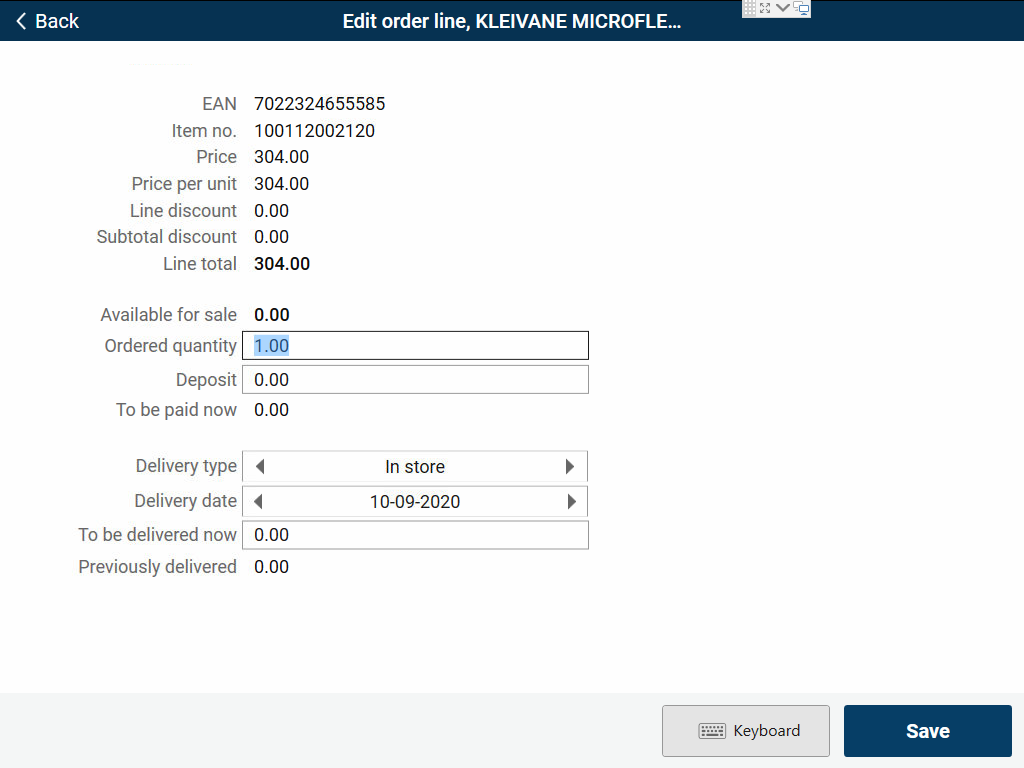
This function is used to modify/add additional information to the item line (such as a deposit for the selected item). You must be in order mode to use this function.
Tap the required order line and select Edit order line.
The “Edit order line” dialogue box opens.
Complete the required fields and any optional fields.
Tap Save.
Offer/request for price
This function allows you to initiate an offer directly from the cash register using a button. You can choose whether you want to save the offer.
Offer registration can also be used to make price requests for several items at the same time. If the offer is not to be saved, you can discard the receipt. Note that a discarded receipt will not update the statistics for discarded sales.
This function saves time as you do not have to specify a customer when preparing an offer (the function uses a “dummy customer” which must be added to the customer register in advance). Please be aware, however, that if the customer has a customer discount the actual customer number MUST be entered in order to enable the discount in the offer!
Select Create offer. A new offer is created using a dummy customer.
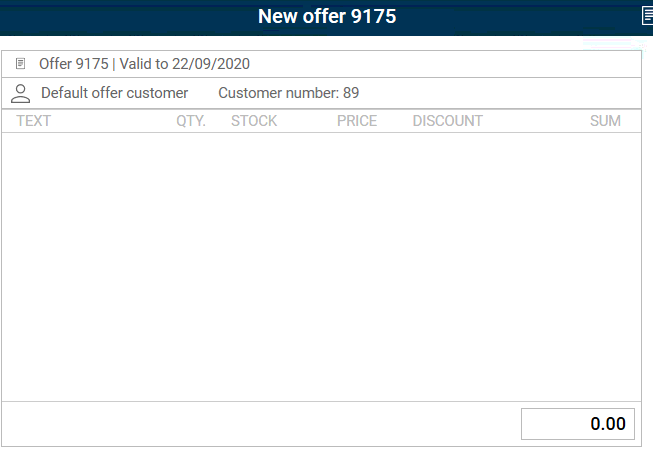
If necessary: Select the customer, you want to enter the offer for by looking up the customer or scanning the customer/member card.
Register the required item lines.
Press OK when all lines have been registered.
Select the required option from the menu.
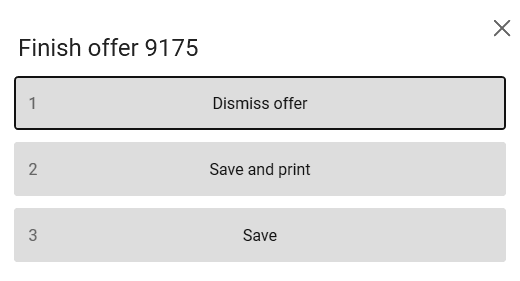
Dismiss offer: f you do not want to save the offer. It will be deleted and cannot be retrieved later.
Save and print: if you want to save the offer and print a confirmation. You can then retrieve the offer to convert it to an order later.
Save: if you want to save the offer without printing a confirmation. You can then also retrieve the offer to convert it to an order later.
Convert offer to customer order
This procedure is used to convert an offer to a customer order. The procedure can be used when a new offer is created, or if the offer is opened for editing from the order search.
Tap the offer line at the top of the screen and select Convert to order.

The offer is converted to a customer order. The text at the top of the screen changes from offer to customer order.
Delete order
This procedure is used to delete customer orders.
Orders can be deleted regardless of whether they have been created in EG POS or in Chain.
The following rules apply:
It is not permitted to delete customer orders that contain order lines that have been paid for (in this case you must delete order lines instead).
It is permitted to delete customer orders that contain delivered order lines (this is permitted as customers can change their mind in store).
Search for the order you want to delete and press OK.
The “Open order” dialogue box opens. Select Edit order. The customer order opens in order mode.
Tap the customer order line at the top of the screen and select Delete order.
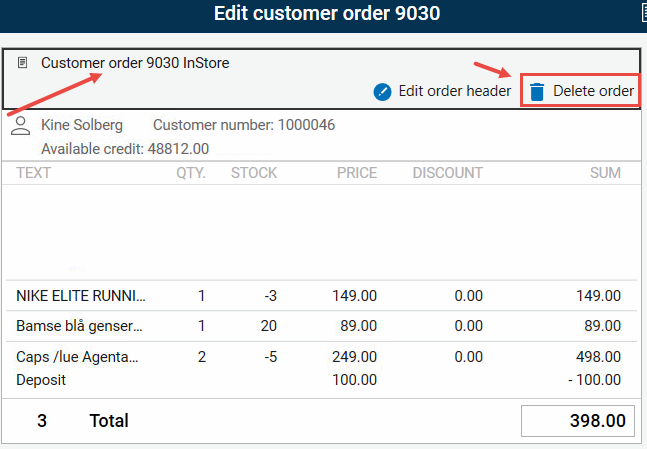
The “Delete customer order” dialogue box opens. You must select Yes to confirm that you want to delete the order.

Delete order line
It is possible to delete one or more order lines from a customer order (provided that the lines have not been paid for). This is done as follows:
Look up the order. Select the correct order and press OK. The “Open order” dialogue box opens. Select Edit customer order. The customer order opens in order mode.
Tap the relevant order line and select Delete to delete the order line.
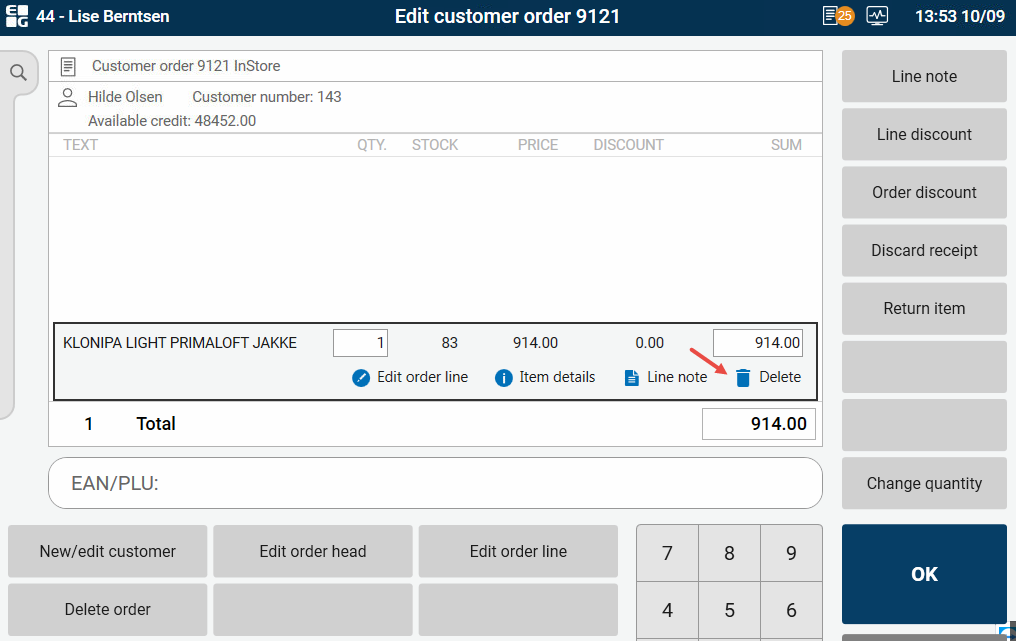
The deleted order line is struck through.

Confirm the order as usual to save the change.
Pay customer order at the cash register
If you chose to go directly to payment of the order after registering it, the order will be displayed in sales mode automatically. Otherwise, it must be looked up as described below.
Pay order in full
If all order lines are to be paid for at the cash register, proceed as follows:
Look up the order (see “Look up customer order”). Select the correct order and press OK. The “Open order” dialogue box opens. Select Pay order if the order is to be paid. The order will be retrieved in sales view. *
Go to the payments view by pressing OK. Process payment in the same way as for ordinary sales.

The status of all items in the order will be changed to “Paid”.
Items with a deposit: If a deposit has been registered for one (or more) items in the order, only the deposit (and not the item in full) can be paid the first time the order is retrieved for payment. The next time the order is retrieved, the outstanding amount can be paid.
*) This does not apply if you went straight from registration of order (in order mode) to payment. The order has then already been retrieved in payment mode.
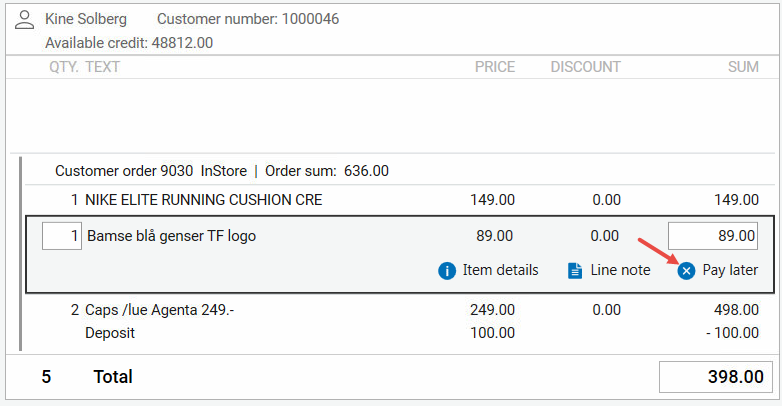
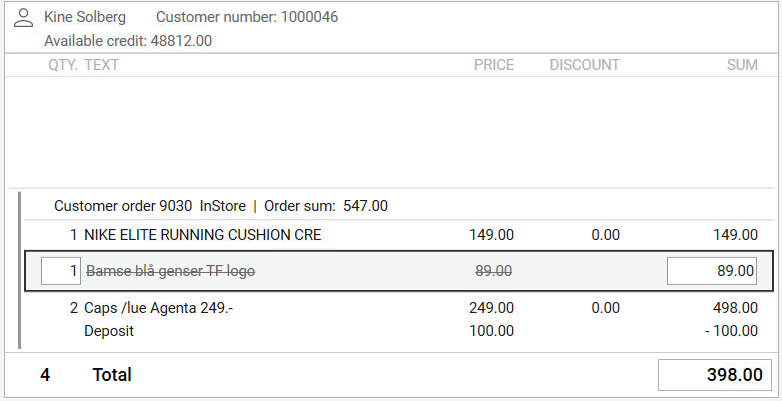
Pay certain order lines
If the customer is only paying for certain lines in the order (such as a deposit), the other lines that are not to be paid for must be deleted from the receipt after the order has been retrieved.
Look up the order (see “Look up customer order”). Select the correct order and press OK. The “Open order” dialogue box opens. Select Pay order if the order is to be paid. The order will be retrieved in sales view. *
If there are lines that are to be paid later, you can use the “Pay later” function. Tap the line that is to be paid later and select Pay later.
The “Pay later” dialogue box opens. It asks whether you want to remove the selected order line from the payment. Select Yes to confirm that the customer will pay for the order line later.
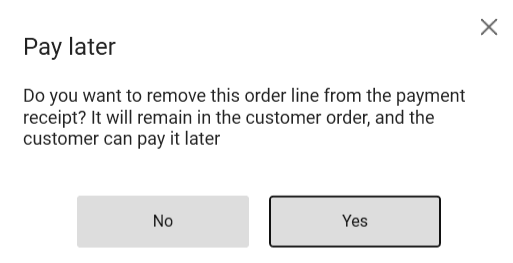
The order line is struck through (it is removed from the receipt).
Go to the payments view by pressing OK. Process payment in the same way as for ordinary sales.
The status of the items that remain on the receipt will be changed to Paid, while the remaining items must be paid for later.
*) This does not apply if you went straight from registration of order (in order mode) to payment. The order has then already been retrieved in payment mode.
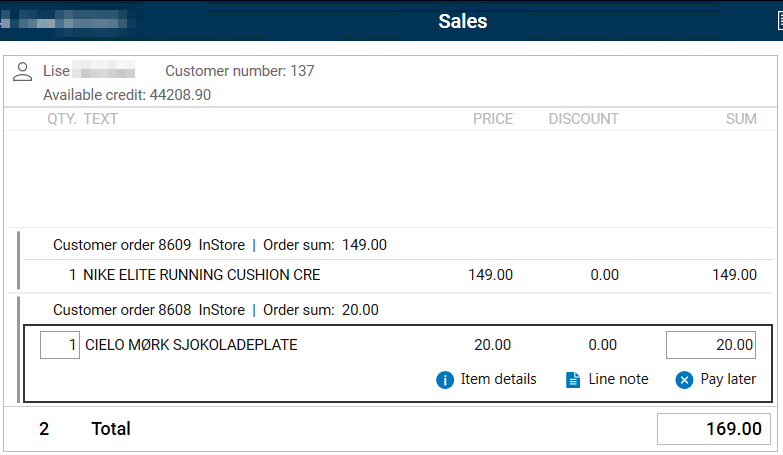
Pay for several customer orders on same receipt
You can retrieve several customer orders (with the same customer number) for payment on the same receipt.
There is one exception, however: Orders with a subtotal discount/order discount must be paid for individually!
You can also sell ordinary items on the same receipt.
Look up the order (see “Look up customer order”). Select the correct order and press OK. The “Open order” dialogue box opens. Select Pay order if the order is to be paid. The order will be retrieved in sales view. (If the customer is not paying for all item lines in the order, those that are not to be paid for must be deleted from the receipt using the “Pay later” function. See description in the previous section!).
Look up the next order in the same way. Repeat until all relevant orders have been registered on the receipt.
The content of the customer order is indicated on the screen by a line on the left-hand side of the sales view. Information about the customer order and the order number is also displayed above the items in the customer order.
Add item lines to the receipt, where applicable.
Go to the payments view by pressing OK. Process payment in the same way as for ordinary sales.
Online return of customer orders
For more information on customers, see Customers.