Create new customer
This procedure is used to create a new customer at the cash register. The customer is transferred to Chain Classic/Chain Web (depending on the configuration) and assigned a customer number there.
Select New customer in the menu. The “Customer registration” dialogue box opens. Register information about the customer. Mandatory fields are marked with * (which fields are available depends on the configuration).
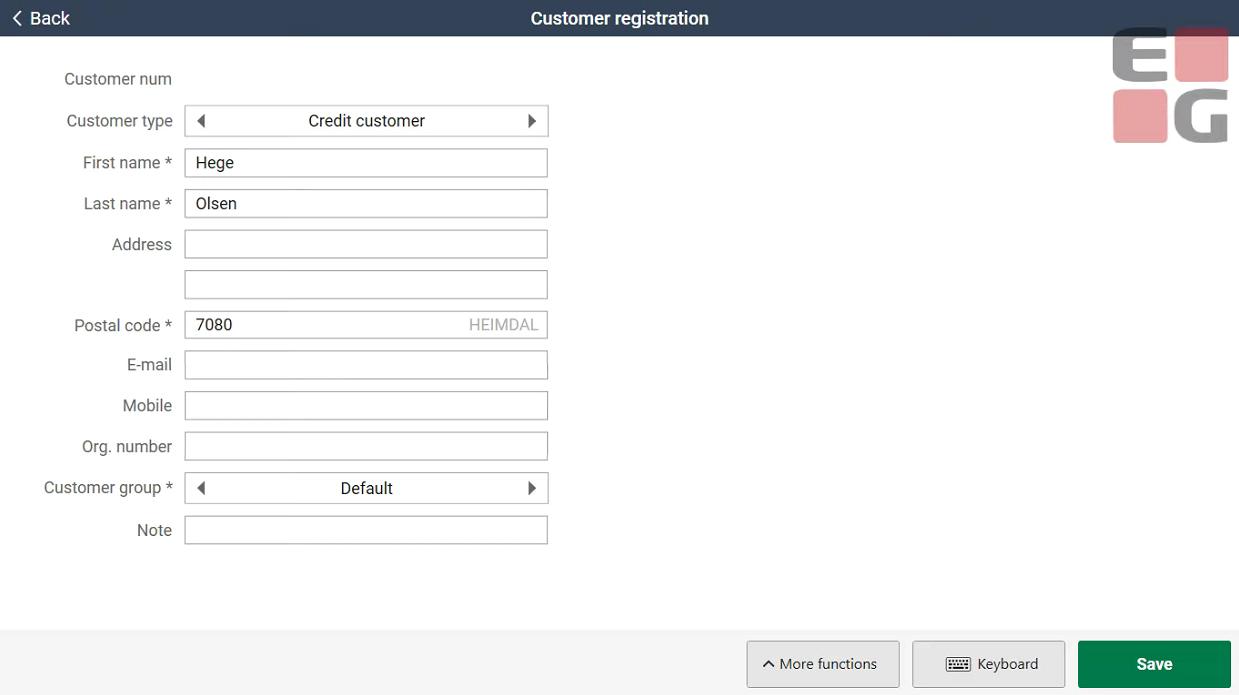
Tap Save to save the information.
The customer will be retrieved to the sales view. Here you can either sell items as normal or create a customer order for the customer.
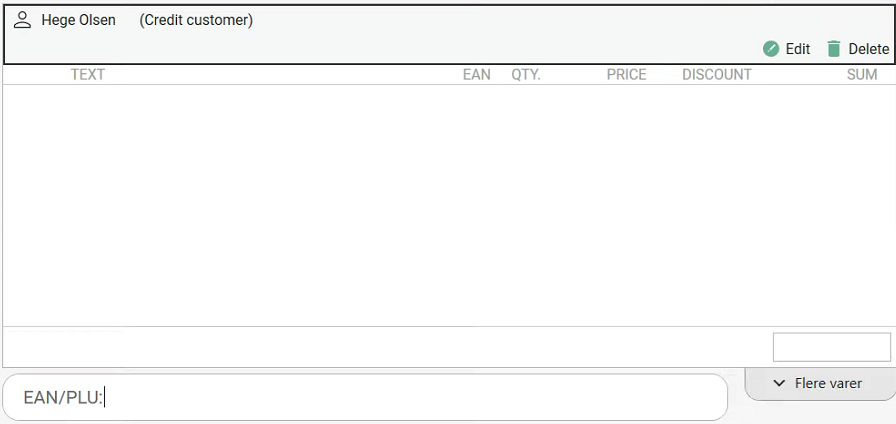
Register customer
Search for customers
You can search for customers in the same way as you search for items.
Select Customer in the search menu.
Enter a search string in the search box and press Enter to search.
Select the correct customer and press OK to select that customer.

When you enter text as the search string, the system will look for both names and e-post addresses that contain the search string.
If you search for a number, the search results will display customers who have either a customer number, membership number, telephone number, mobile number or mailing address that contains the search string.
We do not recommend searching for single characters (letters, numbers, symbols) when searching for customers.
Registering a customer using the “Add customer” function
Enter the customer number in the input field.
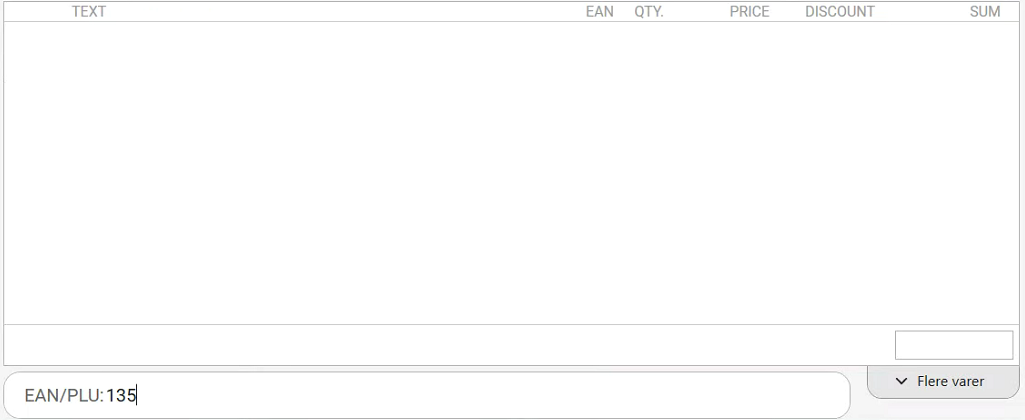
Select the Add customer function.
The customer is registered.
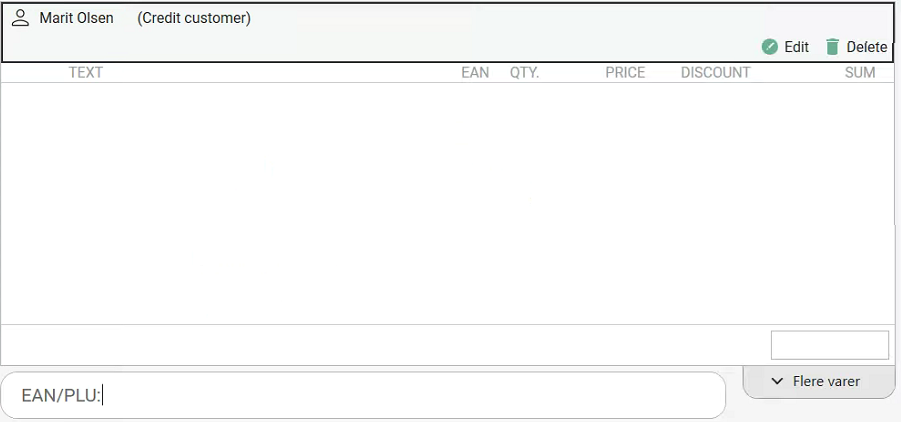
If you do not enter a customer number before selecting the “Add customer” function, the customer search view is activated. You can then search for a customer in the usual manner (see Registration of customer on receipt).
Send SMS to customer
Function for sending an SMS to customers:
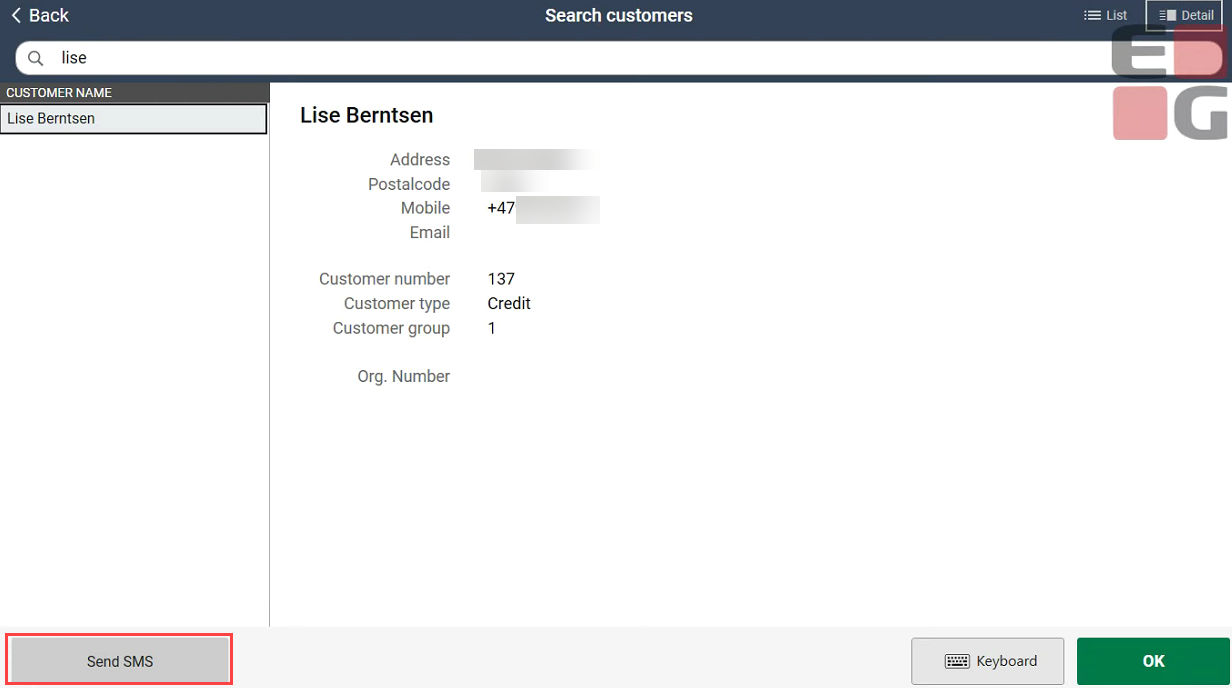
Select Customer in the search menu to open the customer search.
Search for and select the required customer. If you have chosen “Detail view”, the customer’s details are displayed.
Tap the Functions button at the bottom of the screen to display the buttons for the customer search functions.
Select Send SMS if you want to send a text message to the customer. A dialogue box opens where you can enter your message to the customer.
Write your message.
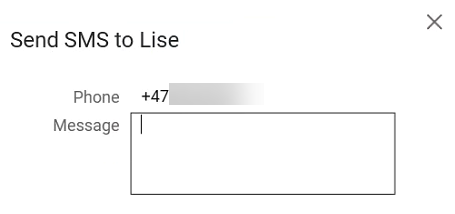
Press OK/Enter to send the message.
Buying items from the customer screen
Items can be sold from the customer screen.
The customer can select items by tapping the display in the upper-right corner of the customer screen.
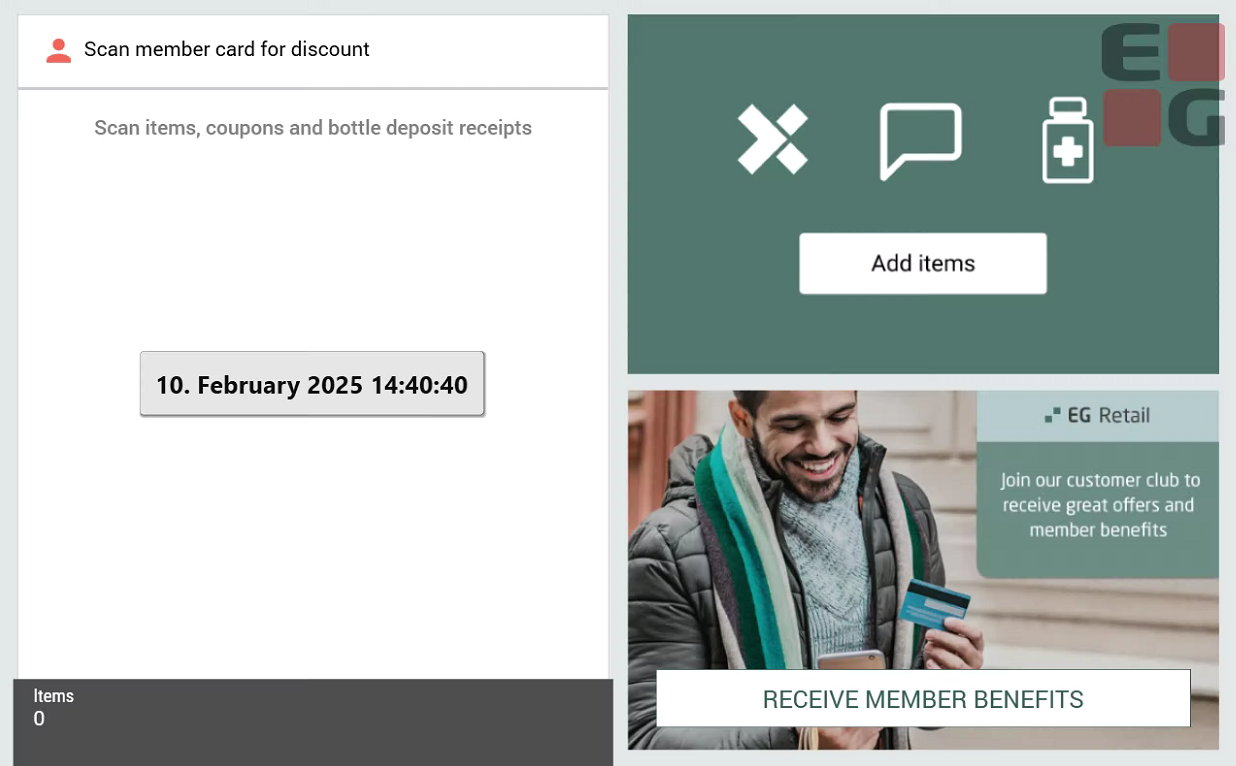
The customer can then select items on the right-hand side of the screen by tapping their way to the item they require.
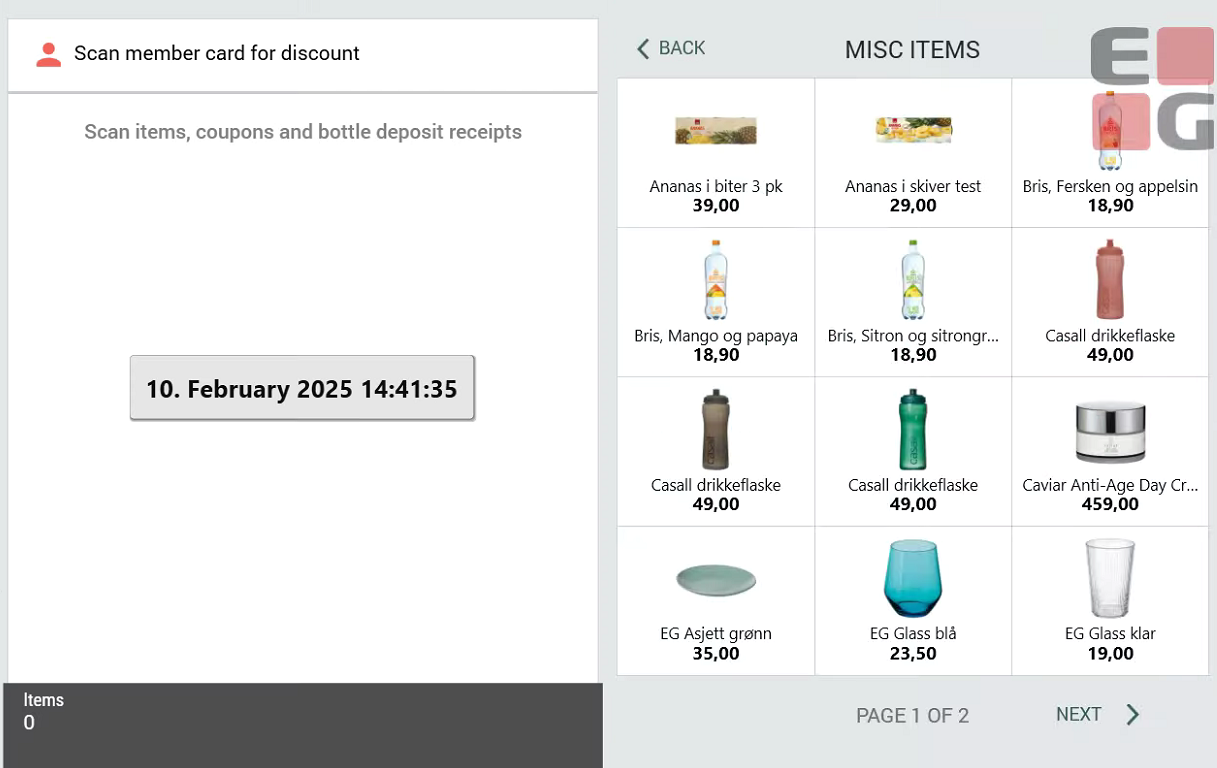
Three levels of grouping are available for items (main menu, submenu, and item).
The items that the customer selects, and the total for these items, are displayed in the upper-right corner of the screen under Additional items.
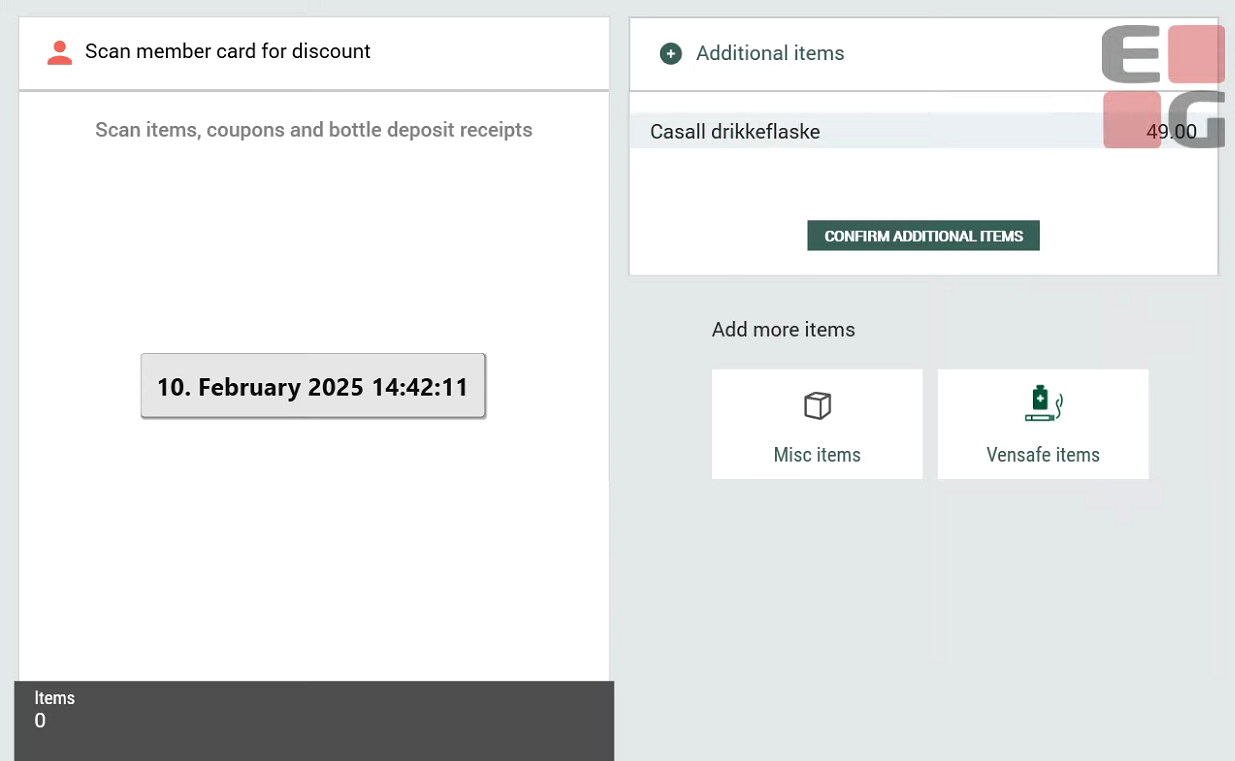
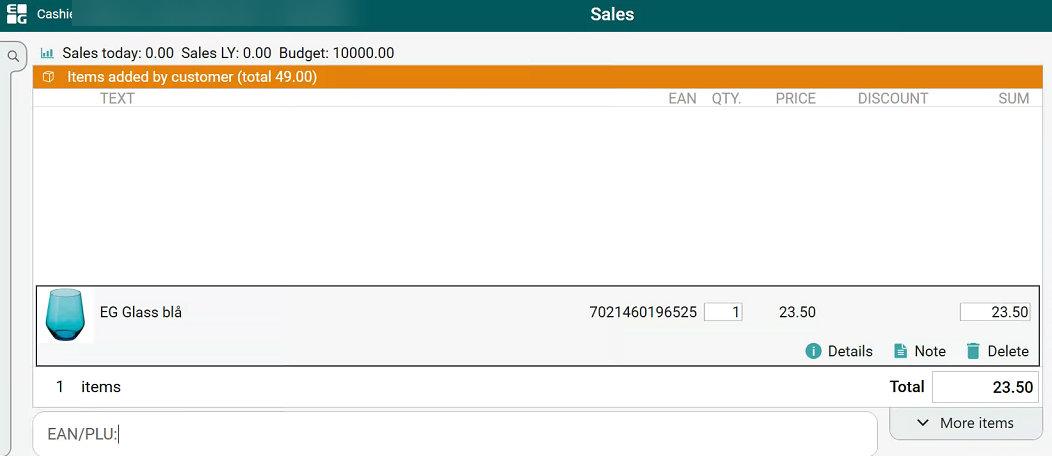
The cashier can see in the sales view that the customer has selected items and can tap the message at the top of the screen to process these items.
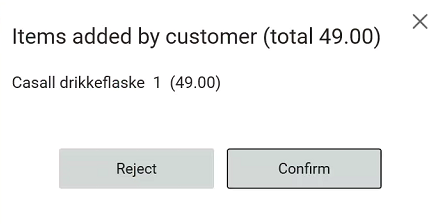
A dialogue box then opens, showing the items that the customer has selected. The cashier must select Confirm to add the items to the sale or Reject to remove the items.
Processing can also be configured to begin automatically when the cashier presses OK to go to the payments view.
The selected items are added to the sales view.
The cashier takes payment and a Vensafe receipt is printed (multiple purchases of the same item will appear on the same receipt, but a separate receipt is printed for each different item).
The Vensafe receipt is then used to retrieve the relevant items from the Vensafe dispenser.