The Item details page is the single view of a product. It shows the item’s image, prices, variants, stock, supplier and procurement information, and lets you start any transaction or action for that item.
The Item details page is the single view of a product. It shows the item’s image, prices, variants, stock, supplier and procurement information, and lets you start any transaction or action for that item.
You can reach Item details in several ways:
Tap a result on the Search items screen.
Scan the item’s barcode from the Home screen.
Open an item from a transaction flow (for example, from a purchase order line).
Some fields (stock figures, prices) are fetched from the server. While they are loading, a spinner is shown; after loading, any missing value is shown as – (an en-dash).
The item header
The top of the page shows the item image (with dots under the image to swipe between multiple images), a promotion badge (for example, -25%) if a promotion is active, and the item’s number, name, and price. If the item is on promotion, the original price appears with a strike-through next to the current price.
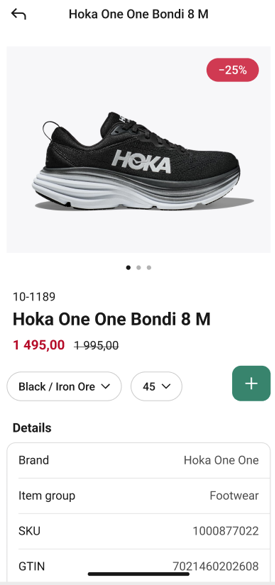
Choosing a variant
Below the price there are up to two variant drop-downs (for example, color and size).
Tap a variant drop-down. The list opens as a drop-down — the current selection is marked with a filled radio button.
Tap the option you want. The page updates to show the selected variant’s price, stock and images.
Starting an action from this item - the + button
The green + button on the right of the variant dropdowns opens the action menu for this item. Every action carries the item forward, so you do not need to add it again to the next screen.
1. Tap the + button. The action menu opens with the item name at the top and these options:
New transaction - opens a second-level menu (see below).
Purchase order
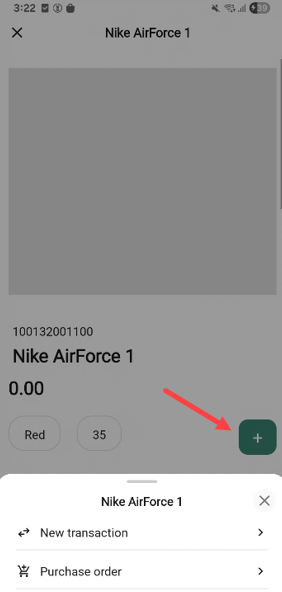
Tap an action to open it with this item pre-filled.
To close the menu without opening anything, tap the X in the top-right corner or tap outside the sheet.
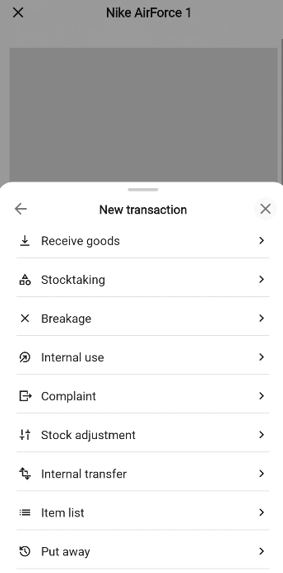
New transaction sub-menu
Tapping New transaction opens a second-level sheet with these options:
Receive goods
Stocktaking
Breakage
Internal use
Complaint
Stock adjustment
Internal transfer
Item list
Put away
Tap the transaction you want to start. To step back to the action menu, tap the back arrow; to close both sheets, tap the X.
Item details
Shows Brand, Item group, SKU, GTIN, Item number, Model etc.
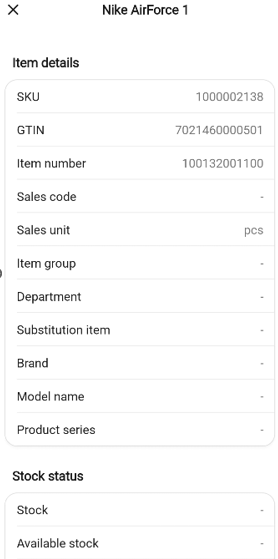
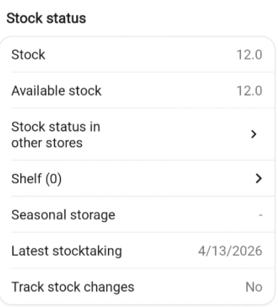
Stock status
The Stock status section shows Available, Shelf (n), Other stores (n), Last counted, Ordered, and Temporary storage. The Shelf (n) and Other stores (n) rows are interactive.
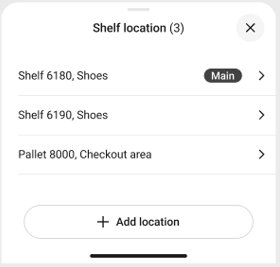
Shelf locations
Tap the Shelf (n) row. The Shelf location bottom sheet lists every shelf this item is on. The main shelf has a Main tag on the right.
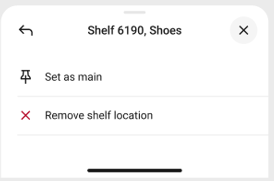
Tap a shelf row to open a second-level sheet with two actions: Set as main and Remove shelf location.
Set as main → confirmation popup (“‘Shelf 6190, Shoes’ will be main location for ‘Hoka One One Bondi 8 M’.”). Tap Set as main to confirm or Cancel. The shelf moves to the top of the list with a Main tag.
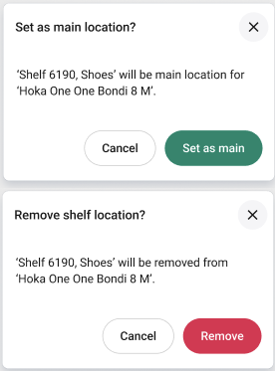
Remove shelf location → confirmation popup (“‘Shelf 6190, Shoes’ will be removed from ‘Hoka One One Bondi 8 M’.”). Tap Remove to confirm or Cancel.
Add a shelf - tap + Add location button at the bottom of the list.
The Add location sheet opens with a numeric keypad and a search field. Type the shelf number - the list narrows as you type.
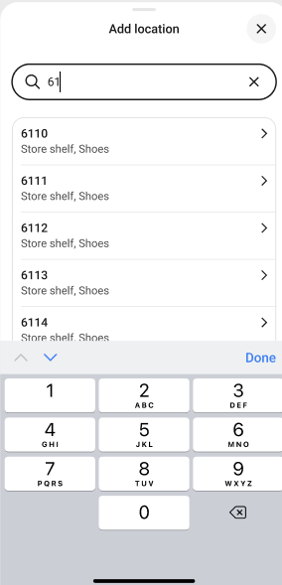
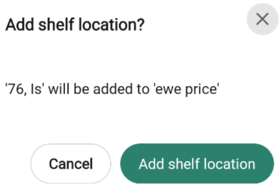
Tap the shelf you want. A confirmation asks “‘Shelf 6120, Shoes’ will be added to ‘Hoka One One Bondi 8 M’.”
If no shelf matches, you see an empty-box illustration and “No results”.
If there are no shelf locations, the sheet shows an illustration and “Item has no shelf locations” with a + Add location button.
Stock status in other stores
Tap the Other stores (n) row. The “Other stores” bottom sheet opens with a search field, a result count, and a list of stores with their stock.
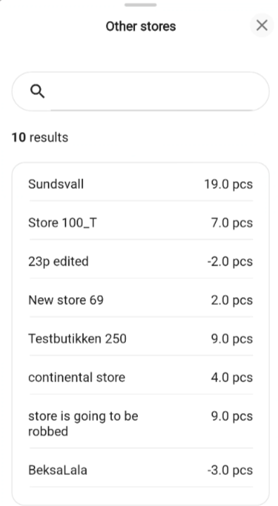
Type in the Search stores… field to filter the list as you type.
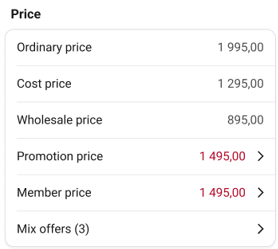
Price
The Price section shows Ordinary price, Cost price, Wholesale price, Promotion price, Member price, and Mix offers (n). The Promotion price, Member price and Mix offers rows are interactive.
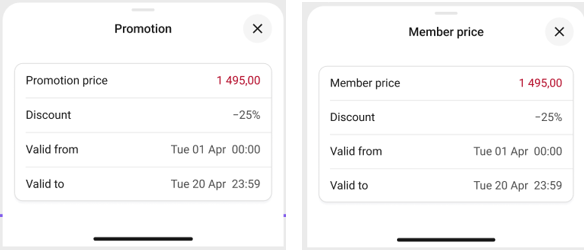
Promotion price and Member price
Tap Promotion price (or Member price) to open a bottom sheet that shows the price, the Discount (for example, -25%), and Valid from / Valid to timestamps in Day, date month time format.
Tap the X to close.
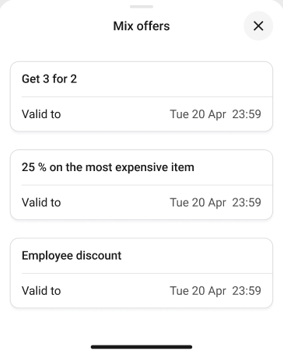
Mix offers
Tap Mix offers (n) to open a bottom sheet that lists every active mix offer (for example, Get 3 for 2) with its valid-to timestamp.
Tap the X to close.
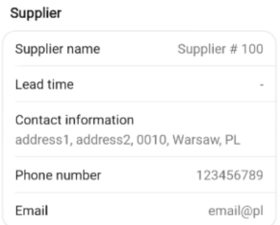
Supplier
The Supplier section display Supplier name and Contact.
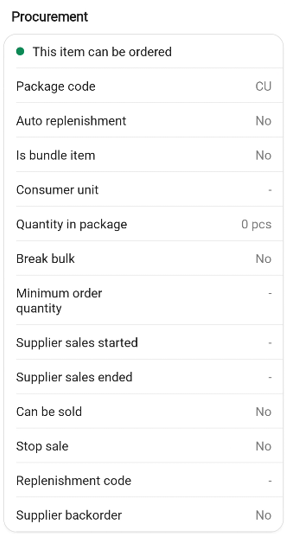
Procurement
Shows Break Bulk and Min. order quantity. For pack items, Consumer unit, Qty. in small pack, Qty. in large pack, and Qty. in supplier package.
Scanning an item
You can find a product by scanning its barcode instead of typing. When a barcode is recognized, the app takes you straight to that product’s Item details page.
Opening the scanner
On the Home screen, tap the scan icon on the right of the Search items… bar.
The Scan item screen opens, showing the camera view with a scanning frame. A Close button at the bottom closes the scanner.
Scanning a barcode
Point the camera at the item’s barcode so the barcode is inside the scanning frame.
When the barcode is recognized, it opens that item’s Item details page.
If you want to scan a different item instead, tap the X on the page to dismiss it and keep scanning.
Using a hardware scanner
If your device has a hardware barcode scanner (such as a Zebra device), you can scan items without opening the camera scanner. Press the device's scan button — for example, on the Home screen — and the recognized barcode opens that item's Item details page directly.
Closing the scanner
Tap Close button at the bottom of the Scan item screen to return to the Home screen without opening an item.
Searching for an item
The Search items screen lets you find a item by typing its name, GTIN, or item number. Tapping a result opens the product’s Item details page.
You can reach the same item details page by scanning a barcode — tap the scan icon on the right of the search bar on the Home screen to open the camera.
Opening Search items
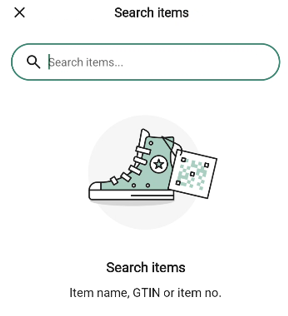
On the Home screen, tap anywhere on the Search items… bar.
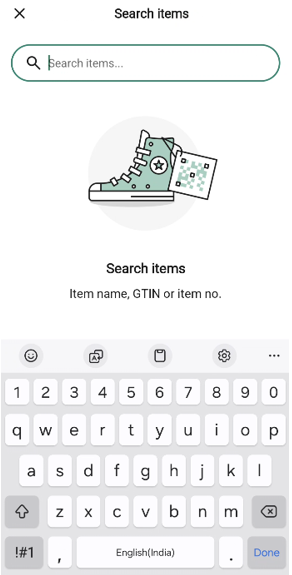
The Search items screen opens with the keyboard ready. Before you type, the screen shows an illustration and a hint: Item name, GTIN or item no.
Searching
Type the item name, GTIN, or item number into the search field.
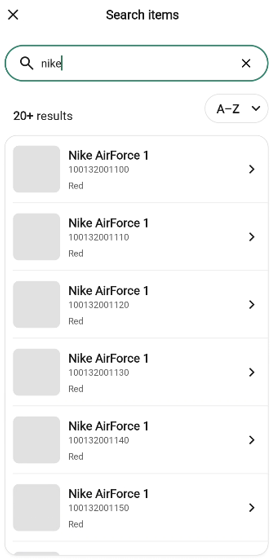
Once results are ready, the list appears below the search field. At the top of the list you see:
A count of results (for example, 100+ items).
An A→Z sort control. Tap it to switch between A→Z and Z→A ordering.
Each row in the list shows:
The item image.
The item name.
The main identifier (for example, the item number — set under System settings › Main item identifier).
The variant (for example, Black / Iron Ore).
A chevron on the right.
Tap a row to open that item’s Item details page.
Clear the search
Tap the X on the right of the search field to clear the text and start over.
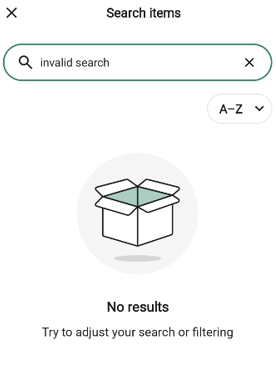
No results
If nothing matches your search, the list is replaced by an empty-box illustration with the text No results — Try to adjust your search or filtering.
Check the spelling or try a shorter search term and try again.
Returning to the Home screen
Tap the X in the top-left corner of the Search items screen to close the screen.