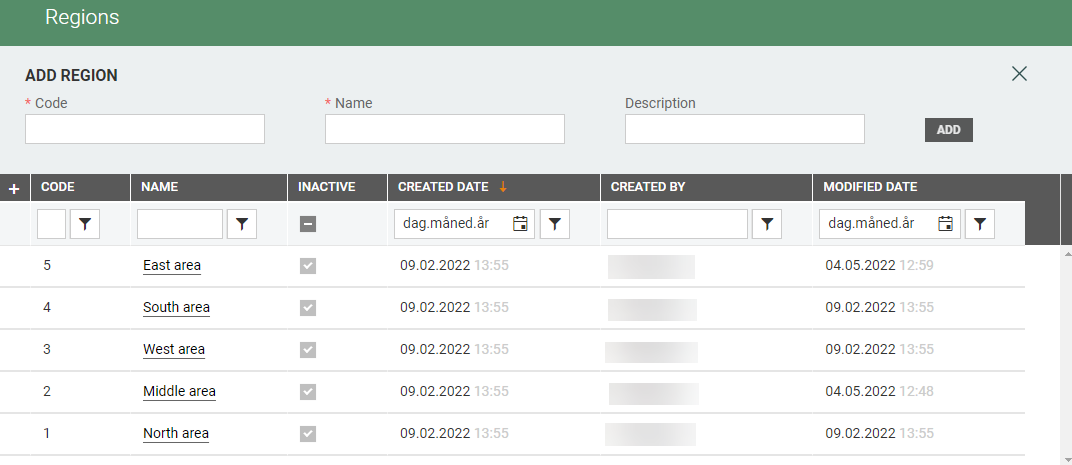
The Regions menu displays an overview of registered regions. You can view and maintain existing regions, add new regions, and activate/deactivate regions.
Add new region
You can add new regions in the "Add row section" at the top of the view. Enter Code, Name, and description (optional).

Click Add to create a new region. The Region details view opens.
Region details
You can view the region details by clicking on the region name. Region details are shown at top of the screen, while a table of "Stores" is in the lower section of the screen.
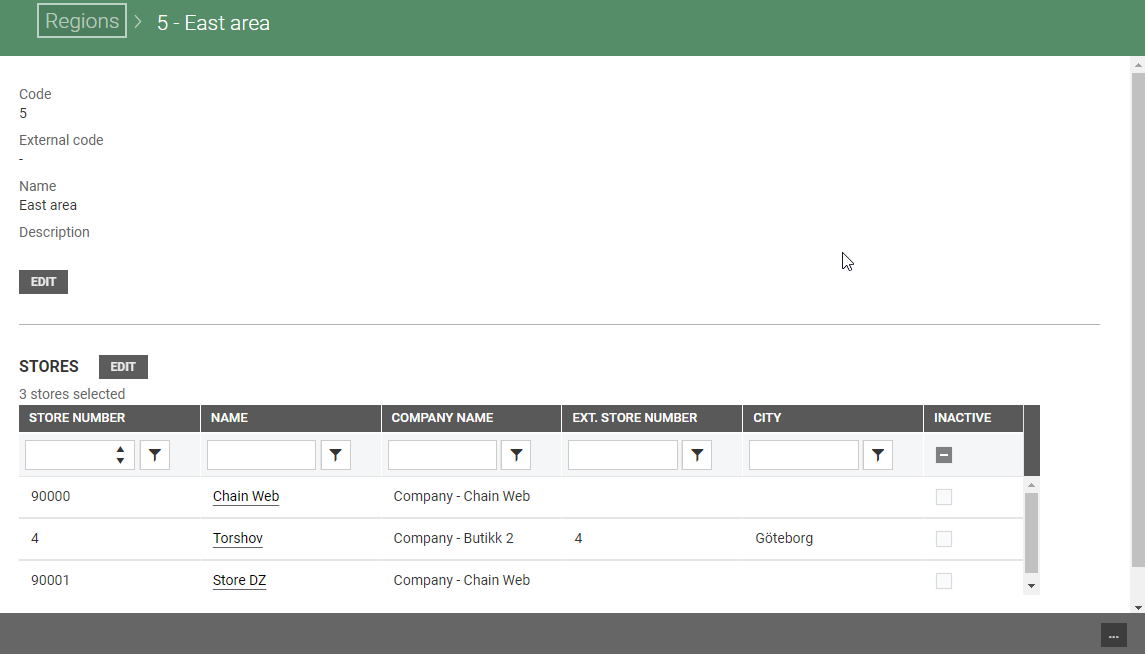
You can edit region details and define stores in the region. You can also click on the store name in the stores section to open store details for the selected store.
Edit region details
You can edit region details by clicking on the Edit button below the region information.
The "Edit store group" dialog opens.
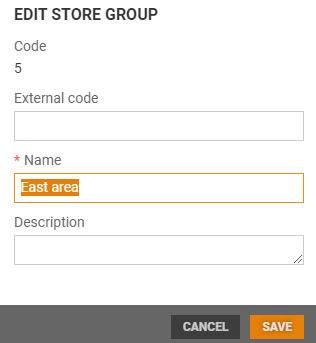
You can edit External code, Name and Description. Click Save to save changes.
Edit stores in the region
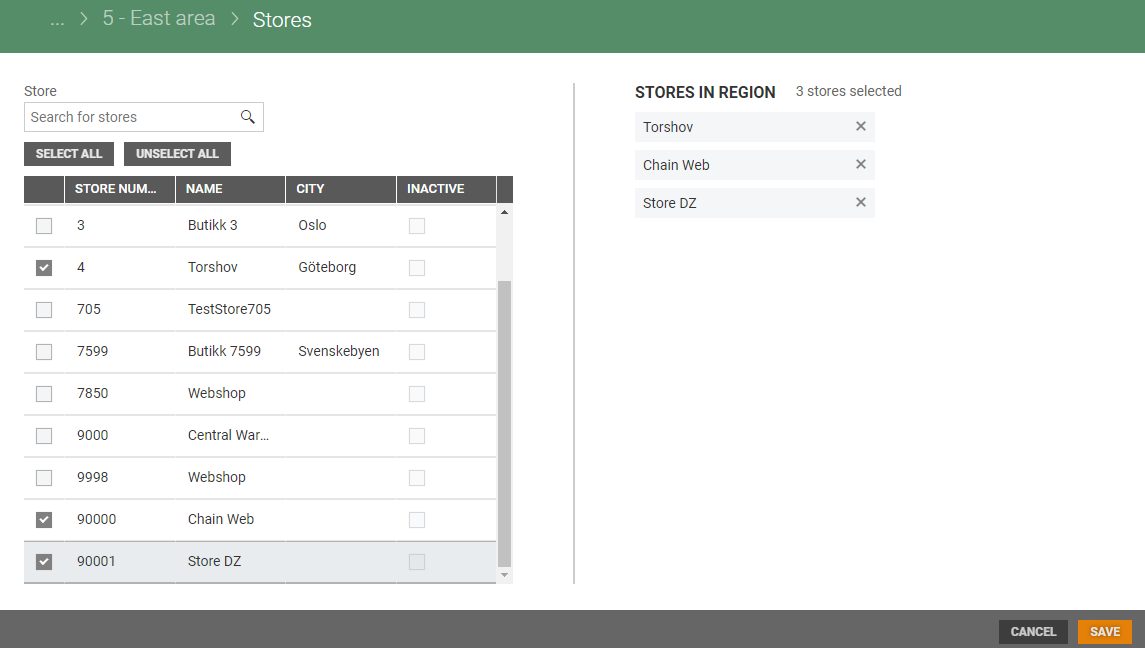
You can add/remove stores in the team by clicking the Edit button in the "Stores section".

The Stores screen opens. The Stores view have two sections. On the left side you find a table with all the stores in the system. You can search for stores, or select stores one by one by ticking them, or use the Select all/Unselect all buttons.
At the right side of the view, you see a list of stores that are a part of the team.
Activate/deactivate region
You can activate a region by clicking on the "more button" and select "Activate". 
You can deactivate a region by clicking on the "more button" and select "Deactivate".