The registers in the Sales category related to sales. Set up codes/rules to monitor products that need special attention in POS. Like Id control. The codes and rules should be set up in the item register before importing products to item management/POS. Some other attributes are also included under this section, like rounding rules that have to do with price calculation.
ID requirement
The ID requirement register displays an overview of the registered ID requirements. Items with this attribute will generate a pop-up message in POS, informing the cashier to perform an age control before purchase.
You can maintain existing ID requirements, add new ones, and deactivate ID requirements. You can also specify a default ID requirement, which is automatically entered on screens containing the ID requirement field.

Add ID requirement
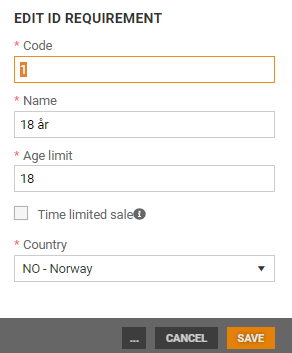
You can create a new ID requirement manually using the Add ID requirement section at the top of the screen.

Code: Enter a code for the ID requirement.
Add ID requirement: Register the ID requirement (name of ID requirement).
Age limit: Enter the age limit for the ID requirement.
Time limited sale: Tick here if you want the ID requirement to be for a limited time. Configure the time limit in POS configuration, in the RequirementConfig parameter.
Country: Select a country.
Click on the Add button to create the ID requirement.
Edit ID requirement
ID requirements can be edited.
Select the relevant ID requirement and click on the “pencil” icon.
The “Edit ID requirement” dialog opens. Edit the values as required and click on Save.
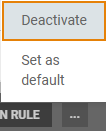
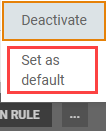
The “more” button contains the “Deactivate” and “Set as default” functions. Use these functions to deactivate ID requirements and to specify a default ID requirement, respectively.
.png "image(88).png")
Rounding rules
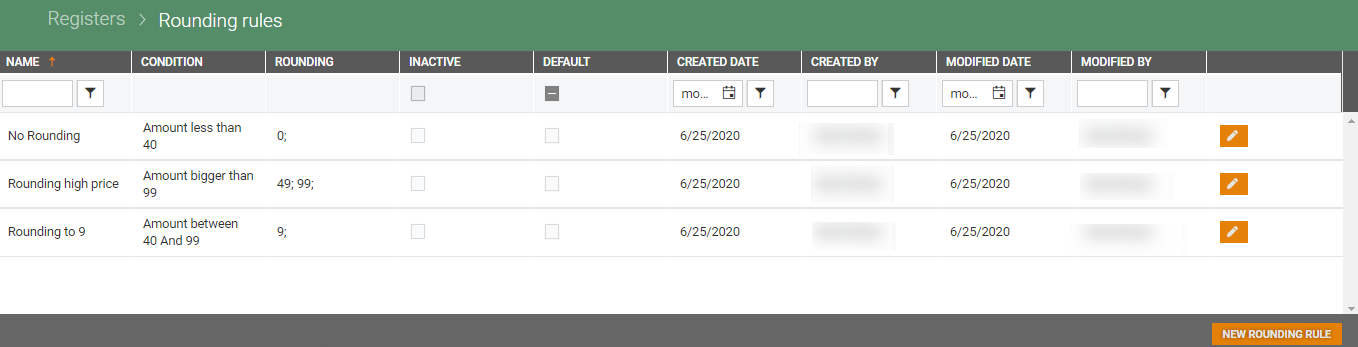
Rounding rules displays an overview of the rounding rules. These rules are used to define the rule for calculating the retail price. The price is calculated based on a number of parameters, so the result may be a decimal not, the perfect amount for the price. The rounding rules are used for rounding both the suggested retail price and the retail price.
You can create the rounding rules in this register. The rounding rules are used when calculating the price of the item.
New rounding rule
To create new rounding rule, click the New rounding rule button. The “New rounding rule” dialog opens.
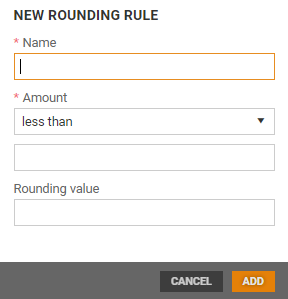
Name: Enter a name.
Amount: Record the amount details. You can select from the drop-down list whether the amount should be “less than”, “greater than” or “between” Then enter the amount. If you select “between,” two fields open for you to enter values (an amount between one value and another value).
Rounding value: Specify the rounding value.
Click on Add to add the new rounding rule.
Edit rounding rule
Rounding values can be edited. Select the relevant rounding value and click on the “pencil” icon.
The “Edit rounding rule” dialog opens. Edit the values as required and click on Save.
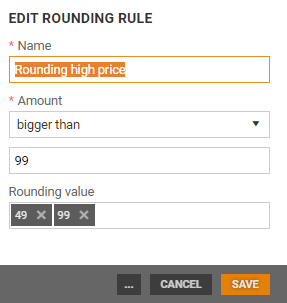
The “more” button contains the “Deactivate” and “Set as default” functions. Use these functions to deactivate rounding rule and to specify a default rounding rule, respectively.
Warranty type
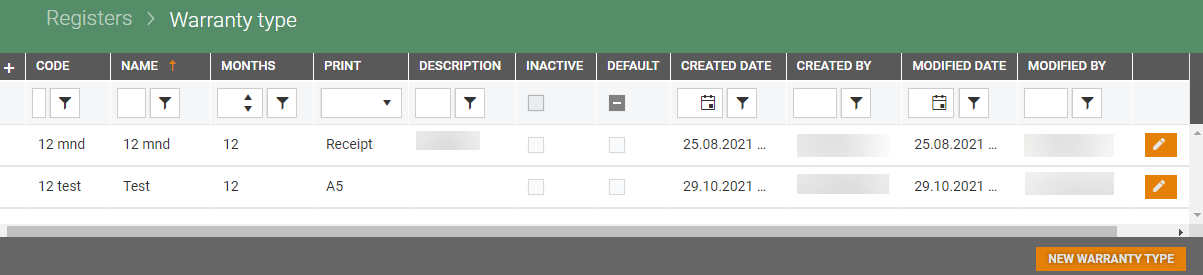
The Warranty type register displays an overview of the registered warranty types. Items with a warranty code will be printed on the receipt with a warranty period and a description.
You can maintain existing warranty types, add new ones, and deactivate warranty types. You can also specify a default warranty type, which is automatically entered on screens containing the warranty type field.
New warranty type
You can create a new warranty type.
Click on the New warranty type button.
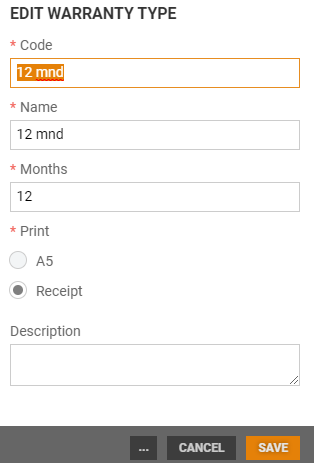
The “New warranty type” dialog opens.
.png)
Code: Enter code.
Name: Enter a name.
Months: Enter the number of months for which the warranty will be valid.
Print: Select the print type. You can choose between A5 and Receipt.
Description: You can enter an optional description.
Click on the Add button to create a new warranty type.
Edit warranty type
Warranty types can be edited.
Select the relevant warranty type and click on the “pencil” icon.
The “Edit warranty type” dialog opens.
Edit the values as required and click on Save.
The “more” button contains the “Deactivate” and “Set as default” functions. Use these functions to deactivate warranty types and to specify a default warranty type, respectively.
Serial number type
See Serial number type register.
Serial number attribute
See Serial number attribute register.
Concession
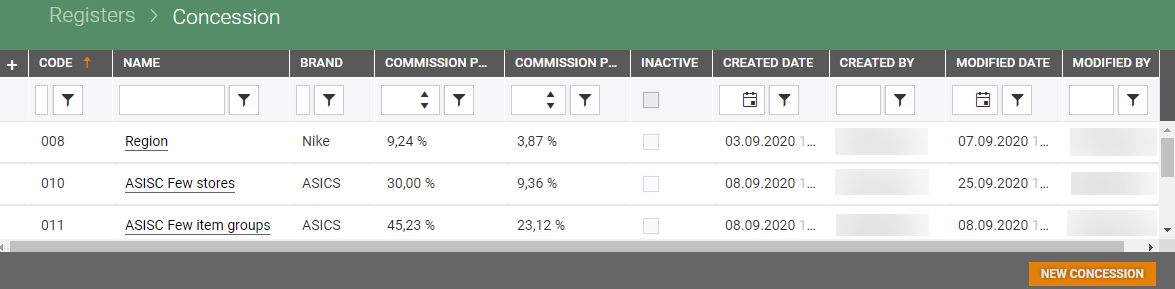
The Concession register displays an overview of the registered concessions. Concession is used for defining commission percentage. You can maintain existing concessions, add new ones, and deactivate concessions. You can also specify a default concession, which is then preselected on screens containing the “Concession” field.
New concession
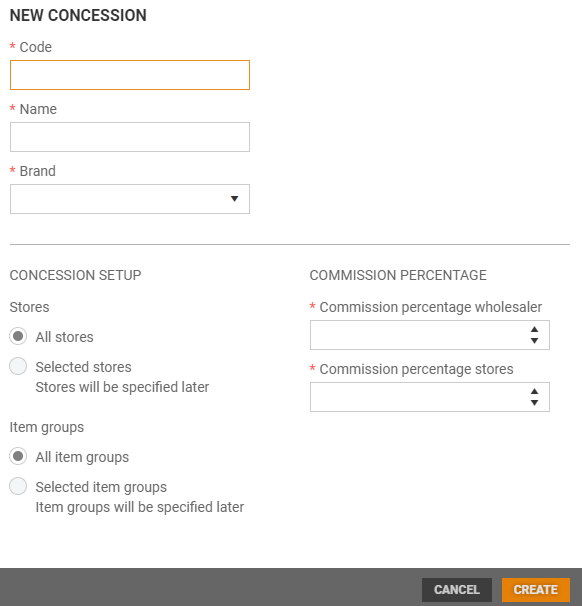
You can create a new concession manually using the New concession button. "New concession" dialog opens.
Enter a Code, a Name, and a Brand for the new concession.
Stores
Choose Stores. You can choose between "All stores" or "Selected stores" (stores will be specified later).
Item groups
Choose Item groups. You can choose between "All item groups" or "Selected item groups" (Item groups will be specified later).
Brand
Choose Brand.
Commission percentage wholesaler: Enter commission percentage wholesaler.
Commission percentage stores: Enter commission percentage stores.
Click on the Create button to create the commission.
View concession details
Concession details can be viewed by clicked on the Name in Concession overview. A new screen with with concession details opens in Details tab.
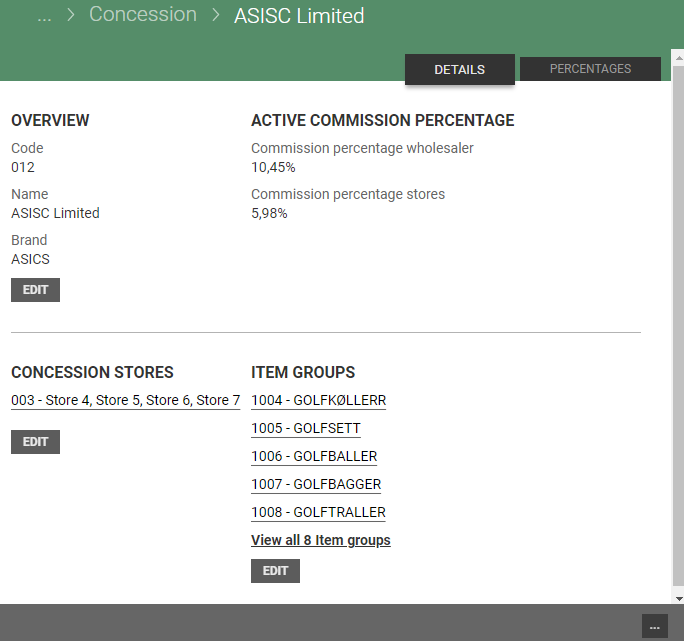
In the Details tab you can click on the Edit button to edit values in the Overview section, Concession stores section and in the Item groups section.
Edit overview
To edit the overview in the chosen concession, click the Edit button in the overview section. The “Edit concession” view opens.
Edit the fields and click Save to save your changes.
.png "image(90).png")
Add/Delete concession stores
To edit concession stores, click the Edit button in the “Concession store” section. The “Concession stores” view opens.
.png "image(91).png")
To add a new concession store, select a Name and click Add.
To delete a concession store, click on the “bin” icon on the line of relevant concession store. The concession store will disappear from view.
Edit item groups
To edit item groups click the Edit button in the Item groups section. The “Item groups” view opens.
.png "image(92).png")
Here you can edit your selection by ticking/unticking item groups. You can use the search function to search for a specific item group. You can use the Select all and Unselect all buttons both with and without applied search filter.
Click Save to update the selection. The selected item groups will be viewed in the details overview for chosen concession.
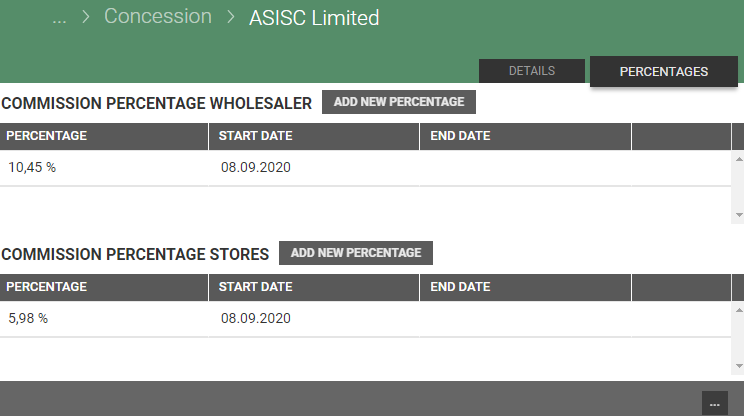
Percentages tab
In the Percentages tab you see details about the concessions "Commission percentage wholesaler" and "Commission percentage stores".
Add new percentage
When in the percentage tab, click on the Add new percentage button in either “Commission percentage wholesaler” or “Commission percentage stores”.
The “New commission percentage” dialog opens. Type is depending on the selected commission percentage type.
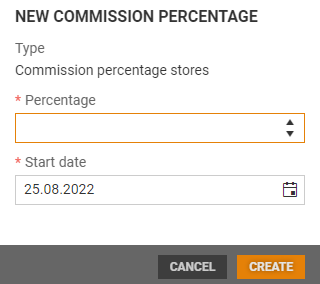
Enter new Percentage and click Create to add a new percentage to selected commission percentage type.
Deactivate concession
You can deactivate the concession by clicking on the "More" button and click on "Deactivate".
Price calculation setup
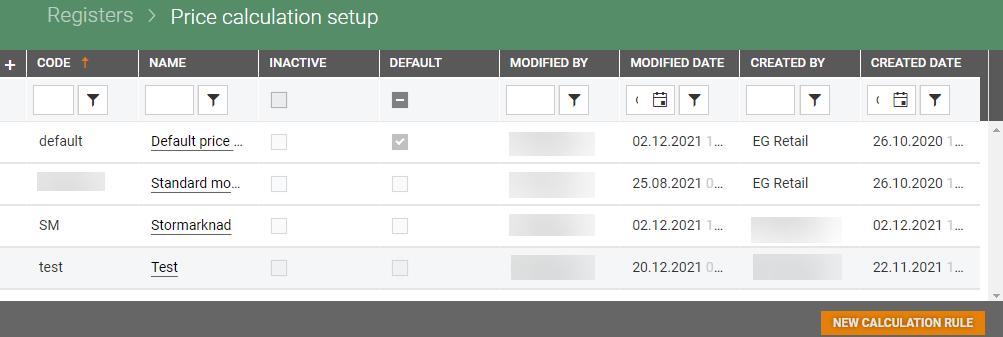
The Price calculation setup register displays an overview of the registered price calculation setups. Price calculation setup is used when calculating cost prices, sales prices, margins etc. in item management. You can maintain existing ones, add new ones, and deactivate them. You can also specify a default price calculation setup, which is then preselected on screens containing the “price calculation setup” field.
New calculation rule
You can create a new calculation rule manually using the New calculation rule button.
The “New calculation” dialog opens. Enter Code and Name.
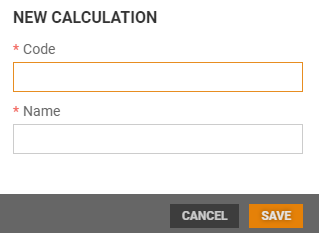
Click on the Save button to create the new calculation.
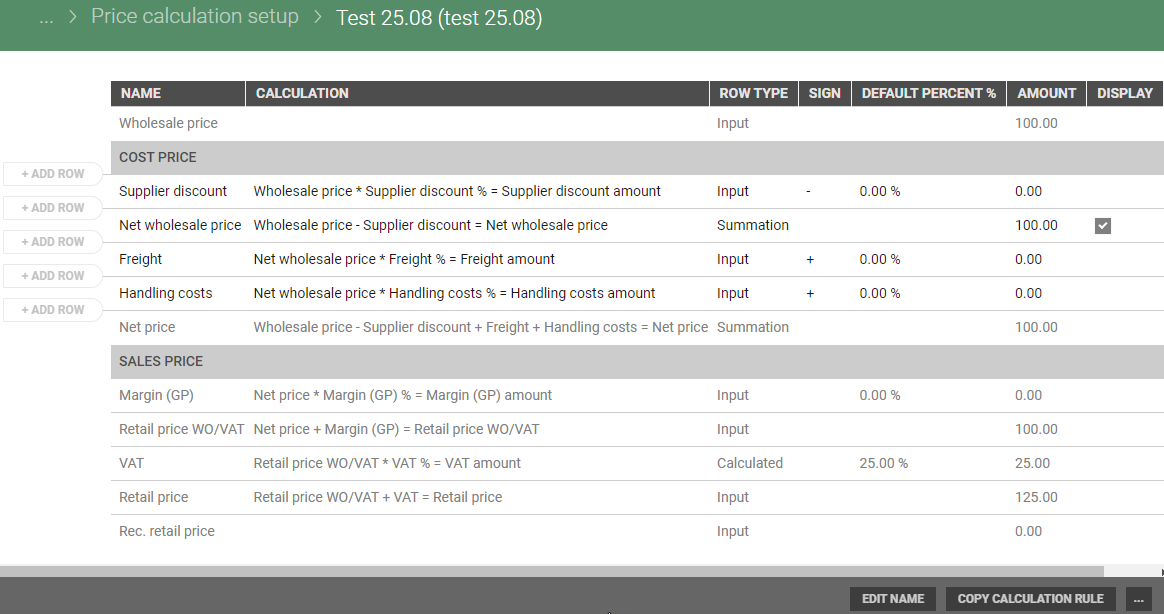
The “Price calculation setup” screen opens. Here you can edit the setup for your price calculation.
Add row
When in the “Price calculation setup” screen, you can add rows that you need to your calculation rule.
Click on Add row  to the left by the rules to add needed rows. The “Add row” dialog opens.
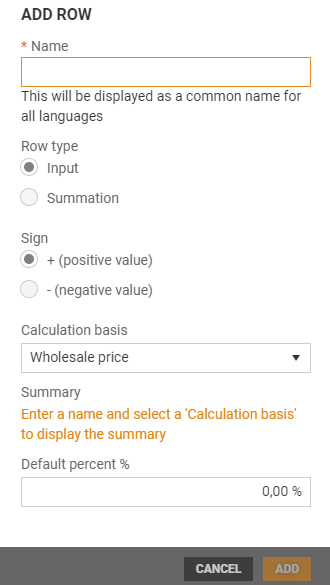
Name: Enter Name, this will be displayed as a common name for all languages.
Row type: Select row type, input (default) or summation.
Sign: Select sign, + (positive value) or – (negative value).
Calculation basis: Select calculation basis.
Default percent %: Enter default percent (0,00% is default).
Click on the Add button to add row.
Edit price calculation name
You can edit the name of the price calculation setup.
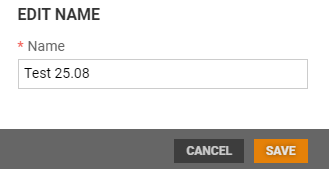
Click on the Edit name button
.png "image(93).png")
The "Edit name" dialog opens. Enter name and click on Save to save the changes.
Copy calculation rule
You can copy calculation rules.
Click on the Copy calculation button, the "Copy calculation" dialog opens.
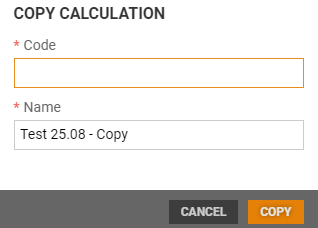
Code: Enter code.
Name: Name of the calculation you copied is suggested. You can enter a name.
Click on the Copy button to copy the calculation.
Deactivate price calculation setup
You can deactivate a price calculation setup.
Click on the "More" button and select "Deactivate". The price calculation rule is deactivated.
To reactivate the price calculation setup, click on the “More” button again and choose “Activate”.
Set price calculation setup as default
You can set a price calculation setup as default.
Click on the "More" button and select "Set as default".
Nonsale type
The nonsale type register displays an overview of the registered nonsale type. You can maintain the existing nonsale type, add new ones and deactivate nonsale type.
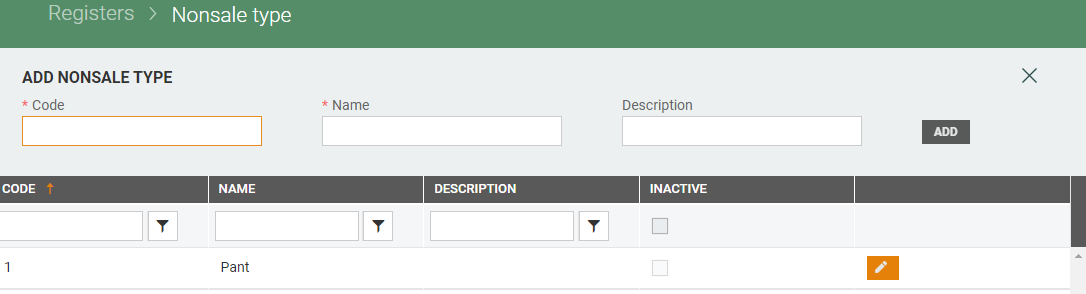
Add nonsale type
You can create a new nonsale type manually using the "Add nonsale type" section at the top of the screen. Enter a code, a Name, and an optional Description.

Click on the Add button to create a nonsale type.
Edit nonsale type
Nonsale types can be edited.
Select the relevant nonsale type and click on the “pencil” icon.
The “Edit nonsale type” dialog opens.
Edit the values as required and click on Save.
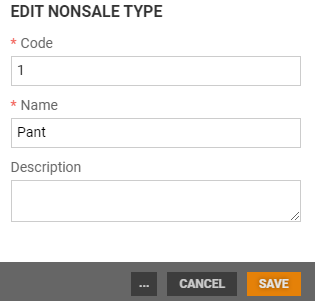
To deactivate nonsale type, click the “More” button in the “Edit nonsale type” dialog and choose Deactivate. The nonsale type will then be deactivated.
.png "image(94).png")
To reactivate the nonsale type, click the “More” button again and choose “Activate”.
Active substance
The Active substance register displays an overview of the registered active substances.
You can maintain existing active substances, add new ones, and deactivate active substances.
You can also specify a default active substance, which is then preselected on screens containing the “Active substance” field.
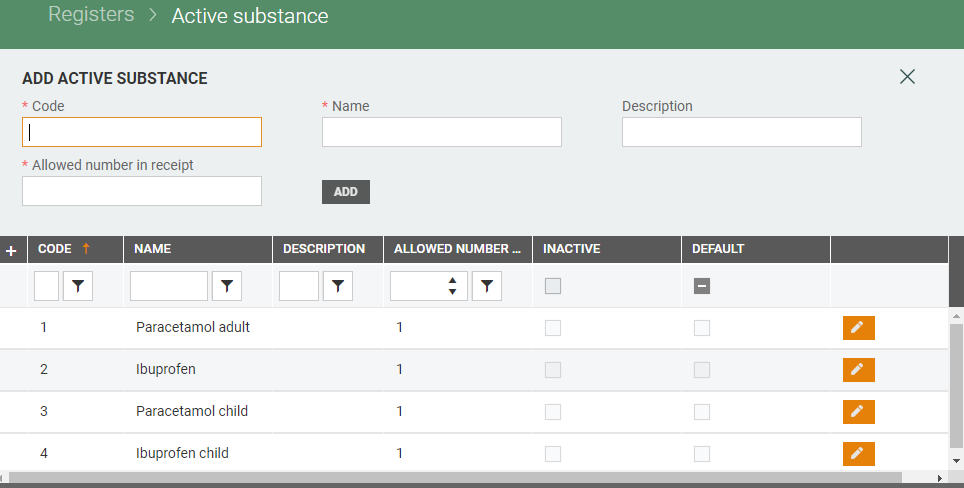
Add active substance
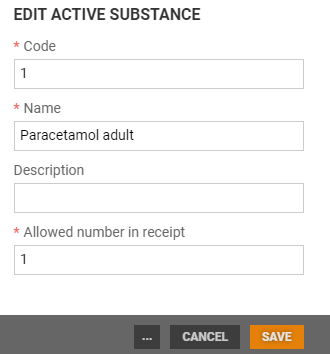
You can create a new active substance manually using the Add active substance section at the top of the screen. Enter a Code, a Name, an optional Description and Allowed number in receipt.

Click on the Add button to create an active substance.
Edit active substance
Active substances can be edited.
Select the relevant active substance and click on the “pencil” icon.
The “Edit active substance” dialog opens. Edit the values as required and click on Save.
The “more” button contains the “Deactivate” and “Set as default” functions. Use these functions to deactivate active substance and specify a default active substance.
.png "image(95).png")
Treatment type
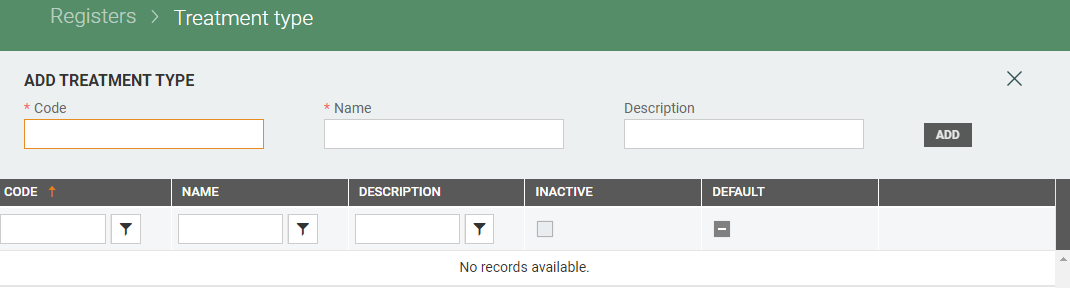
The Treatment type register displays an overview of the registered treatment types. You can maintain existing treatment types, add new ones, and deactivate treatment types.
Add treatment type
You can create a new treatment type manually using the Add button at the top of the screen. Enter a Code, a Name, and an optional description.

Click on the Add button to create a new treatment type.
Edit treatment type
Treatment type can be edited.
Select the relevant treatment type and click on the “pencil icon”.
The “Edit treatment type” dialog opens. Edit the values as required and click on Save.
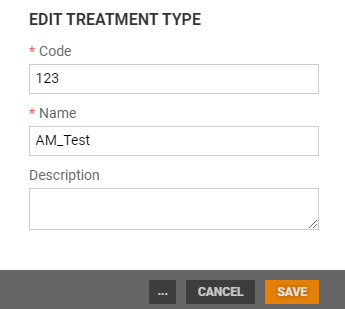
The “more” button contains the “Deactivate” and “Set as default” functions. Use these functions to deactivate treatment type and to specify a default treatment type, respectively.
Limit control groups
The Limit control register displays an overview of the registered Limit control groups. Limit control groups are used to define quota limits for different customer types. By creating limit control groups you can set limits (minimum and maximum) of substance /goods for two different types of customers - crew and passengers.
Requires
The limit control group functionality requires integration for POS to an external service that knows how much each person has bought per category (across stores).

Add limit control group
In the Add section at the top of the screen you can add new Limit control group. Add Code (must be unique), Name and select Unit of measure from drop-down list. In addition you can add limits: Passenger departure limit max, Passenger arrival limit max, Crew departure limit max and Crew arrival limit max. Click on Add to add the limit control group.

Edit limit control group
Limit control groups can be edited.
Click on the relevant limit control group, and click on the “pencil icon”.

The “Edit limit control group” open. Edit the values and click Save, to save changes.

The limit control group can be deleted by clicking on the “more-button”, and select Delete. The limit control group is deleted.
