The registers relating to the season are grouped under the Season category. Season is a concept mostly used in fashion/sports retail, where you set up a collection/group of products to belong to a specific season in time, like autumn-winter 2024 or spring-summer 2025.
Assortment code
Assortment codes are a grouping attribute. For instance, basic assortment, local assortment, or seasonal assortment. Used when determining which products should be available in specific stores.
The Assortment code register displays an overview of the registered assortment codes. You can maintain existing assortment codes, add new ones, and deactivate assortment codes. You can specify a default assortment code, which is then set as the preselected value on screens containing the “Assortment code” field.
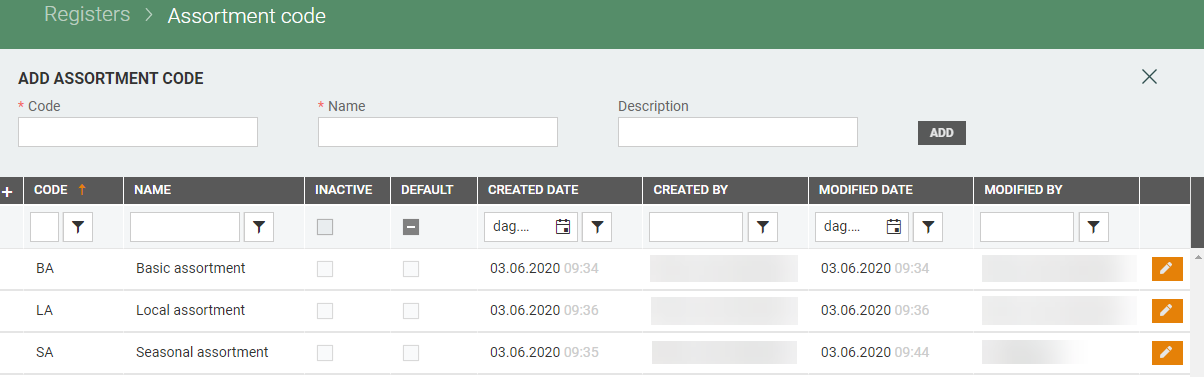
Add assortment code
You can create a new assortment code manually using the Add assortment code section at the top of the screen. Enter a Code, a Name, and an optional Description.

Click on the Add button to create the Assortment code.
Edit assortment code
Assortment codes can be edited. Select the relevant assortment code and click on the “pencil” icon.
The “Edit assortment code” dialog opens. Edit the values as required and click on Save.
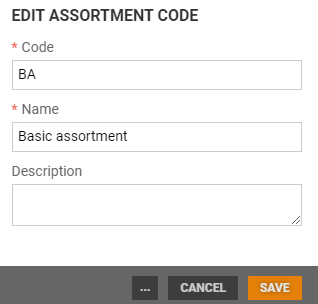
The “more” button (...) contains the “Deactivate” and “Set as default” functions. Use these functions to deactivate assortment codes and specify a default code.
.png "image(74).png")
Collection
Collection is a grouping attribute. For instance, Jackets, Shoes etc. Alternative grouping than item hierarchy. Can be used in item segmentation or visualized in POS. Not related to price.
The Collection register displays an overview of the registered collections. You can maintain existing collections, add new ones, and deactivate collections. You can also specify a default collection, which is then set as the preselected value on screens containing the “Collection” field.
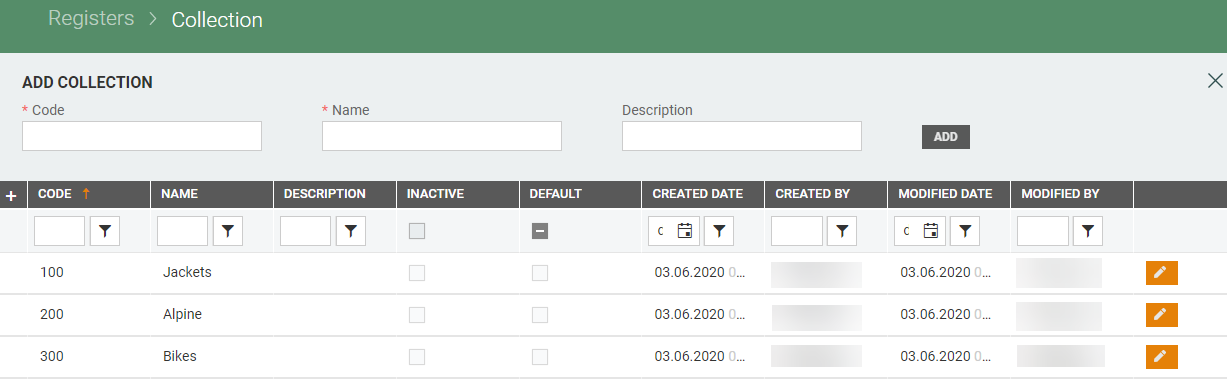
Add collection
You can create a new collection manually using the Add collection section at the top of the screen. Enter a Code, a Name, and an optional Description.

Click on the Add button to create a new Collection.
Edit collection
Click on the “pencil” icon on the line of the collection you want to edit. The “Edit collection” dialog opens.
The user can change the code and name of the collection and add or amend the description.
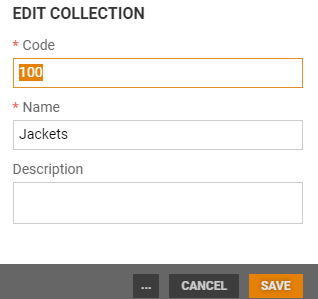
Click on Save to save your changes.
The “more” button (...) contains the “Deactivate” and “Set as default” functions. Use these functions to deactivate collections and to specify a default collection, respectively.
Marketing code
The Marketing code register displays an overview of the registered marketing codes. Used for marketing reasons, how the product is communicated, advertised to the public.
You can maintain existing marketing codes, add new ones, and deactivate marketing codes. You can also specify a default marketing code, which is then set as the preselected value on screens containing the “Marketing code” field.
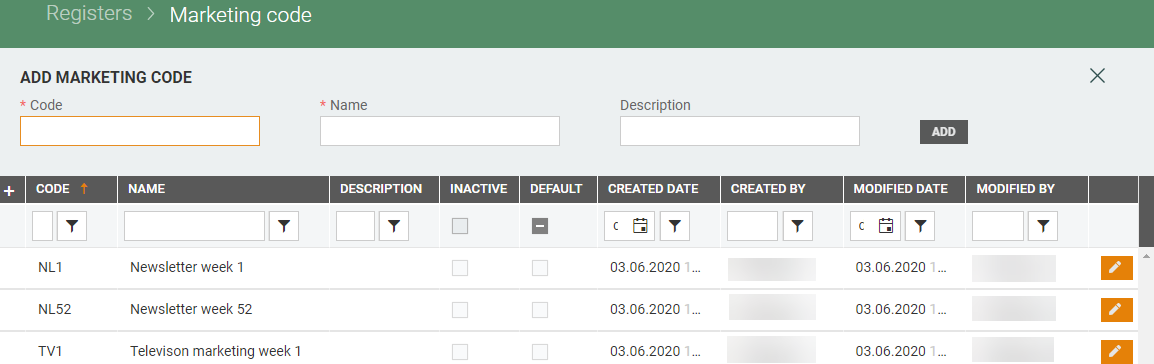
Add marketing code
You can create a new marketing code using the Add marketing code section at the top of the screen. Enter a code, a name, and an optional description.

Click on the Add button to create a new marketing code.
Edit marketing code
Click on the “pencil” icon on the line of the marketing code you want to edit. The “Edit marketing code” dialog opens.
You can change the Code and Name and add or amend the description here.
.png "image(75).png")
Click on Save to save your changes.
The “more” button (...) contains the “Deactivate” and “Set as default” functions. Use these functions to deactivate marketing code and to specify a default marketing code, respectively.
Marketing exclusivity
The Marketing exclusivity register displays an overview of registered marketing exclusivity. It is used for marketing reasons if the product should be marked on specific channels. You can maintain existing marketing exclusivity and add new marketing exclusivity.
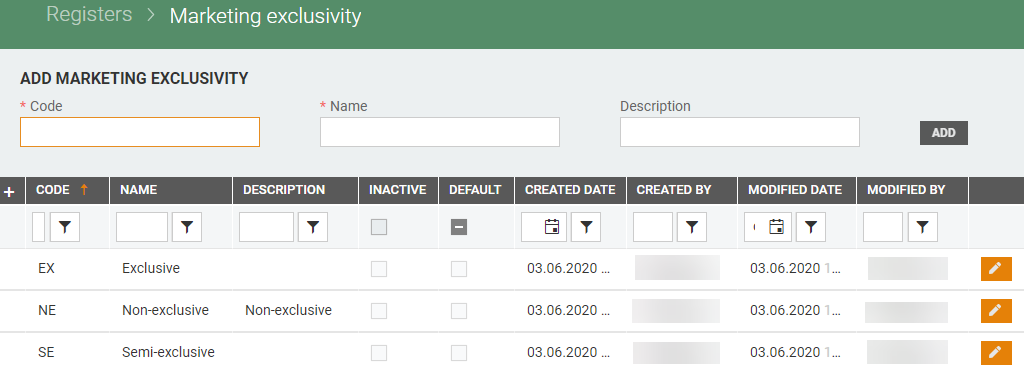
Add marketing exclusivity
You can create new marketing exclusivity manually using the Add marketing exclusivity section at the top of the screen. Enter a Code, a Name, and an optional Description.

Click on Add to create a new marketing exclusivity.
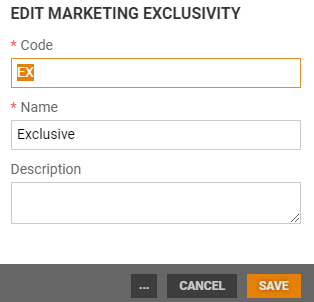
Edit marketing exclusivity
Marketing exclusivity can be edited.
Click on the “pencil” icon on the line of the marketing exclusivity you want to edit.
The “Edit marketing exclusivity” dialog opens. Edit the marketing exclusivity values and click on Save to save your changes.
The “more” button (...) contains the “Deactivate” and “Set as default” functions. Use these functions to deactivate marketing exclusivity and to specify a default marketing exclusivity, respectively.
Replenishment code
Replenishment code describes how a product is replenished to stores, used in logistics, procurement. The Replenishment code register displays an overview of the registered replenishment codes. You can maintain existing replenishment codes, add new ones, and deactivate replenishment codes. You can also specify a default replenishment code, which is then set as the preselected value on screens containing the “Replenishment code” field.
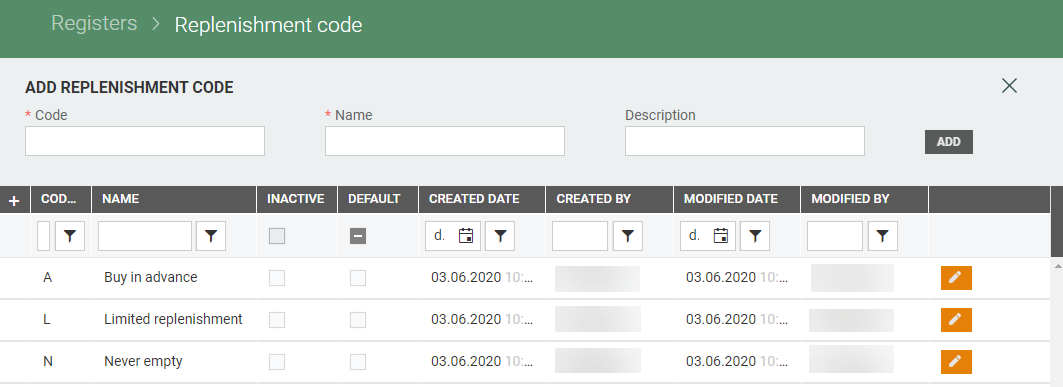
Add replenishment code
You can create a new replenishment code manually using the Add replenishment code section at the top of the screen. Enter a Code, a Name, and an optional Description.

Click on the Add button to create a new replenishment code.
Edit replenishment code
Replenishment codes can be edited. Click on the “pencil” icon on the line of the replenishment code you want to edit.
The “Edit replenishment code” dialog opens.
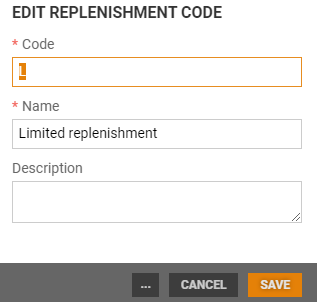
Edit the replenishment code values and click on Save.
The “more” button (...) contains the “Deactivate” and “Set as default” functions. Use these functions to deactivate replenishment codes and specify a default replenishment code.
Sales purpose
The Sales purpose register displays an overview of the registered sales purposes. It is used for grouping of items and sales categories. You can maintain existing sales purposes, add new ones, and deactivate sales purposes. You can also specify a default sales purpose, which is then set as the preselected value on screens containing the “Sales purpose” field.
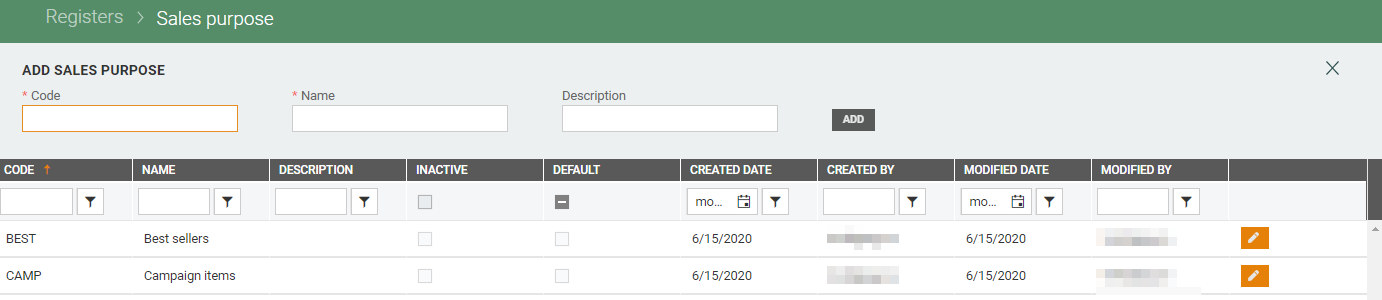
Add sales purpose
You can create a new sales purpose using the Add sales purpose section at the top of the screen. Enter a Code, a Name, and an optional Description.

Click on the Add button to create a new sales purpose.
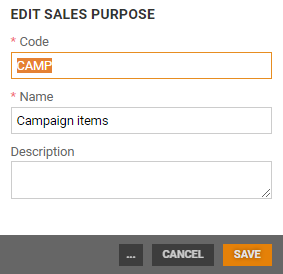
Edit sales purpose
Sales purposes can be edited.
Click on the “pencil” icon on the line you want to edit.
The “Edit sales purpose” dialog opens. Edit the sales purpose values and click on Save.
The “more” button (...) contains the “Deactivate” and “Set as default” functions. Use these functions to deactivate sales purposes and to specify a default sales purpose, respectively.
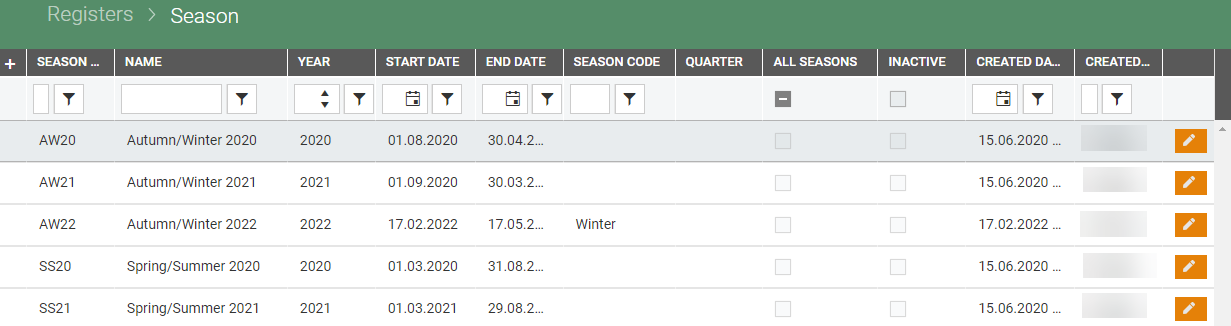
Season
The Season register displays an overview of the seasons used in the system. Season is a grouping attribute, with period and season categories. You can maintain existing seasons, add new ones, and deactivate seasons.
New season
To add new seasons, click on the New season button at the bottom left of the screen. The “New season” dialog opens.
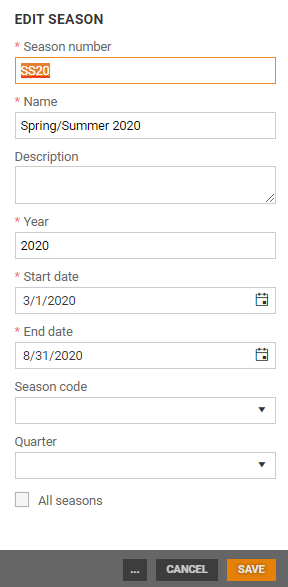
Enter the details of the new season. Mandatory fields are marked with *.

Season number: Enter a season number.
Name: Enter a name for the season.
Description: Enter an optional description.
Year: Enter a year.
Start date: Specify a start date. The current date is selected by default.
End date: Specify an end date. The current date is selected by default.
Season code: Select a season code.
Quarter: Select a quarter.
Click on Create to create the new season.
Edit season
Seasons can be edited.
Click on the “pencil” icon on the line you want to edit.
The “Edit season” dialog opens. Edit the values as required and click on Save.
Deactivate season
Click on the “more” button at the bottom of the “Edit Season” dialog. Select Deactivate to deactivate the season.
.png "image(78).png")
To activate it again, click on the “more” button and select Activate.
Season code
The Season code register displays an overview of the registered season codes. Season codes are used for grouping of seasons, it is connected to the Season register. For instance, Summer, Winter etc. Can be used in item segmentation.
You can maintain existing season codes, add new ones, and deactivate season codes. You can also specify a default season code, which is then set as the preselected value on screens containing the “Season code” field.
Add season code
Create a new season code using the Add season code section at the top of the screen. Enter a Code, a Name, and an optional Description.

Click on the Add button to create a new season code.
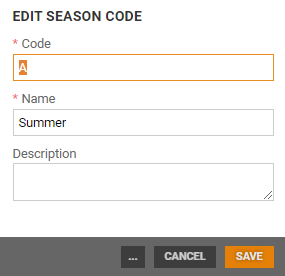
Edit season code
Season codes can be edited.
Click on the “pencil” icon on the line of the season code you want to edit.
The “Edit season code” dialog opens. Edit the season code values and click on Save to save your changes.
The “more” button (...) contains the “Deactivate” and “Set as default” functions. Use these functions to deactivate season codes and specify a default season code.
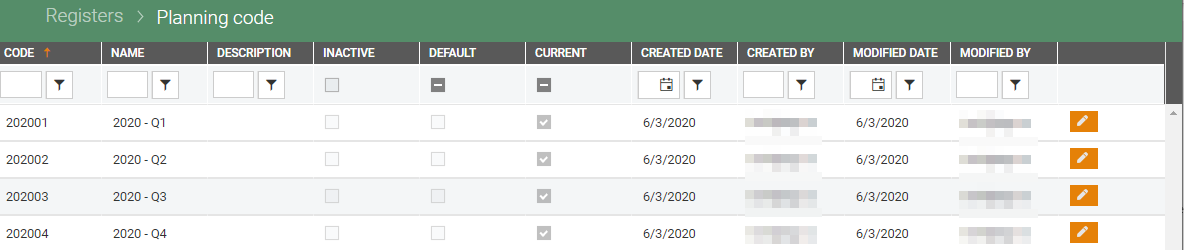
Planning code
The Planning code register displays an overview of the registered planning codes. Planning codes are used in procurement. You can maintain existing planning codes and specify that the planning code is current. You can also add new planning codes and deactivate planning codes.
New planning code
You can create new planning codes manually by clicked the New planning code button at the bottom left of the screen.
The “New planning code” dialog opens. Enter the information for the planning code. Mandatory fields are marked with *.

Code: Enter a code.
Name: Enter a name.
Description: Enter an optional description.
Earliest delivery: Select earliest delivery date.
Latest delivery: Select latest delivery date.
Click on Add to create the new planning code.
Edit planning code
Planning codes can be edited.
Click on the “pencil” icon on the line you want to edit.
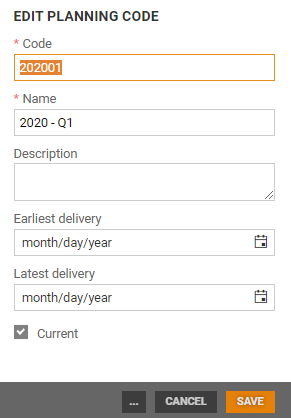
The “Edit planning code” dialog opens.
Tick the Current box if the planning code is to be current. The item details screen displays current planning codes for the store by default.
Edit other values as required and click on Save.
The “more” button contains the “Deactivate” and “Set as default” functions. Use these functions to deactivate planning codes and specify a default planning code.
Service level
The Service level register displays an overview of the registered service levels, service level is used in procurement. You can maintain existing service levels, add new ones, and deactivate service levels. You can also specify a default service level, which is then set as the preselected value on screens containing the “Service level” field.
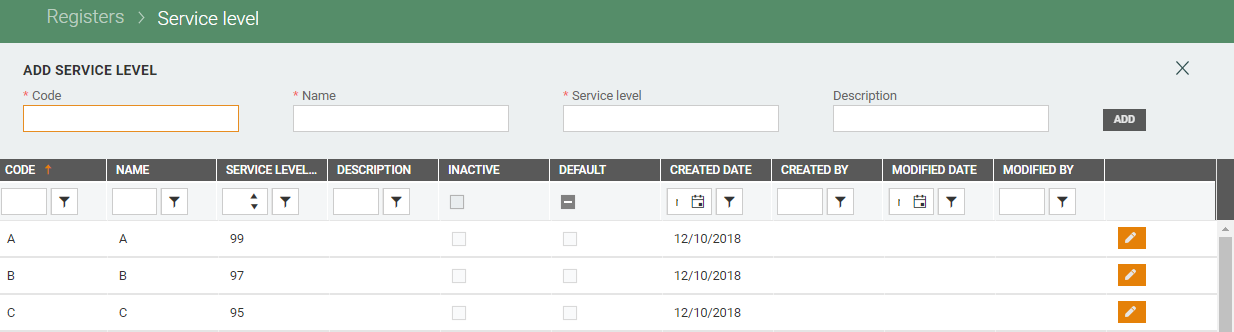
Add service level
Create a new service level using the Add service level section at the top of the screen. Enter a code, a name, a service level, and an optional description.

Click on the Add button to create a new service level.
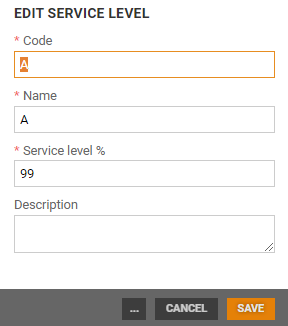
Edit service level
Service levels can be edited.
Click on the “pencil” icon on the line of the service level you want to edit.
The “Edit service level” dialog opens.
Edit the service level values and click on Save.
The “more” button (...) contains the “Deactivate” and “Set as default” functions. Use these functions to deactivate service levels and to specify a default service level, respectively.