This page contains a description of the fields under Model in Item Registers.
Color
The Colors register displays an overview of the registered colors. This register is used for maintaining colors. You can also deactivate colors here.
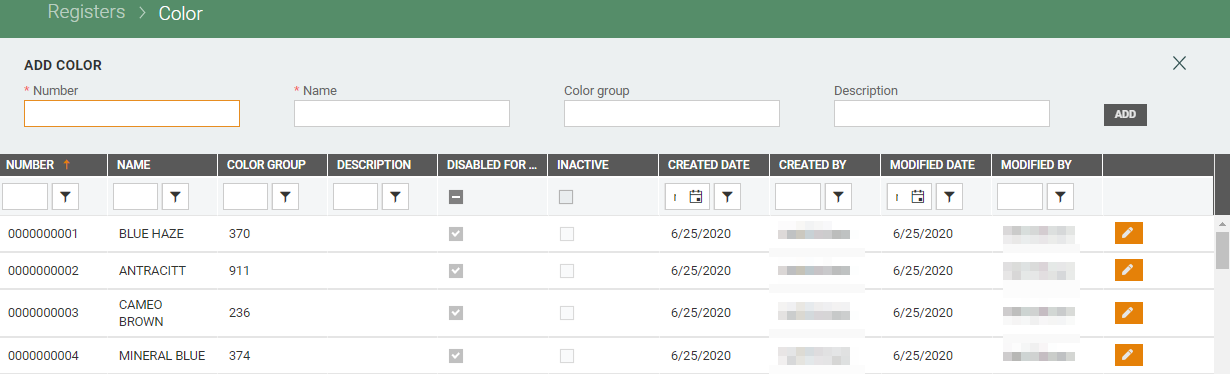
Add color
Create new colors by adding information about the new color at the top of the screen. Enter a number and a name and an optional color group and description.

Click on Add to create the new color.
Edit color
You can edit colors by clicking on the “pencil” icon to the right of the line of the color you want to edit.
The “Edit color” dialog opens.
Edit the information as required.
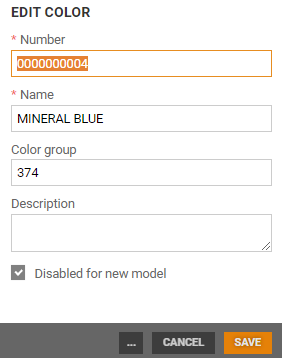
If you do not want the color to be available for selection when a new model is created manually, tick the “Disabled for new model” box.
Click on Save to save your changes.
Deactivate color
You can use the “Deactivate” function to deactivate colors if they are not linked to an item.
Click on the “more” button and select the “Deactivate” function. The color is marked as “Inactive” and is made unavailable for selection when entering a color.
.png "image(80).png")
To reactivate inactive colors, click on the “more” button and select “Activate”.
Size
The Size register displays an overview of the registered sizes. The register is used for maintaining sizes and creating new ones. You can also deactivate sizes here.
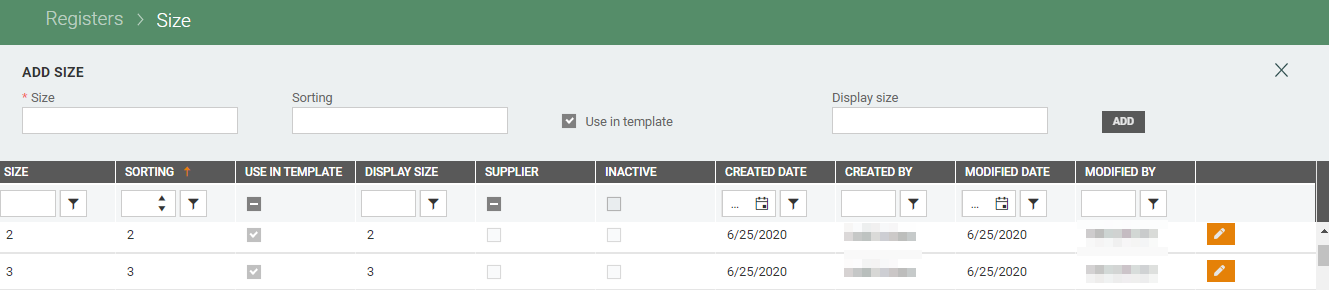
Add size
You can create sizes by entering the size at the top of the screen. Enter a Size. You can also specify the Sorting, indicate whether the size should be used in templates (i.e., whether the size should be available in Size templates) and enter an optional Description.

Click on Add to create the size.
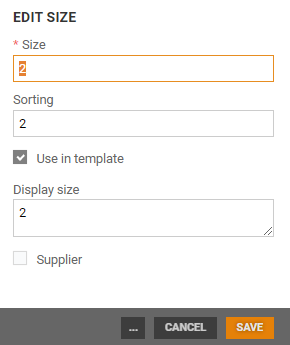
Edit size
Sizes can be edited by selecting a size and clicking on the “pencil” icon.
The “Edit size” dialog opens. Edit the information as required and click on Save.
Deactivate size
You can use the “Deactivate” function to deactivate sizes if they are not linked to an item.
Click on the “more” button and select the “Deactivate” function. The size is marked as Inactive and is made unavailable for selection when entering a size.
To reactivate inactive sizes, click on the “more” button and select “Activate”.
Size template
The Size template register displays an overview of size templates that can be used when registering sizes. You can create new size templates and edit or deactivate existing size templates.

New size template
To create a new size template, click the New size template button in the bottom left corner.
The “New size template” dialog opens. Enter the name of the size and an optional description and size type.
.png "image(81).png")
Click on Add to create the size template.
View size template details
You can view size template details and edit size templates by clicking the name of the relevant size template. The size template opens in a new screen. Information is shown at the top of the screen indicating the template's name, description, and size type. Here you can add new sizes, edit current sizes and edit the template.
A table is displayed in the lower section of the screen, indicating which sizes are included in the template.

Edit size template
Click the “Edit size template” button if you want to edit the name, description, or size type.
The “Edit size template” dialog opens.
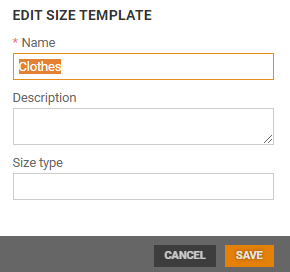
Click on Save to save your changes.
Add size
Select a size, either by typing in the size or by selecting one from the drop-down list. Sorting is recorded once a size has been selected.

Click on Add to add the size to the table.
Edit size
Click on the “pencil” icon on the line of the size you want to edit.
The “Edit size” dialog opens. You can change the sorting.
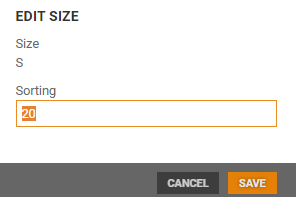
Click on Save to save your changes.
Deactivate size template
You can deactivate the size template by clicking on the “more” button at the bottom of the screen and selecting the “Deactivate” function. The size template will be set as inactive.
.png "image(83).png")
To reactivate the size template, click the “more” button again and choose “Activate”.
Click on the Close button when you have finished registering the sizes. The screen closes and the Size template screen opens.
The sizes are displayed in the “Available sizes” column.