The Teams menu displays an overview of registered teams. The Teams menu has two tabs, Teams, and Store migration.
Teams tab
In the Teams tab you can view and maintain existing teams, add new teams, and activate/deactivate teams.
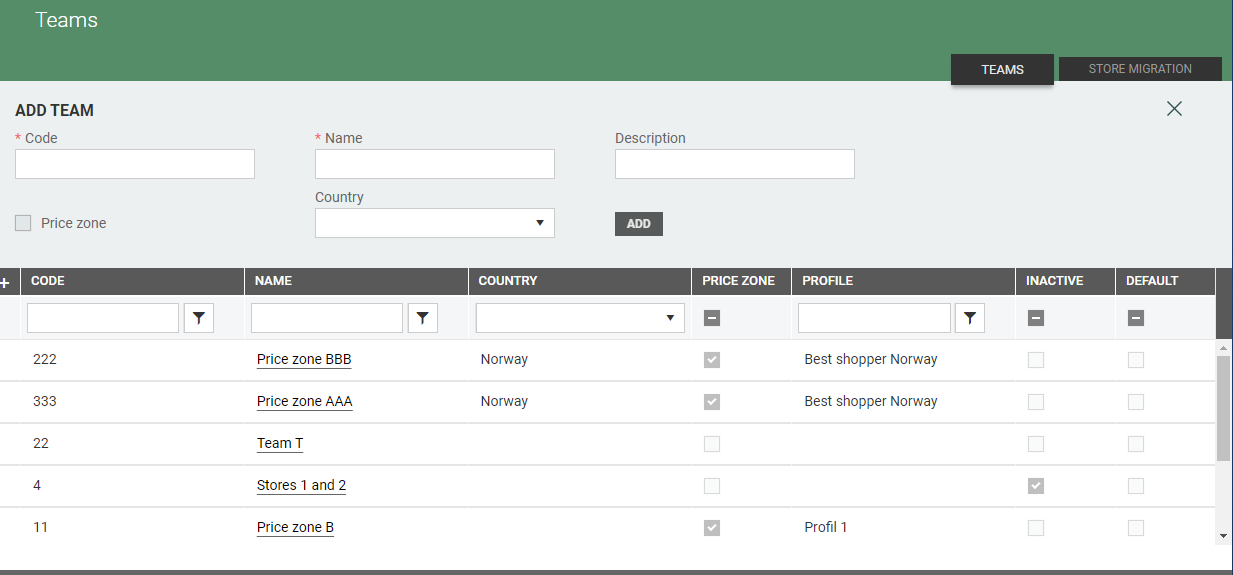
Add new team
You can add new teams in the "Add Team section" at the top of the screen. Enter Code, Name, Description (optional) and select a country. You can also tick "Price zone" if the team should be created as a price zone.
Click Add to create a new team.

Price zone
A team can be created as a price zone. Each price zone must be assigned to one profile. After creating a new price zone, its parameters cannot be changed. Price zones can contain only stores that are part of the selected profile. Stores can be a part of only one price zone at once. Stores can be assigned to a price zone in price zone details view or in store details view. Information about price zone assigned to store is exported to JSON file immediately after changes.
View team details
You can view team details of existing teams. Click on the Team name in the Name column to open team details.
The team details page opens. Team details are displayed at top of the page, while a table of stores in the team is displayed in the lower section of the page. You can edit team details, define the team as a Price zone (by ticking Price zone) and define stores in the team.
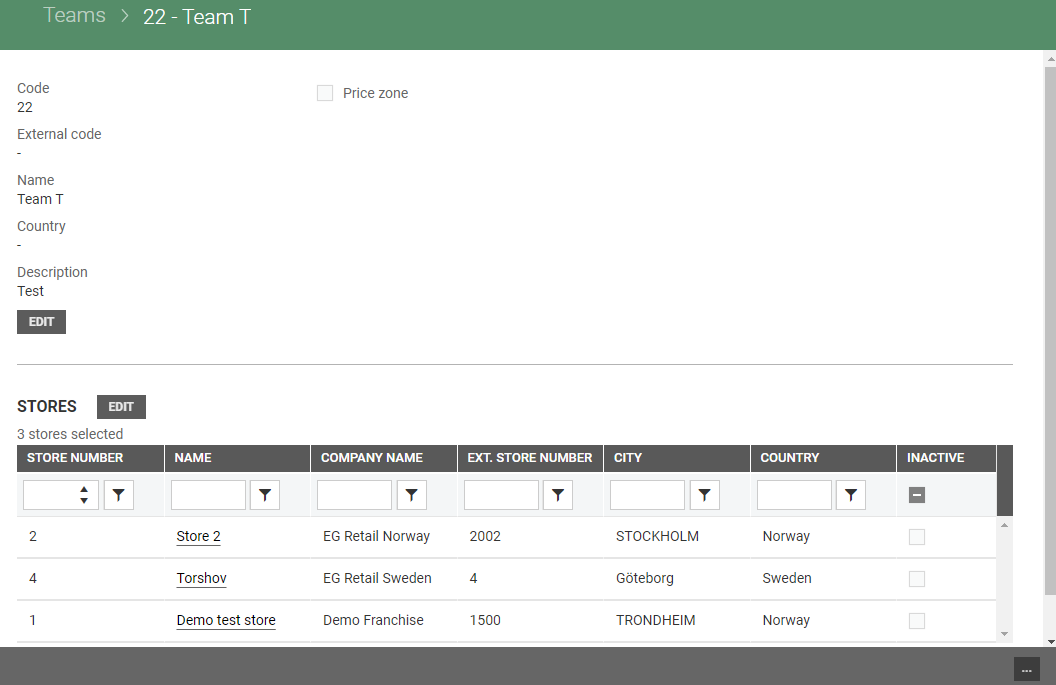
You can also click on name of the store in the stores grid to open store details for the selected store. Then the store details open in a new view.
Edit team details
You can edit team details by clicking on the Edit button below the team details. "Edit team" dialog opens.
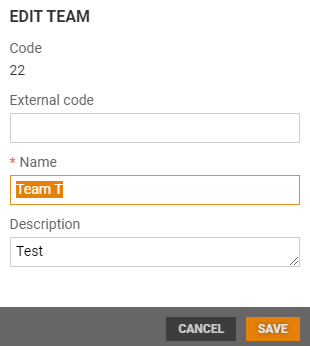
You can edit External code, Name and Description.
Click Save to save changes.
Edit stores
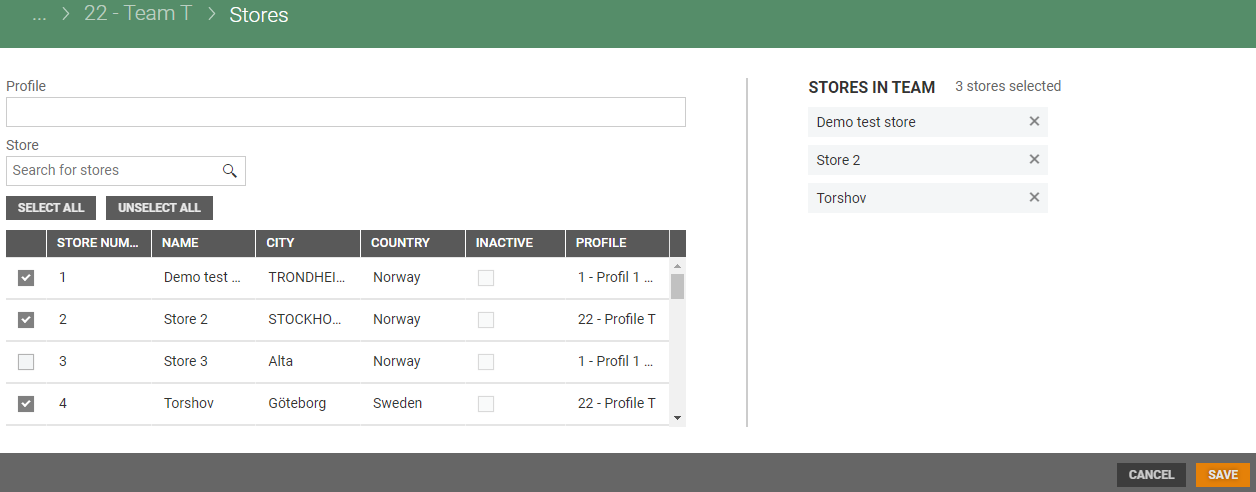
You can add/remove stores in the team by clicking the Edit button in the "Stores section". Stores page opens. The Stores page has two sections. On the left side you find a table with all the stores in the system. You can search for stores, or select stores one by one by ticking them, and you can use the Select all/Unselect all buttons.
At the right side of the view, you see a list of stores that are a part of the team. You can remove selected stores by clicking on the 'x' behind the store name.
Deactivate/Activate
It is possible to deactivate teams if all stores in the team are inactive. Click on the "more button" (…) and select Deactivate.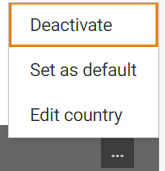
The text "Inactive team" is displayed at the top of the team details page.

The team can be activated again by clicking on the "more button" (…) and select Activate.
Set as default/Unset as default
A team can be set as default. The default team will be set as default value for the team when creating a new store. Click on the "more button" (…) and select Set as default. 
The text "Default team" is displayed at the top of the team details page.

It is possible to unset the default team by clicking on the "More-button" (…) and select Unset as default.
Edit country
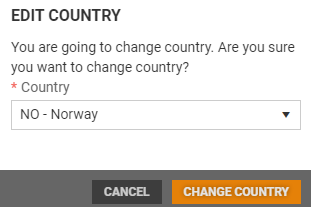
Country can be edited. Click on the "more button" (…) and select Edit country. The "Edit country" dialog open.
Select country from the drop-down list and click on the Change country button to change country.
Store migration tab
The Store migration tab contains a table with store migrations within price zones.

Please note that you need to check with support if this feature will affect data in other modules before migrating a store.
A store can be moved to a new price zone only within the store's profile and it is not possible to add two migrations for the same store in one day.
After migration, the row in the grid is set to 'Done', but if the store was already in target price zone, the row in the grid is deleted.
Migrations with status "Done" are hidden by default. It is possible to tick the Done column to see the done store migrations.

The user can remove migrations with the status "Not done". Creating a new store with price zone or editing store's price zone results in new 'Done' rows in the 'Store migration' grid (using user interface or by import).
Add store migration
You can add a store migration for a specific day in the "Add store migration" section at the top of the page. Add Store, select Scheduled date and New price zone. 
Click Add to create a Store migration.