In the Test groups tab you select the size of the test groups. Test groups is the groups used to test the campaign you are going to run.
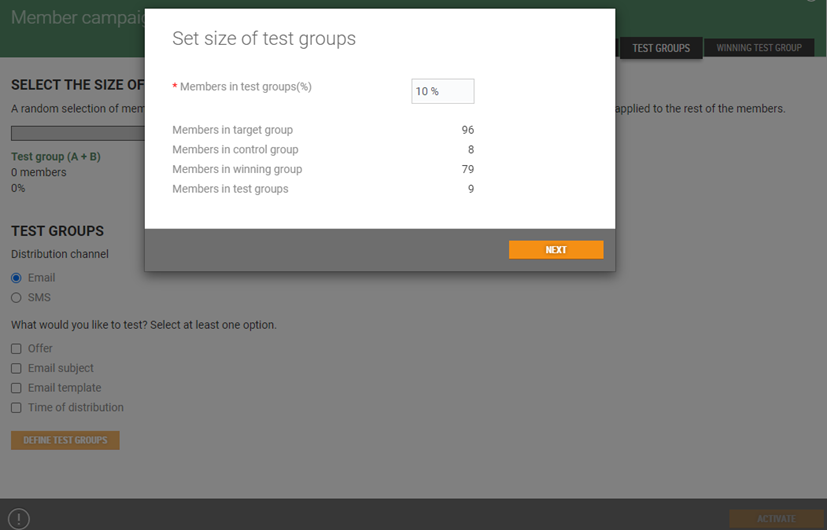
When you open the Test groups tab the "Set size of test groups" opens.
In this dialog you define the size of the test groups, then this value is divided between existing groups (each group has the same number of members). By default, members in test groups are set to 10 %. Select the size of the test groups and click on the Next button to create the test group.
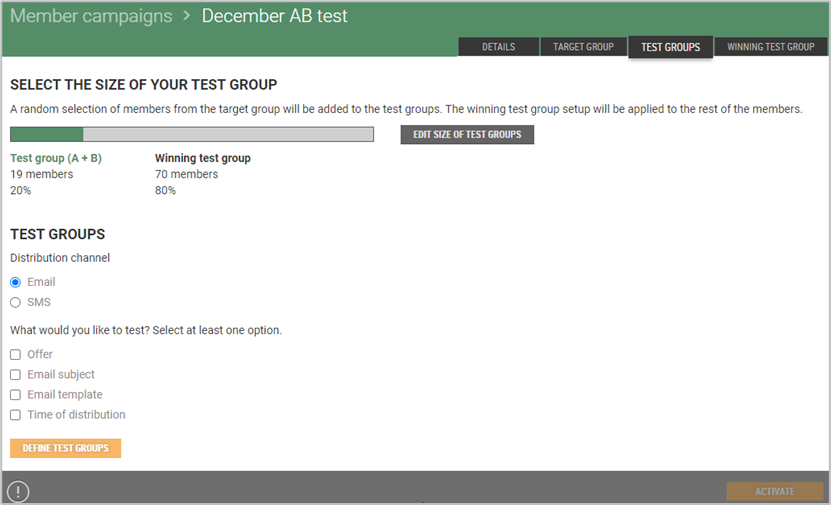
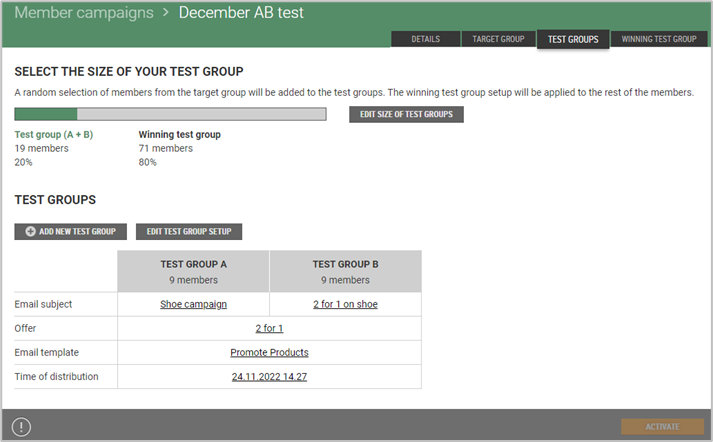
Test groups detail opens. You see the size of the test groups, both test group (A+B) and the winning test group. A random selection of members from the target group will be added to the test groups (A+B). The winning test group will be applied to the rest of the members.
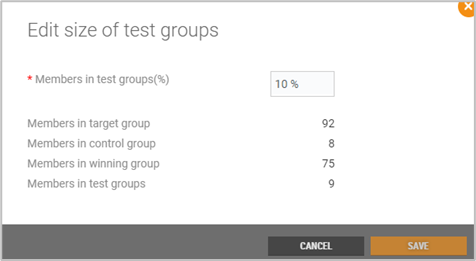
Edit size of test groups
Test groups size can be edited. Click on the Edit size of test groups button if you want to edit size. The "Edit size of test groups" dialog opens. Edit size and click Save to save the changes.
Test groups
In the test groups section you select distribution channel and the elements that will be tested within this campaign. It is only possible to select one distribution channel: Email or SMS. Which elements you can test depends on the choice of distribution channel.
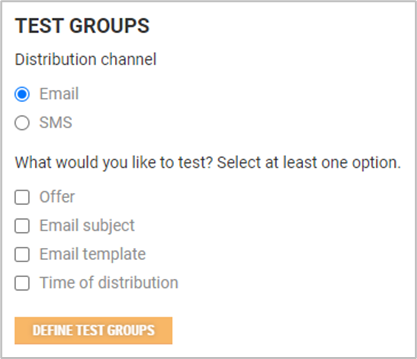
You must select at least one option/element to test on. When you have selected the element, you want to test on, you can define the test groups.
Click on the Define test groups button. Then a table with the test groups opens. By default there are two test groups: A and B.
In the top of the table the elements you have selected to test on, are displayed. Below the selected elements the elements that are not selected is displayed. These elements are defined on common level for all test groups.
All elements must be defined for the campaign. Click on the link to define each element (see picture).
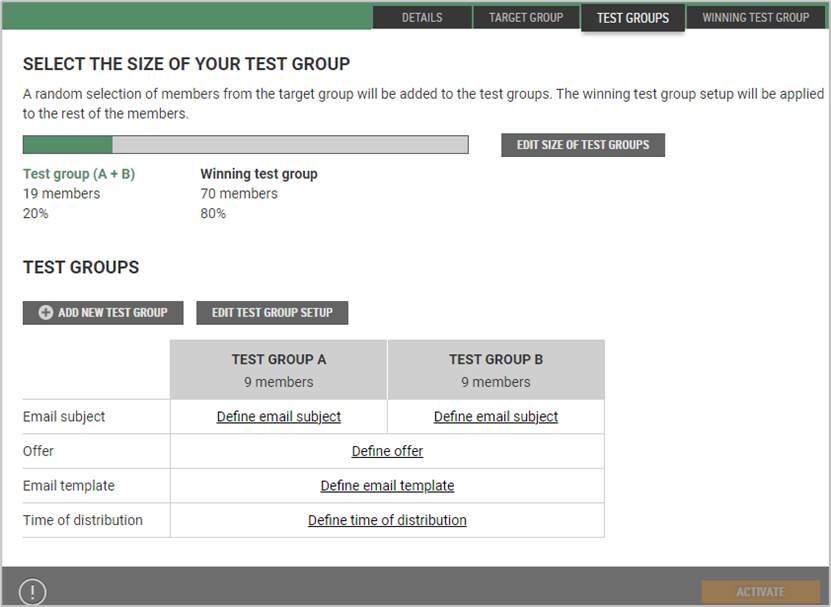
Description of defining elements
EMAIL- elements when Email is selected as distribution channel.
Offer
Click on the "Define offer" link to define the offer. Offer details opens. It is the same procedure for creating an offer as for other campaigns.
Email subject
Click on the "Define email subject" link.
The "Define email subject" dialog opens.
Enter email subject and click Save.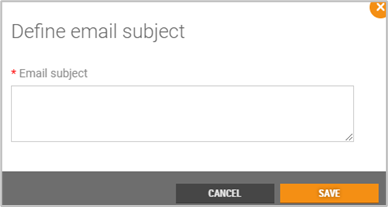
Email template
Click on the "Define email template" link.
The "Select email template" dialog opens. Select email template from the list, or search for the template.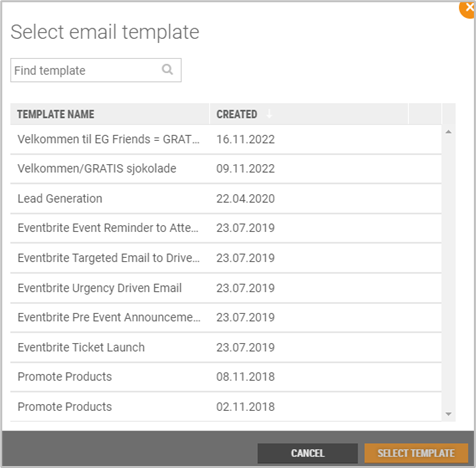
Click Select template to select the template.
Time to distribution
Click on the "Define time to distribution" link to define the time for the distribution to the test groups.
The "Define distribution time" dialog opens. 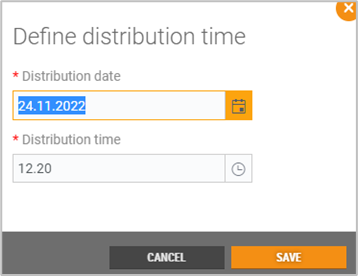
Enter distribution date and distribution time.
Click Save to save the distribution.
SMS – elements when SMS is selected as distribution channel.
Offer
Define the campaign offer. Same procedure as Email distribution and other campaigns.
Distribution message
Define the SMS for the campaign. SMS distribution is defined as SMS distribution in other campaigns.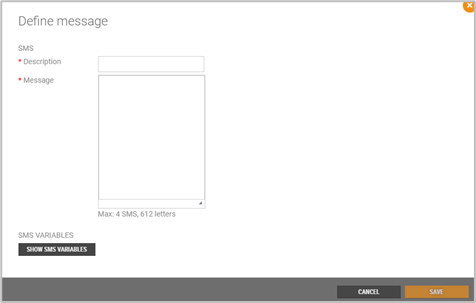
Time to distribution
Same as for Email distribution.
Test groups example testing on different email subjects:
Add new test group
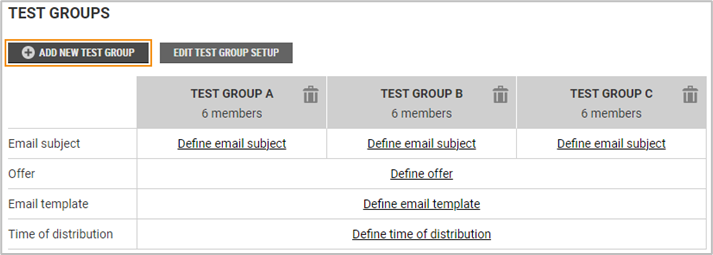
It is possible to add more test groups if it is needed. Max number of test groups are four. When you click on the Add new test group button, a new test group is added to the table. Number of members is divided into all the test groups.
Edit test group
It is possible to edit test group setup. Click on the Edit test group setup button. The "Edit test group setup" dialog opens.
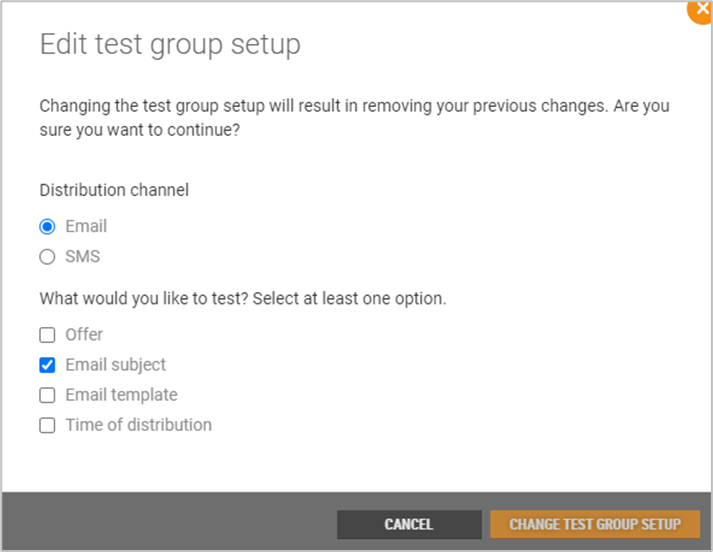
You can change the distribution channel and you can change what you would like to test.
If you change the setup, then your previous changes will be removed.
Click Change test group setup, to change setup or Cancel, to cancel changes.