To open user detail, you can either:
Scroll down the Users overview to find your user.
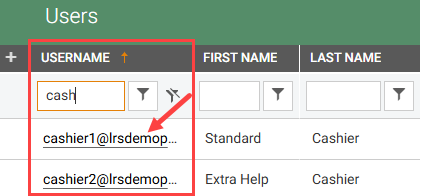
Click on the username in the “Username column”.
Search for the user using filter:
E.g., start typing the username in the search bar at the top of the “Username” column.
Click on the desired username in the ”Username column” from the search result to view the details.
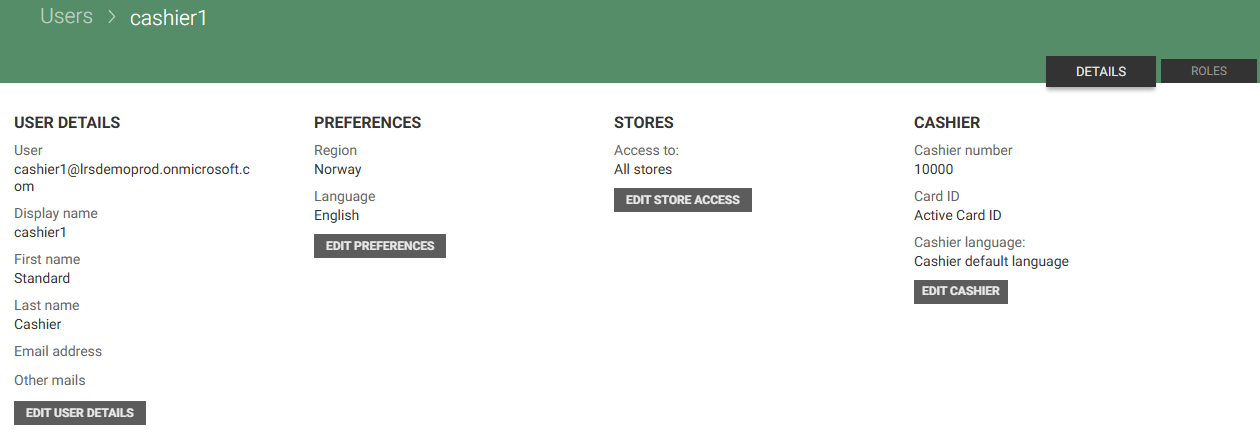
The “User details” view for the select user opens. It contains two tabs - Details and Roles.
Details tab
The “Details tab” displays user information. Details can be edited by clicking on the Edit button below each section. What you are allowed to do depends on your user permission.
Edit user details
User details can be edited by clicking the Edit user details button.

The "Edit user details dialog" opens.
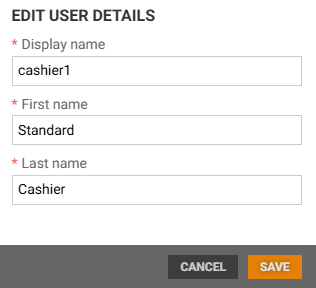
Edit user details and click Save to save user details.
Edit preferences
Preferences can be edited by clicking the Edit preferences button.

The "Edit preferences" dialog opens.
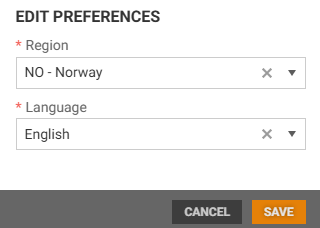
Select preferences and click Save to save preferences.
Edit store access
Store access can be edited by clicking on the Edit store access button.

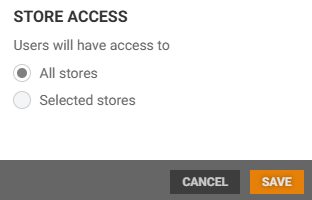
The "Store access" dialog opens. The default option is "All stores", but it is possible to select the option "Selected stores" instead.
All stores
If "All stores" is selected, the user has access to all stores.
Click Save to save changes.
Selected stores
If you select "Selected stores", the Profile, Teams and Stores fields opens.
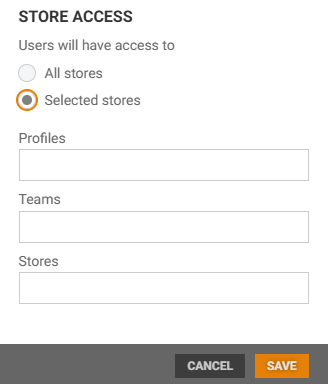
Select the Profiles, Teams or Stores the user should have access to.
Click Save to save changes.
Add cashier
It is possible to add Cashier by clicking on the Add cashier button.

The "Add cashier" dialog opens.
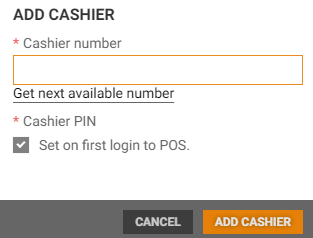
Enter the cashier number or click on the "Get next available number" link to get the next available number.
Cashier PIN must be set. By default "Set on first login to POS" is checked. Then the cashier PIN must be set the first time the user login to POS.
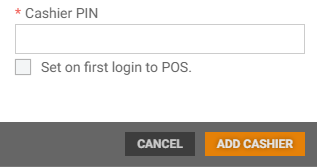
If you uncheck this option if you want to add a cashier PIN for the user. Then a field to set cashier PIN opens. Add cashier PIN and click Add cashier to add cashier to the user.
Edit cashier
To edit cashier, click on the Edit cashier button under the “Cashier” section.

Available editing options are displayed in a dropdown list.
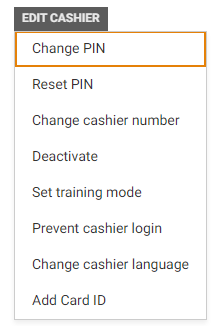
Select wanted option and edit cashier.
Change PIN
Cashier PIN can be changed.
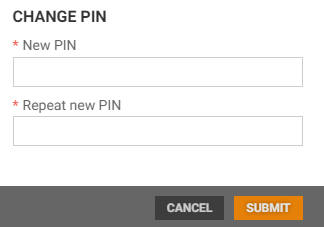
Click on Change PIN, the "Change PIN” dialog opens.
Add a New PIN and repeat the new PIN in the "Repeat new PIN" field.
Click Submit to change PIN.
Reset PIN
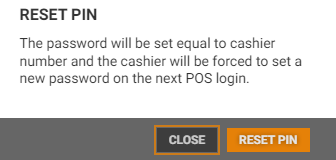
You can reset cashier PIN by selecting Reset PIN.
The dialog "Reset PIN" opens. It is informing you that the password will be set equal to the cashier number, and the cashier will be forced to set a new password on the next POS login.
Click on Reset PIN to reset the cashiers PIN.
Change cashier number
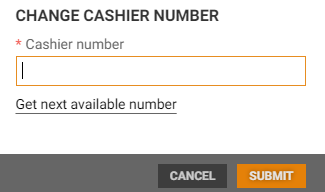
Cashier number can be changed by selecting Change cashier number. The "Change cashier dialog" opens.
Enter the new cashier number or click on "Get next available number" to get the next available number.
Click on Submit to change the cashier number.
Deactivate/Activate
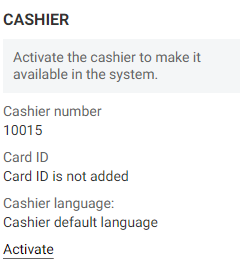
You can deactivate the cashier by selecting Deactivate. Deactivated cashiers is not available in the system. Information is shown above the cashier number.
Cashier can be activated again by clicking the Activate link.
Set training mode/Disable training mode
You can give the cashier permission to use the cash register in training mode by selecting Set training mode. When training mode enabled you see that it is checked in the Cashier section. When the cashier log in to the cash register, then the cash register will be in training mode.
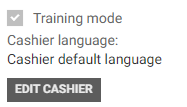
You can disable the training mode by selecting Disable training mode.
Prevent cashier login / Enable cashier login
You can prevent the cashier being able to login to the cash register by selecting the option "Prevent cashier login” on the cash register.

If you want the cashier to be able to login again you can select "Enable cashier login".
Change cashier language
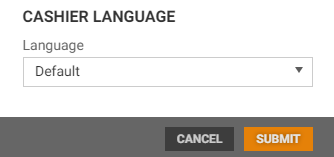
Cashier language can be changed by selecting the Change cashier language option. The "Cashier language" dialog opens. Select wanted cashier language from the drop-down list and click Submit to change the cashier language. The selected language is shown in the cashier section on the user details page.
Add Card ID
Cashier can have assigned Card ID. A Card ID can be added manually.
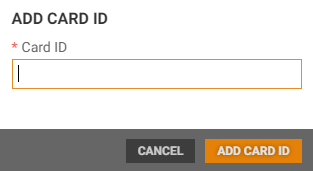
Card ID can be added manually by clicking on the Add Card ID option. The "Add card ID" dialog opens.
Add the Card ID and click the Add Card ID button. Card ID is added.
Change Card ID
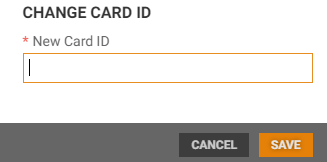
Cashiers Card ID can be changed by selecting the option Change Card ID. The "Change card ID" dialog opens. Add new Card ID and click Save to save the new Card ID.
Activate Card ID
It is possible to Activate Card ID if the Card ID is deactivated, by clicking on the Activate Card ID option, then the Card ID Is activated again.
Deactivate Card ID
It is possible to Deactivate Card ID; by clicking on the Deactivate Card ID option, the Card ID Is deactivated and cannot be used.
Deactivate/Activate user
Users can be deactivated.
Click on the "more button" (...) in the bottom right when in the user details view. Click Deactivate, the user is deactivated.

Deactivated users are not available in the system. The text "Inactive user. Activate the user to make it available in the system" is displayed on top of the user details view.
Inactive users can be activated again.
Click on the "more button" (...) and click Activate. User is activated and available in the system.
Roles tab
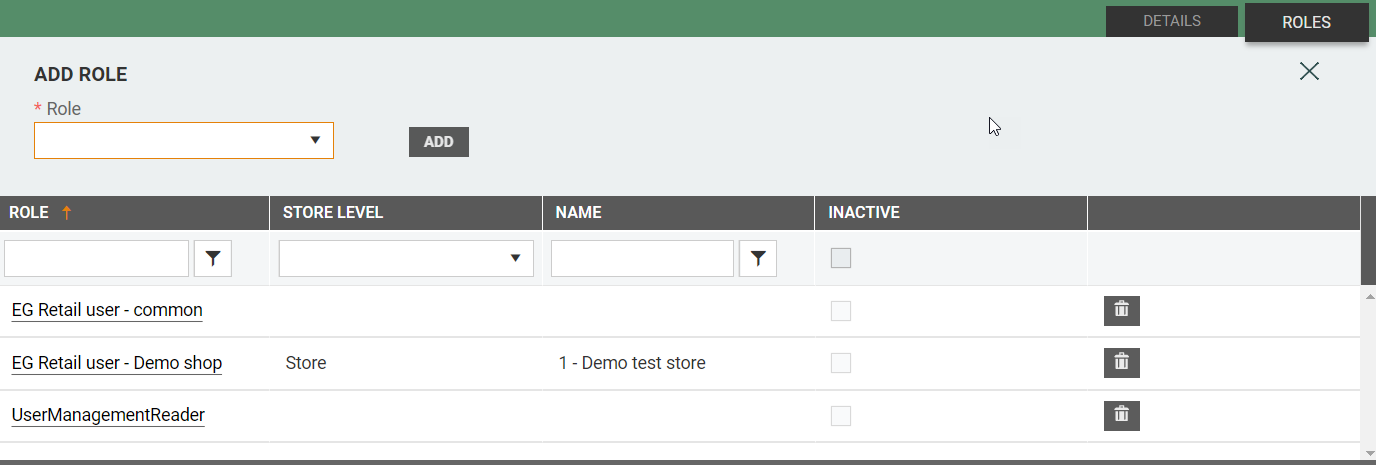
In the Roles tab you see the user's roles. You could Add or Remove roles. The user roles determine what the user has access to.
Add role
You could add roles to the user to give the user access to specific areas. There are two types of roles: Common role and Store role. To create new user roles, see Create new user role.
Common role
When the role is common, the user get access to the areas defined in the role.
Search for the role or select role from the dropdown-list in the "Role" field.
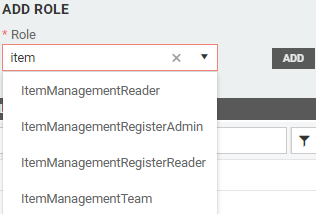
Click the Add button to give the user access to the role. The role is added to the role table.
Store role
If you select a store role you must select the store level the user should have access to. You have 4 store level options: Profile, Team, Store or All stores.
If you select Profile, Team, or Store you get an extra field where you must select which profiles, teams or stores the user should have access. It is possible to select more than one (multi select). If you select store level All stores, the user get access to all stores.
Click Add to give the user access to the role.
Remove role
You can also remove roles from a user. Click on the "Bin icon" on the role you want to remove, the selected role is removed.