A new stocktaking can only be created if the previous stocktaking is completed. There can only be one active stocktaking per store at the same time. A new stocktaking cannot be created if there are any stocktakings with one of these following statuses for the selected store: Active, Creating, Closing, Error closing or Error creating.

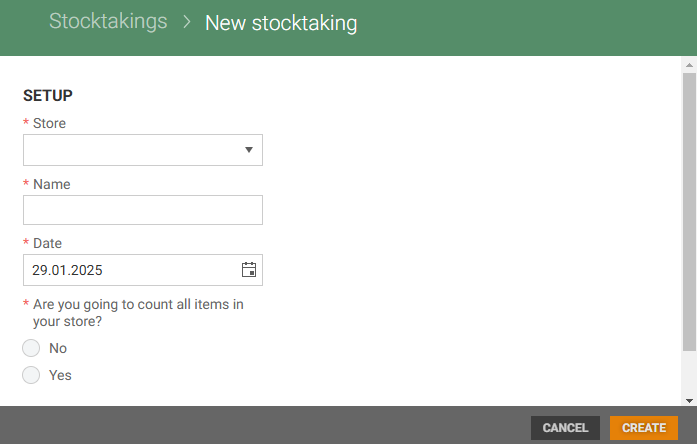
Click the New Stocktaking button in the Stocktakings view. The "New Stocktaking" view opens.
Select Store from the drop-down list.
Enter Stocktaking name.
Select the Date. Today's date is selected by default.
Choose Yes if you plan to count all items in your store.
Choose No if you not plan to count all items. You will then see three stocktaking type options: Cyclic, Random and Remainder. A description of each stocktaking type will be displayed. The fields you need to fill in will depend on the selected type.

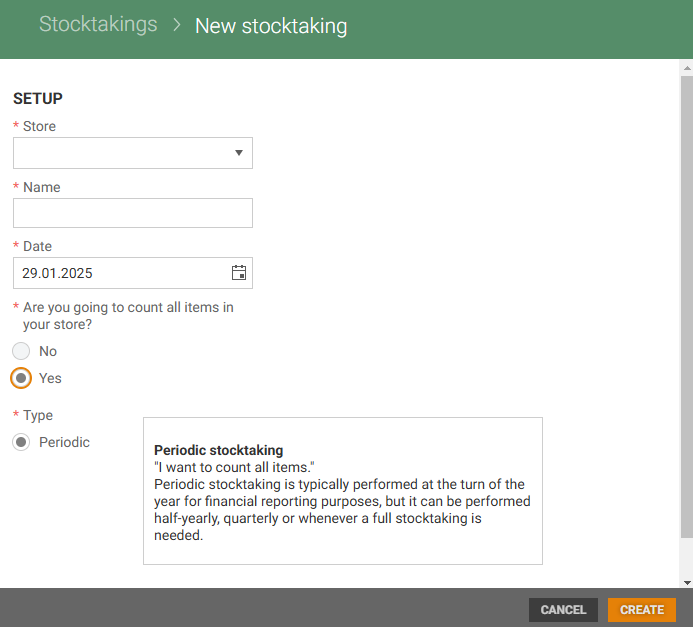
Periodic stocktaking
Select Yes if you are going to count all items in your store. Then stocktaking type Periodic is selected. Information about Periodic stocktaking is shown.

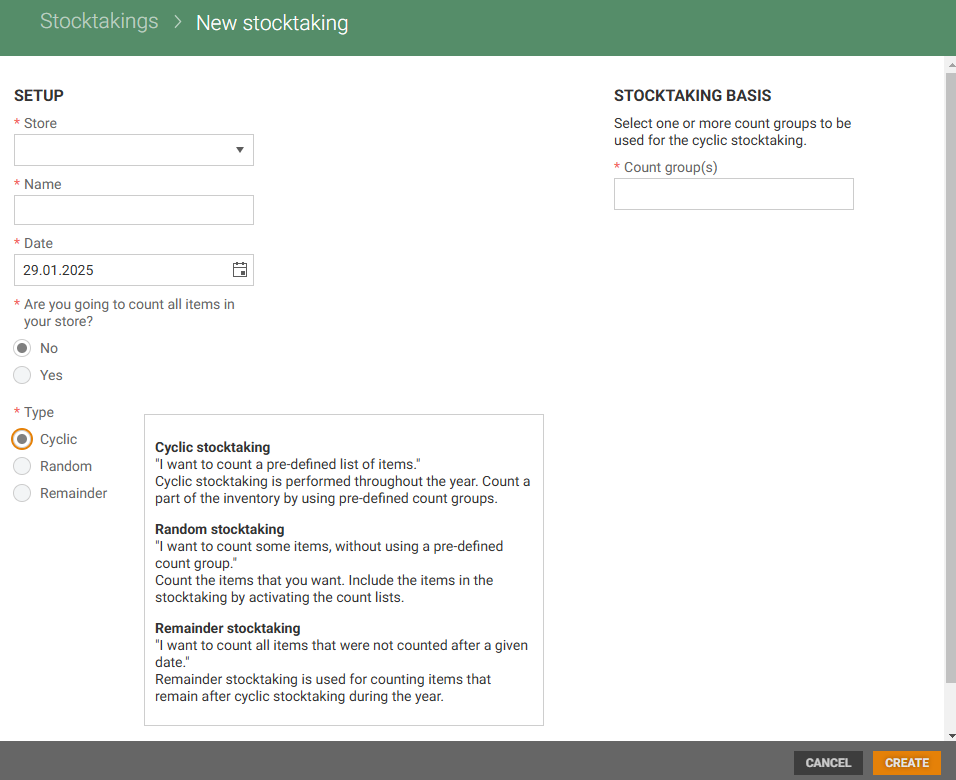
Cyclic stocktaking
To start a Cyclic stocktaking select No. Then select stocktaking type Cyclic. You must select one or more count groups to be used in the cyclic stocktaking. The count groups must be created before they can be added. It is only possible to select count groups available for the selected store.

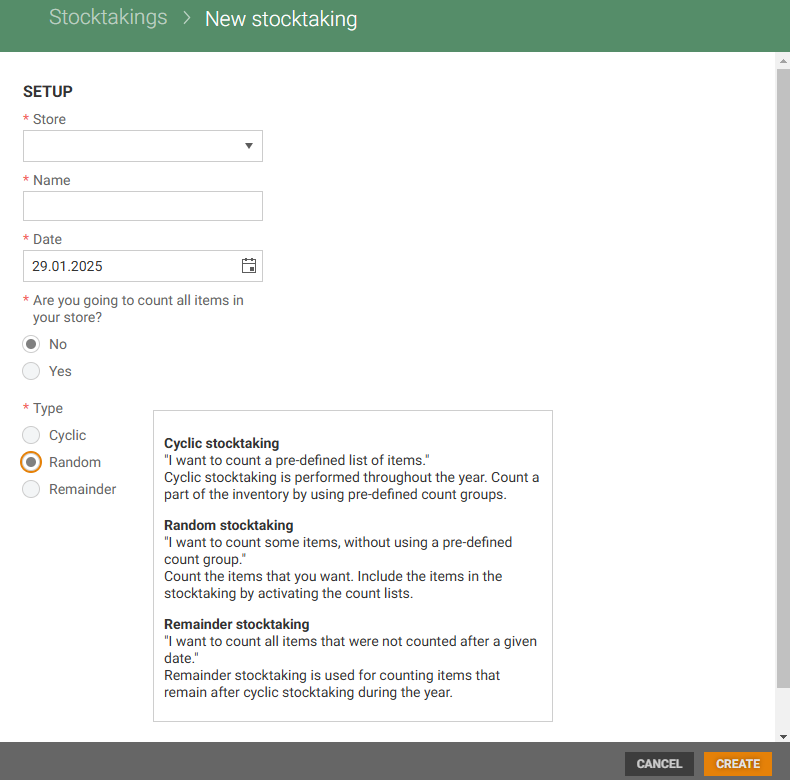
Random stocktaking
To start a Random stocktaking, select No. Then select stocktaking type Random, the stocktaking is empty upon creation. The items are added to the stocktaking by activating the count lists that the user wants to include in the stocktaking. The stock basis is taken from the count lists.

Assigned count list removal
If an assigned count list needs to be removed, the stocktaking needs to be deleted – and the Random stocktaking must be created again.
Reminder stocktaking
To start a Reminder stocktaking, select No. Then select stocktaking type Reminder.
The remainder stocktaking is used to count items that have not been counted since a specified date. The remainder stocktaking is typically used for counting items that were not previously counted during cyclic stocktakings during the year.
Items to include can be either all items that were not counted since a specific date, or only parts of the stock (count groups) that were not counted since a specific date.
If items from count groups are selected, only the items in these groups that were not counted since a specific date, are included in the stocktaking.
.png)
When stocktaking type is selected, and select stocktaking basis if it is required, you are ready to create the stocktaking.
Click on the Create button. The new Stocktaking is created.
At the bottom of the view information is displayed that a new stocktaking is being created.
.png)
When the stocktaking is created, stocktaking status changes to "Active" and you get a notification in the top right of the view. Click on View stocktaking to open the stocktaking.
.png)
In addition the bell icon  at the top right of the view get a red dot, telling you that there are a new notification. Click on the "Bell icon" to view the notification, and you can click View stocktaking to open the stocktaking.