In the Target group tab, you decide who should receive information about the offer. Configure the target group for “Personal offers” (defines who can make use of the offer).
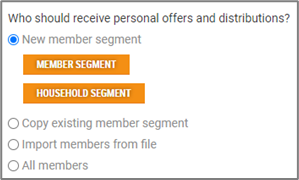
Target group configuration
The target group can be configured in several ways:
New member segment
The target group can be configured by creating a new member segment. You can choose between creating a member segment or a household segment (see the member segment description). 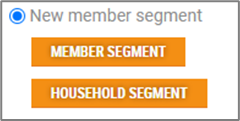
Copy an existing member segment
You can create a target group by copying an existing member segment. This will open a list of existing member segments.
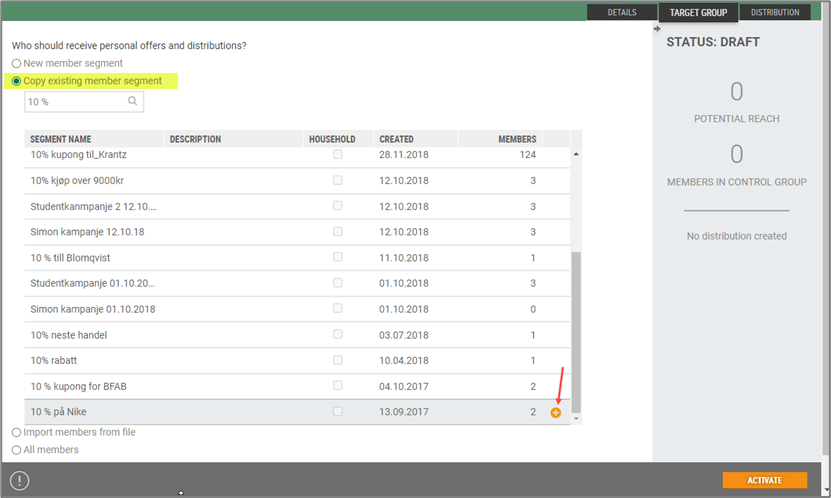
Search for a segment or select a segment from the list by selecting the relevant segment by clicking the orange + icon.
This will open the “Copy existing member segment”. This warning will appear: “The segment you want to copy might contain employees. Do you want to include them in your target group?”

You have two choices: Include employees or Exclude employees. Press the button for the desired member segment. The member segment will be copied to the target group.
Import members from file
Members can be added manually, e.g. by importing members from external systems. This is done by uploading the members via file import.
Tick "Import members from file".

Click on the Import members button. The "Import members from file" dialog opens.

You get a warning that the file might contain employees. Select if you want to include or exclude employees. There is one button for each choice; Include employees and Exclude employees.
Click on the relevant choice, file explorer opens. Select relevant .csv file and click Open to import file.
The file must be in.csv format and contain member numbers as the only column!
The members are imported and updated in the Target group tab.
All members
Tick “All members” if the campaign should be available to all members.
Control group
When you are defining the Target group the "Set control group" dialog opens.
You can either choose to add a control group (percentage of target group) or do not create a control group.
Click Next when you have made your choice.
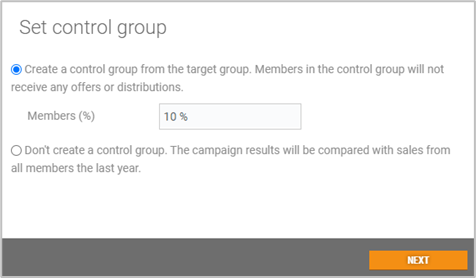
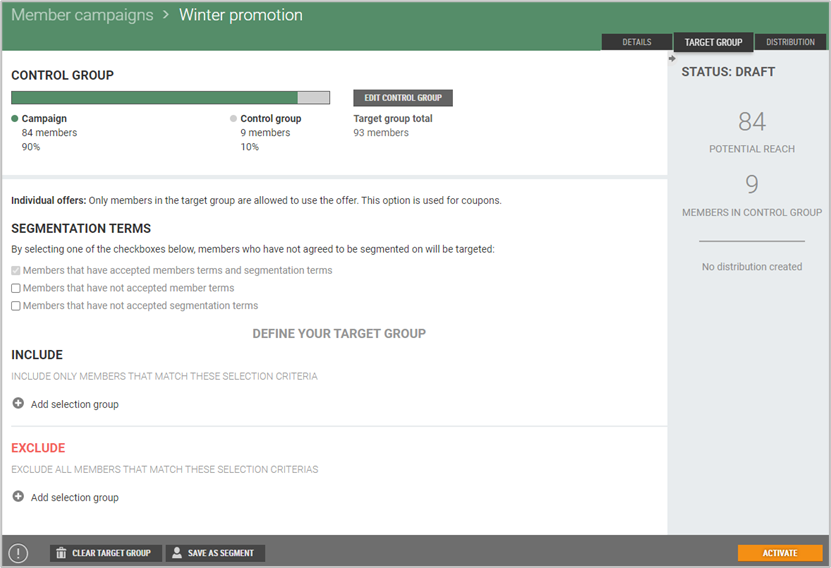
A control group is a percentage of the total target group that will not be a part of the campaign. The members in the control group will not receive any distribution or coupons as part of the campaign. The purpose of the control group is to analyze whether the campaign was successful. Either while the campaign is ongoing or after the campaign period is over, the control group can be used as a comparison to see whether the members in the target group generated more profit than the members in the control group.
Note:
The members in the control group are randomly selected from the target group.
If you decided to create a control group, then information about the control group is displayed at the top of the view. See example:
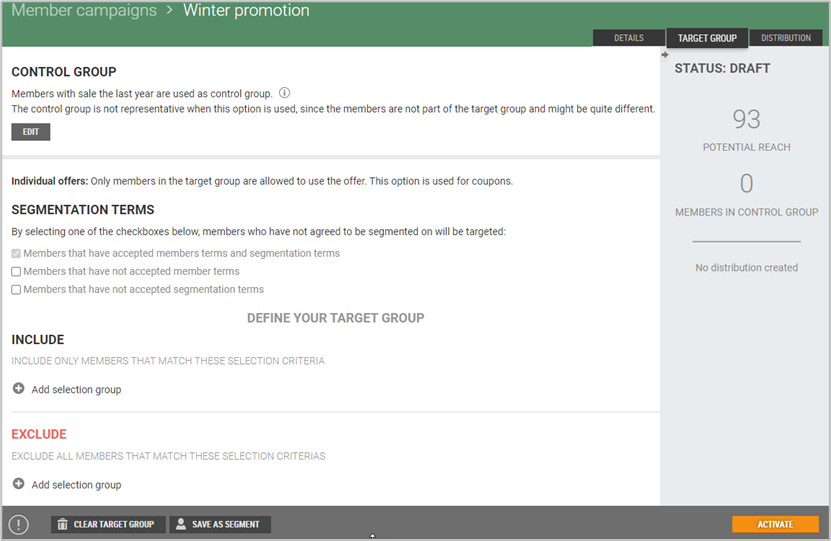
If you do not create a control group, then members with sales the last year are used as control group. When this option is used it is not representative since the members are not a part of the target group and might be quite different. See example:
Clear target group
You can remove the target group. Click on the Clear target group button. A confirmation question will appear, asking if you want to remove the target group. Select Clear to remove the target group.

Save as segment
You can save the segment created for the member campaign. Press the Save as segment button. This will open the “New segment” dialog.
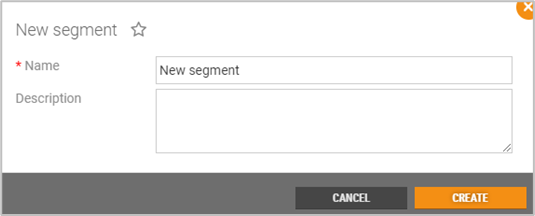
Register the name of the segment and add a description, if applicable. Click Create to create a new segment. This will open the view with member segment details. The member segment will now be available from the Member Segment menu.