The item register displays an overview of all items/models. You can choose between Item view and Variant view. Click on the link at the top right above the item table to switch between views.
Item view
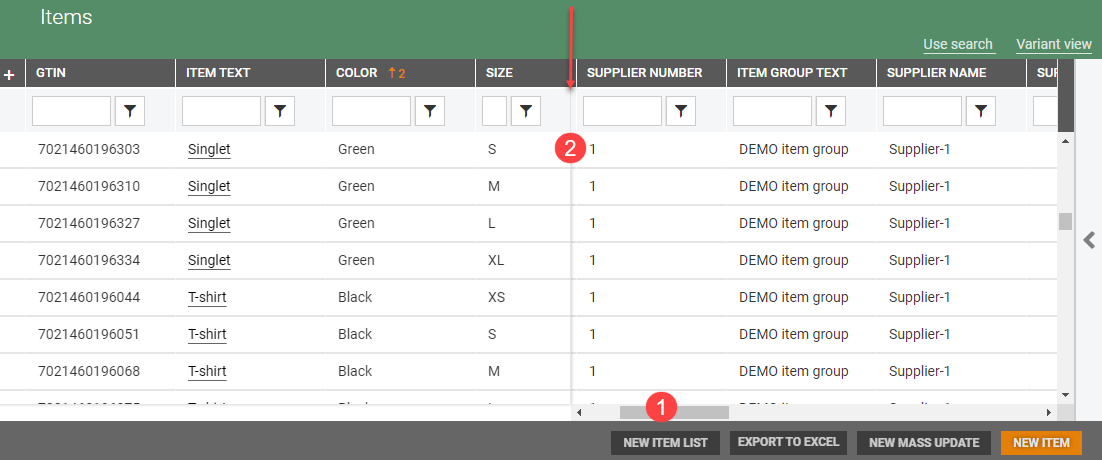
Item view shows an overview of all the items in the item register, with each item displayed on a separate line.
Variant view
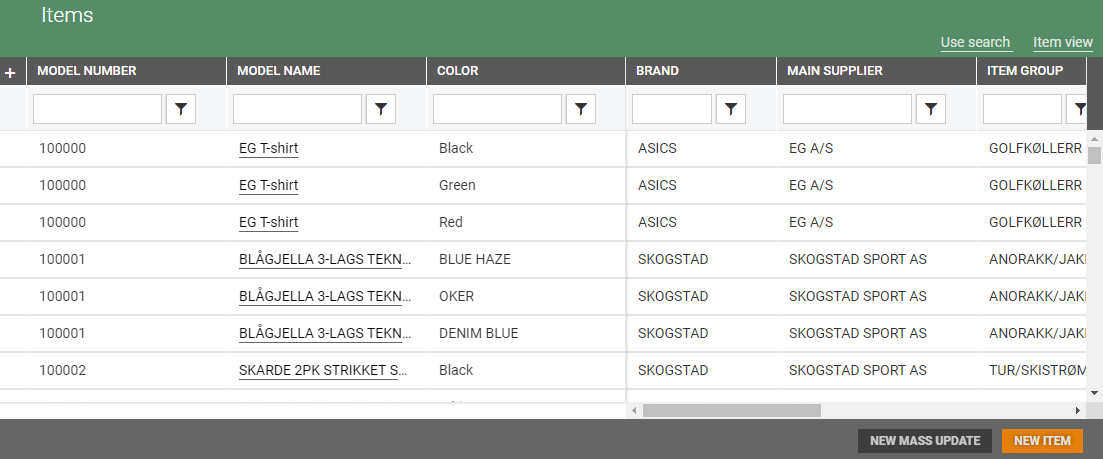
Variant view shows an overview at model/color level, with each variant displayed on a separate line.
Editing column view
There are two types of columns - locked columns and unlocked columns. They are separated on the screen by a grey line (2), where the locked columns are on the left side.
.png "image(15).png")
There is a horizontal scroll bar below the unlocked columns at the bottom of the screen (1). You can use this to scroll across and display further columns. The item text column is always one of the locked columns, the other locked columns can be configured. You can choose which columns are displayed and where they are positioned.
Select columns
You can choose which columns are displayed in the table by clicking on the “+” column selector button at the top left of the screen.

The “Select columns” dialog opens, showing a list of the available columns.
You can search for columns in the search box at the top of the dialog. You can also apply filters  to find the columns you want to display.
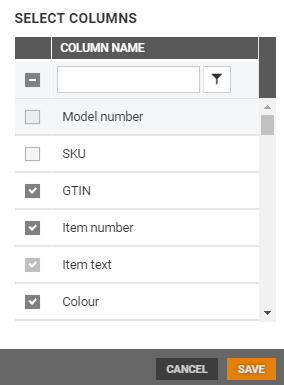
To add a column to the display, tick the box next to the column.
To remove a column from the table, untick the box next to the column.
Save your changes by clicking on Save.
Move columns
You can reorganize the columns to suit your needs by moving them to your preferred location. Click on the column heading and drag the column to the required location. You can also change which columns are locked by moving columns.

Change the width of columns
You can change the column width by dragging the column separator to the required width.

Re-export item, price and item store link
Export of items, prices, Item store links and store local values can be manually triggered from the item grid by clicking on the three dots "..." on the left side of the relevant item line, and selecting "Export item".

Information about “Item export has started” is displayed.

This option is visible to users with permission Access to system tasks and information in the System group.
View notifications
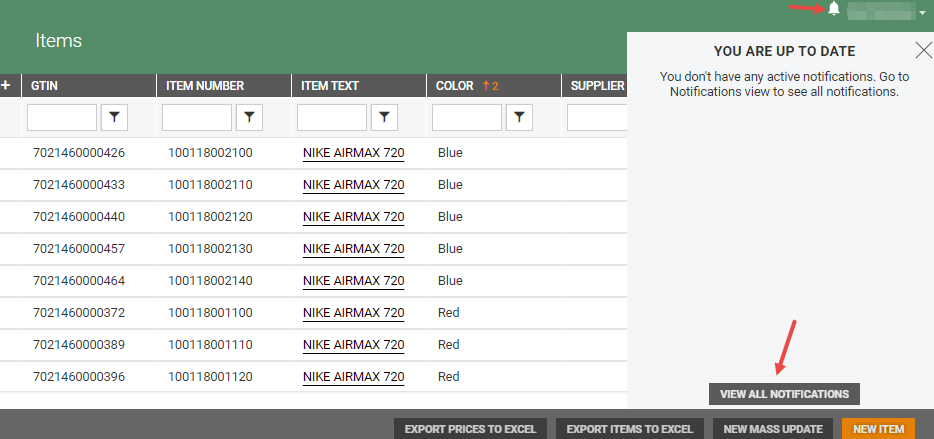
In the top right corner, you have a "Bell" icon. If you click the "Bell" icon a notification panel opens. In the notification panel you can see active notifications. You can also click on the View all notification button to go to "Notification view" to see all notifications.
When selecting View all notifications the user is navigated to a view showing all the user notifications (including dismissed).
For support purposes there is a permission that makes it possible for system users to view notifications for all users.
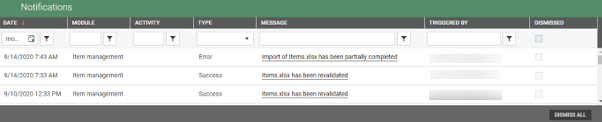 Notification screen – when "View all notifications" are selected
Notification is used to notify the user that different 'jobs' are finished. The user gets a notification e.g., when calculation has been finished in segments, when an Import is revalidated.
When the job is finished a notification is shown, and the "bell" icon gets a red mark  to show that there are notifications that require your attention. You can click on the "bell" icon to see the notifications. If the 'job' is completed the message is green, if something went wrong the message is red.
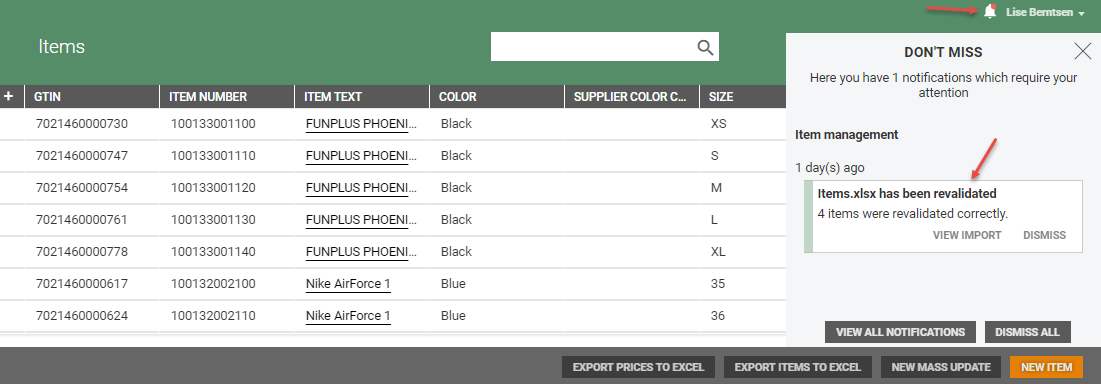 Notification when Import is revalidated
You can select to view or dismiss the notification. If you select "View", e.g., the Import, the segment or the Excel file opens, and you can watch the result.