Open menu
At the top left you have a menu![]() . Tap on the "Menu icon", the menu opens. The menu button displays the user’s initials.
. Tap on the "Menu icon", the menu opens. The menu button displays the user’s initials.
In the menu you find a few menu options.
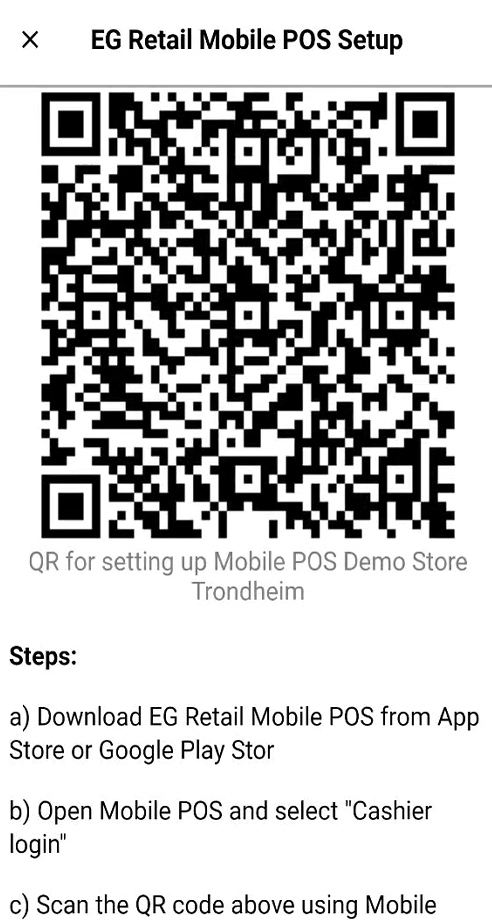
EG Retail Mobile POS Setup
If you want more information about "EG Retail Mobile POS Setup", you can tap on the name of the store in the menu with an icon of QR-code in front. This will provide a QR code which can be used on other devices for identifying the store during log in with cashier.
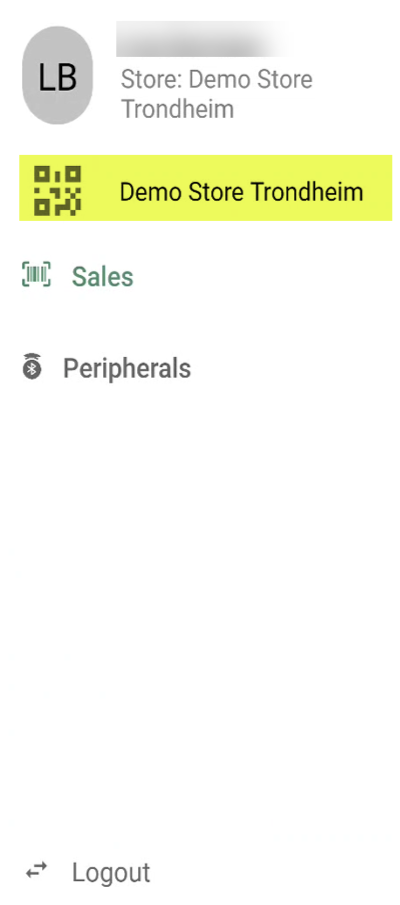
Sales – Tap Sales if you want to go back to the sales view.
Logout - Tap Logout, to logout. Mobile POS login view open
Printer
When you are in the menu, tap on Peripherals, the "Peripherals" view opens.
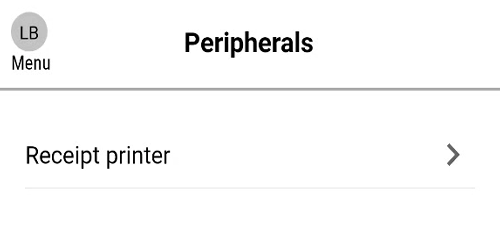
Tap on Receipt printer to see receipt printer(s) configured on the device
It is possible to add a new printer by tapping on the Add new printer button at the bottom of the view.
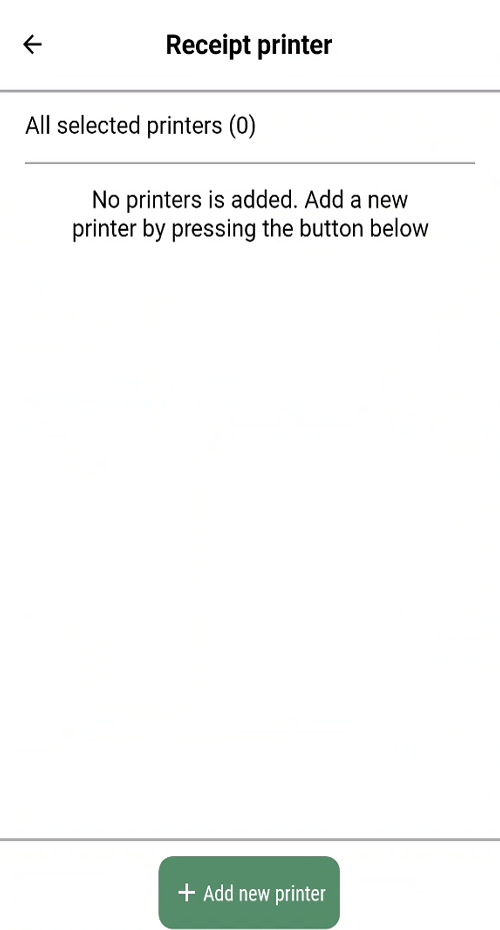
The "Connection method to printer" dialog opens. You have two options: Wi-Fi and Bluetooth.
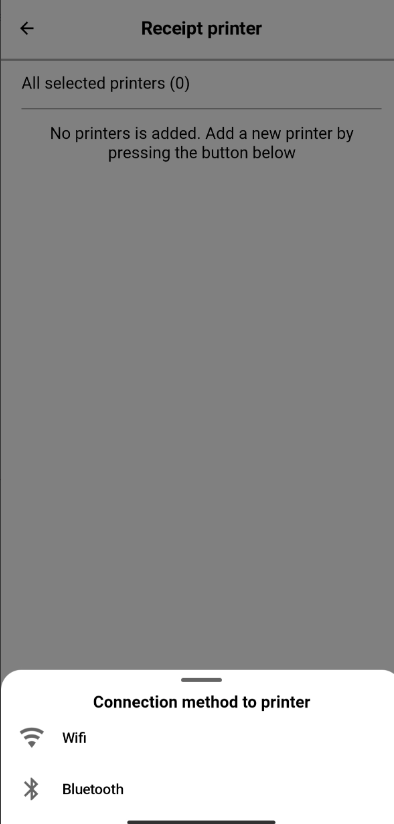
Tap on the relevant connection method.
Connect to Wi-Fi printer
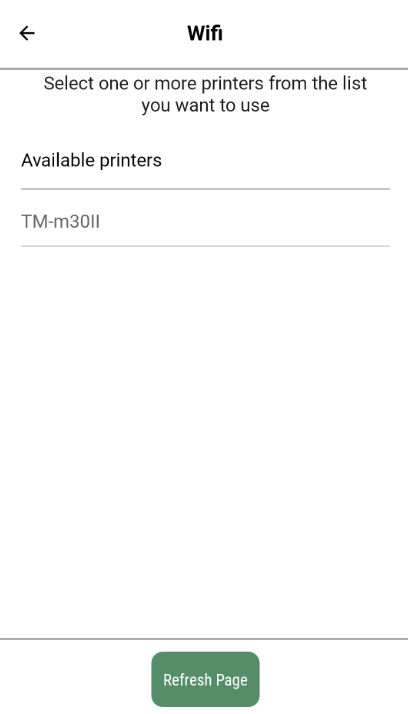
Select Wi-Fi from the "Connection method to printer" dialog.
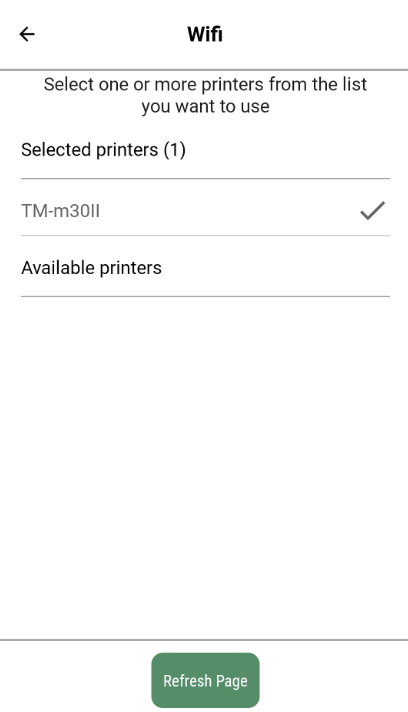
Select relevant printer when the printer appears, to connect to the printer.
When the printer is connected, the printer is shown in the list of printers. If the printer does not show up, this means the printer is not connected to the same network as your device.
Connect to Bluetooth printer
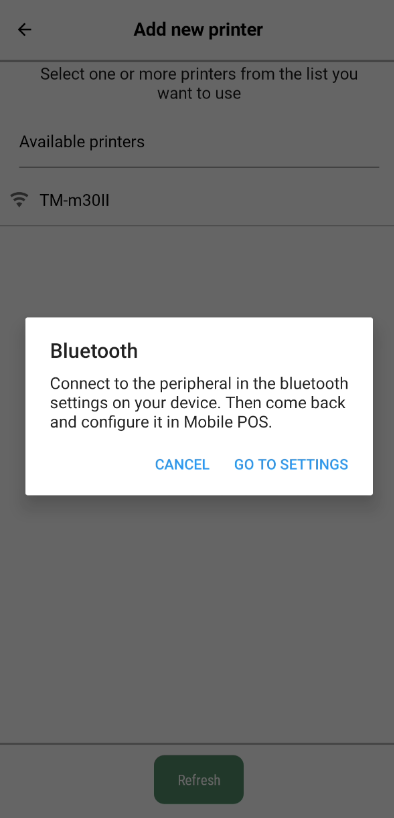
Select Bluetooth from the "Connection method to printer" dialog.
The "Bluetooth" dialog opens. Informing you to connect to the peripheral in the Bluetooth settings on your device.
You must select Go to settings if the printer is not paired to the device. If the printer is already paired, you can click on cancel.
Go to settings and select Bluetooth printer and pair it.
Navigate back to the Mobile POS app by tapping the "back button" and select the printer in the app.
Bottom menu in sales
At the bottom of the sales view, you find four smaller menus.
.png)
Options
Which functions you find in the Options menu depends on if a sale is started or not, and if a specific item line is selected.
Scan
Scan is used for camera scanning and is not needed when the app is used on a device with a built-in scanner.
Customer
The Customer menu is used to create or add Loyalty member or customer to the sale.
Search
The Search menu is used to search for items.
See Sales for more information.