At the bottom of the Service order details view there are several functions that can help you to manage and process service orders.

Cancel order
You can cancel the service order if needed.
Service order can be canceled by clicking the More (…) icon.
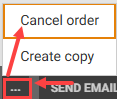
Select “Cancel order”.
This opens the “Cancel order” dialog.
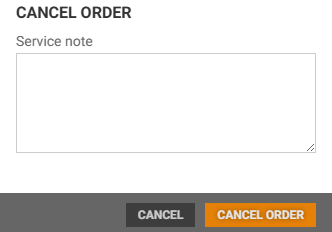
You can optionally add a service note before cancelling. This Service note will be saved in the History tab.
Click Cancel order button to confirm. The order status will change to Cancelled.
Create copy
You can create a new service order with data from an existing service order by creating a copy of an existing service order.
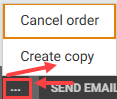
Click the More (…) icon, and select “Create copy”.
This opens the Create copy view. It is pre-filled with data from the previously selected order (aside from the store if user has access to multiple stores) and service items.
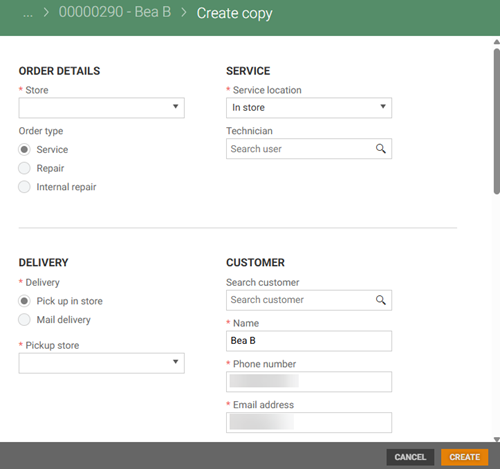
If you have access to more than one store you must select relevant store.
Click the Create button to create the service order.
Send email
The Send email function can be used to send Service receipt or Order confirmation with customized message to the customer. The event is saved in the History tab when email is sent manually.
Click the Send email button.
The “Send email to customer” dialog opens.
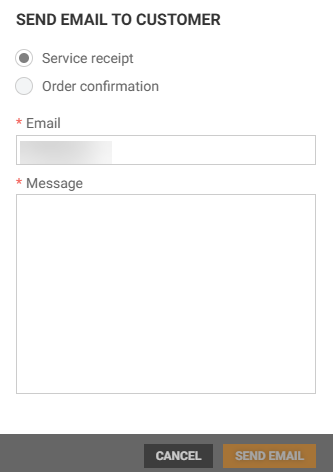
Check the relevant option: Service receipt (default) or Order confirmation.
Fill in the required fields:
Email* - It is pre-filled with the customer’s email, but can be changed.
Message* - Add a message to the customer.
Click the Send mail button to send the email.
Emails are sent automatically in two cases:
Order confirmation is sent when order is created.
Service receipt is sent when order is delivered.
Print document
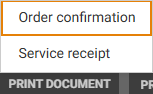
The Print document function can be used to print Order confirmation and Service receipt for service orders.
Click the Print document button, select desired option. For order type Service or Repair you get two options: Order confirmation and Service receipt. For order type Internal repair, the only option is Service receipt.
A preview of the selected document opens in the printer dialog.
Adjust printer settings if wanted, then click Print.
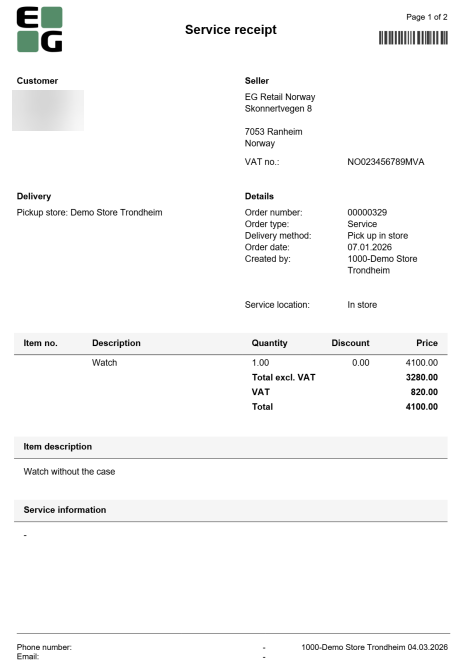
Service receipt preview
Print label
Use the Print label function to print labels for service items. Two label types are available: Small or Large.
Printing supports various paper sizes, orientation and scaling options.
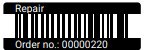
Small label
Includes order type, order number and a barcode representing the service order number.
Up to 60 labels can be printed at once.
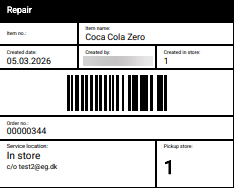
Large label
Includes order details and item details (for Repair and Internal repair types).
Up to 60 labels can be printed at once.
Steps to print:
Click the Print label button.
The “Print label” dialog opens.
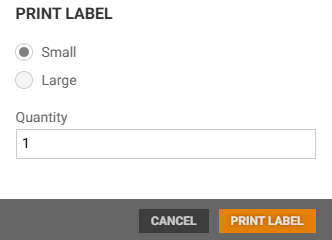
Select label type.
Enter the Quantity.
Click the Print label button to preview the label in the printer dialog.
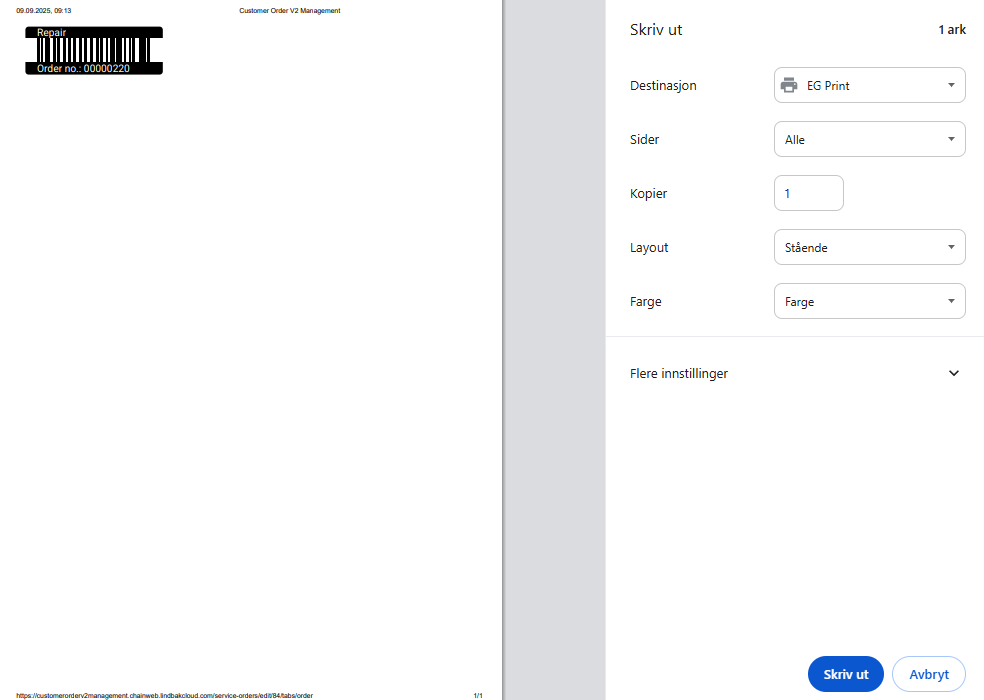
Adjust printer settings if needed, then click Print.
Send SMS
Send an SMS to the customer from the service order view.
Click the Send SMS button.
The “Send SMS to customer” dialog opens. There are 2 options, Ready for pickup (default) and Other.
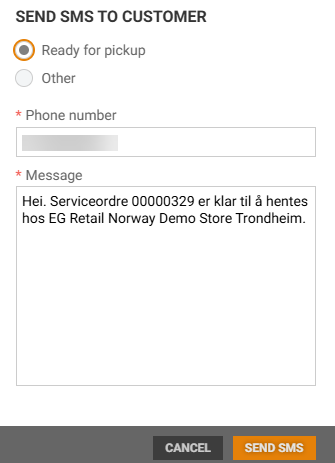
The customer’s phone number is pre-filled but can be edited.
Add a message, and click the Send SMS button. An SMS is sent to the customer.
Set to done
Mark a Service order as completed.
Click the Set to done button.
The “Set to done dialog” opens.
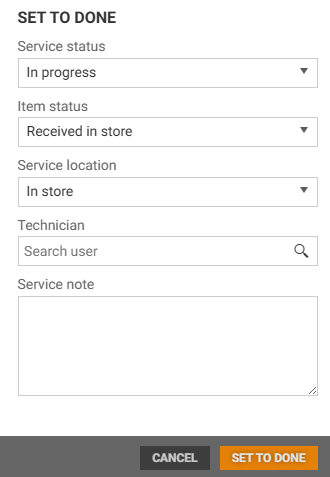
Update the following if needed:
Service status
Item status
Service location
Technician
You can add a Service note, it will be saved in the History tab.
Click Set to done. The order status changes to “Done”.
Update status
Status on the order can be updated manually. Status can be updated both in the “Order” tab and the “History” tab.
Click the Update status button.
The “Update status” dialog opens.
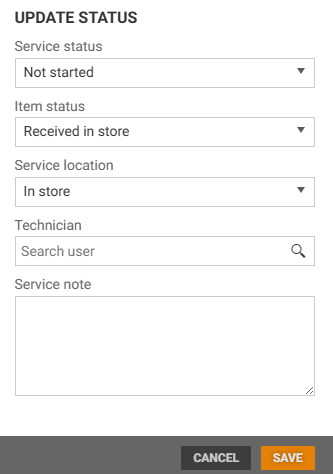
You can update these fields :
Service status
Item status
Service location
Technician
You can add a Service note, it will be visible in the History.
Click Save to apply changes.
Register time
Log time spent working on the service order. Time can be registered both in the “Order” tab and the “History” tab.
Click the Register time button.
The “Register time” dialog opens.
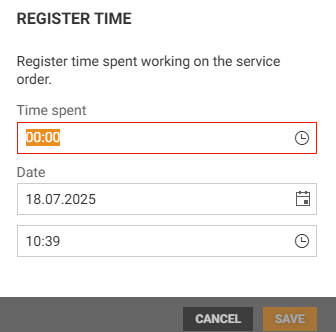
Enter time spent (e.g., 01:30 for 1 hour 30 minutes).
The current date and time are pre-filled, but can be changed.
Click Save to register the time.
Save
Click the Save button to apply changes.