An internal transfer moves stock from your store to another store in the chain. You pick the receiving store first, then add the items and quantities to send.
You reach the Internal transfer flow from the Create tab → Inventory → Internal transfer. Internal transfer pages share the general transaction layout, header, more menu, discard, finish, and done described on Transaction basics. This page covers only what is specific to internal transfer.
The start page
The Internal transfer start page asks you to pick the receiving store before you add any items.
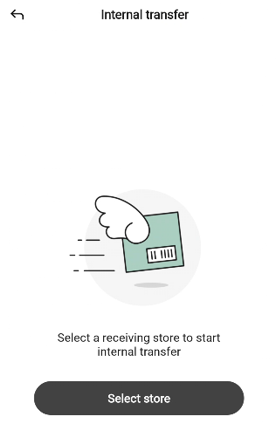
The page shows a winged-box illustration, the message “Select a receiver store to start an internal transfer”, and a Select store button.
Tap Select store to open the Select store bottom sheet.
To leave the start page without starting a transfer, tap the back arrow in the top-left.
Selecting the receiver store
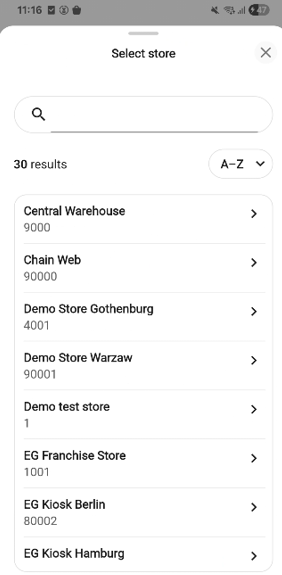
Type in the search field to narrow the list. The result count appears below (for example, 100+ results).
Tap the A→Z dropdown to change the sort order.
Each row shows the store name and number. Tap a store to choose it as the receiver. The sheet closes and the transfer page opens.
Tap the X to close the sheet without choosing. You return to the start page.
The internal transfer page
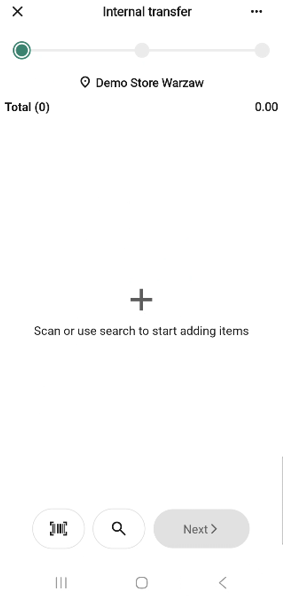
The page uses the standard transaction layout. Below the progress bar, a receiver row with a location pin shows the store you are transferring to (for example, EG Mustad Park). Once at least one item is added, a Total row appears above it with the item count and total value.
The bottom bar has a scan icon, a search icon, and a Next button. Next is disabled until at least one item is on the transfer.
Item rows follow the shared quantity-row pattern.
The more menu
The “More …” button in the header opens the internal transfer options bottom sheet.
The menu has only the common options Add quick action, Hide total, and Discard transaction. An internal transfer cannot be put on hold - Put on hold is not listed.
The finish page
Tap Next on the transfer page to open the finish page.

The summary has these rows, all read-only:
Transfer to — the receiver store.
No. of items — number of distinct items on the transfer.
The free-text field is labelled Transaction note with the placeholder “Add note”.
Tap Submit to register the transfer, or Back to return to the transfer page.
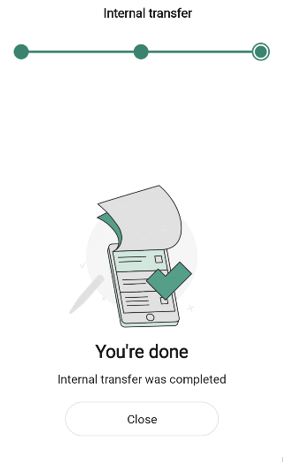
The done page
After you submit, the done page confirms the transfer. The message reads “Internal transfer was created”.
How the submission is processed
When you tap Submit, the transfer is queued for delivery to the Inventory Service - the system that tracks stock and stock movements across your store. The hand-off happens in the background, so the done page appears right away; stock figures at the sender and receiver stores may take a short moment to reflect the transfer.