Prepare shipment packages up temporary storage units (containers and pallets that were filled during other transactions such as Temporary storage) and prepares them for collection. You pick which storages go on the shipment, declare how many transport items (blue containers and Euro pallets) are included, and submit.
You reach the Prepare shipment flow from the Create tab → Procurement → Prepare shipment. Prepare shipment pages share the general transaction layout, header, more menu, discard, and done described on Transaction basics. This page covers only what is specific to prepare shipment.
Unlike most transactions, prepare shipment works with storage, not items - the items inside a storage are only shown for reference, not edited.
The start page
The Prepare shipment start page opens with a hint to scan a storage, plus a button to go straight to the empty shipment page.
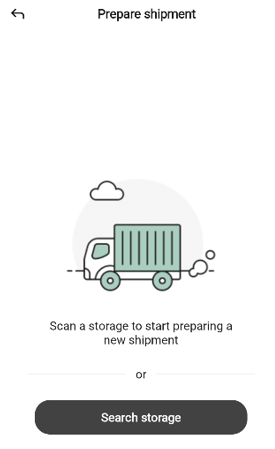
You can begin in two ways:
Scan a storage - point the device at the storage unit’s barcode. When recognized, the shipment opens with that storage already on it.
Tap + New shipment - open an empty shipment; add storages yourself.
To leave the start page without preparing a shipment, tap the back arrow in the top-left.
If a shipment is already paused, the app asks whether to resume it before the start page.
Adding storage
On the shipment page, use the search or scan icons in the bottom bar to add storage.
Scanning storage
Scanning a storage’s barcode adds it to the shipment.
If the scanned number does not correspond to a storage of a category valid for shipping, the “Invalid storage ID” popup opens: “The scanned number does not match any storage of relevant category.”
Tap Close and try again.
Searching for a storage
Tapping the search icon opens the Add storage bottom sheet.
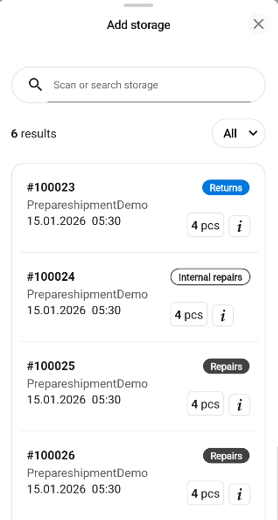
Type in Search storages… to narrow the list. The result count appears below (for example, 8 results).
Each row shows the storage ID (for example, 00127), a category badge (Repairs, Internal repairs, or Returns), the storage’s description (for example, Blue container by the register), the last modified date and time, and the number of items in the storage (for example, 48 pcs). Category badges use distinct colors for quick identification.
Tap a row to add the storage to the shipment.
Tap the info (i) icon on a row to open the storage detail sheet for a read-only preview.
Tap the All dropdown at the top-right to filter by category — All, Repairs, Internal repairs, or Returns.
Tap the X to close the sheet.
The Prepare shipment page
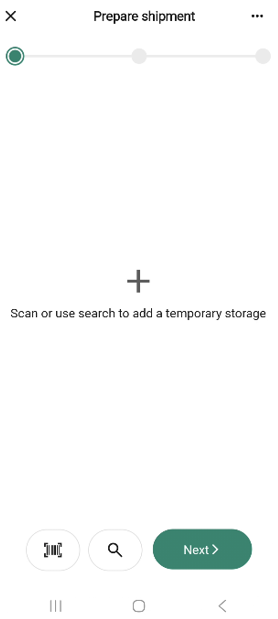
The page uses the standard transaction layout with one notable difference: the Next button in the bottom bar is active from the start. A shipment is valid even with no storages - it can be submitted with only transport items - so you can advance at any time.
When no storages are on the shipment, the main area shows a + icon and “Scan or use search to add a temporary storage”.
Viewing a storage’s content
Tap the info (i) icon on a storage row - or choose View content from the storage options (see below) - to open a read-only detail sheet for that storage.
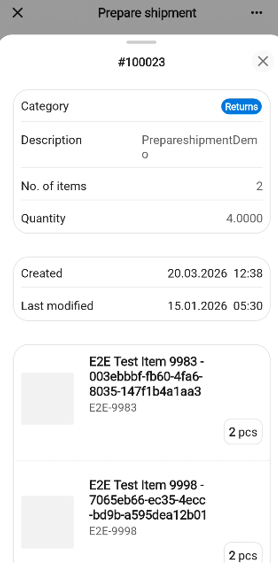
The sheet shows the storage’s Category, Description, No. of items, Quantity, Created and Last modified timestamps, and - below - a list of every item in the storage with its quantity.
Tap the back arrow in the top-left to return to the shipment, or the X to close the sheet.
Storage options
Tapping the body of a storage row (rather than the info icon) opens an options sheet titled with the storage ID.
View content — opens the storage detail sheet described above.
Remove storage unit — opens the “Remove storage unit?” popup: “Storage unit ‘#’ will be removed from the shipment.” Tap Remove to confirm, or Cancel to go back.
Tap the X on the options sheet to close it without choosing.
The more menu
The More (… )button in the header opens the Prepare shipment options bottom sheet.
The menu has only Add quick action, Put on hold, and Discard transaction — no Hide total (the shipment does not show a total row) and no Edit name.
Transport items
Tapping Next on the shipment page opens the “Transport items” dialog before the finish page.

The dialog asks, “How many transport items are included in the shipment?” and has two count fields, each with − and + step buttons:
Blue containers
Euro pallets
Enter the counts for each and tap Save. The finish page opens. Tap the X to close the dialog without saving - you stay on the shipment page.
The Finish page
The finish page shows a summary of the shipment.
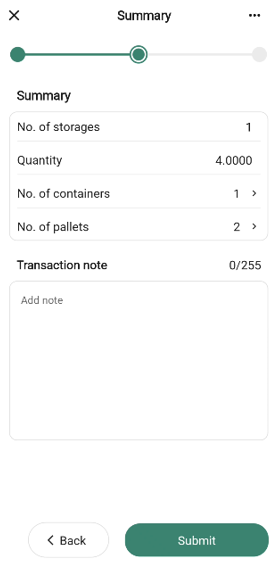
The summary has 4 rows:
Storages — number of storages included in the shipment.
Quantity — number of items in the storage.
Blue containers — number of blue containers, with a chevron >. Tap the row to reopen the Transport items dialog and change the count.
Euro pallets — number of Euro pallets, with a chevron. Same row-tap behavior as above.
The free-text field is labelled Transaction note with the placeholder “Add note”.
Tap Submit to finalize the shipment and request a shipping label, or Back to return to the shipment page.
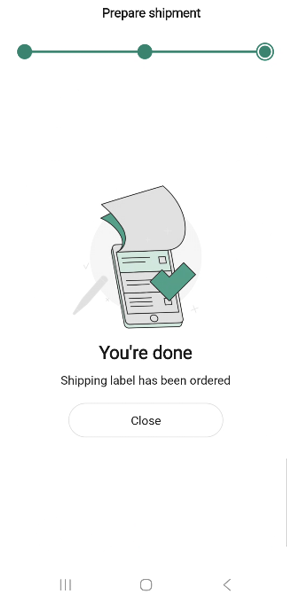
The done page
After you submit, the done page confirms the shipment has been booked. The message reads “Shipping label has been ordered”.
How the submission is processed
When you tap Submit, the app calls the Inventory Service directly to mark each storage on the shipment as cleared out and to request the shipping label. The done page appears once the service confirms the update, so the storages are effective immediately - they will no longer appear in storage searches for other transactions.