An Item list is a named list you build by adding items, one at a time. It is used when you need to collect a set of items without counting or pricing them - for example, to share a selection or to prepare input for another transaction. The list has a name that you choose when you create it and can change later.
You reach the Item list flow from the Create tab → Item → Item list. The flow has three steps, shown as dots at the top of each page: the item list step (add items), the finish step (review and submit), and the done step (confirmation).
Item list pages share the general transaction layout, header, more menu, and done page described on Transaction basics. This page covers only what is specific to item list.
The start page
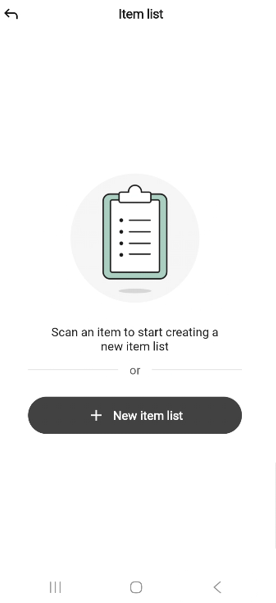
The Item list start page opens when you have no active or paused item list.
The page shows a clipboard illustration, the message “Scan an item to start creating a new item list”, an or separator, and a + New item list button.
You can start a new list in two ways:
Scan an item — aim the scanner at the barcode. When a barcode is recognized, the Enter a name sheet opens and the scanned item is added as soon as you finish naming the list. See Scanning an item.
Tap + New item list — the Enter a name sheet opens and the list is created empty.
To leave the start page without creating a list, tap the back arrow in the top-left.
If an item list is already paused, the app asks whether to resume it before the Enter a name sheet appears. See Resuming a paused transaction.
Naming the list
Unlike most transactions, an item list must be named before it is created. The Enter a name bottom sheet opens as soon as you scan the first item or tap + New item list.
The sheet shows a text field with the placeholder “i.e. ‘My item list’” and a Next button. Next is disabled while the field is empty.
Type a name. As soon as the field is not empty, Next becomes active.
Tap Next to open the list. If you started by scanning an item, that item is already on the list; otherwise the list opens empty.
To cancel without creating a list, tap the X in the top-right of the sheet.
The list can be renamed later from the more menu — see Editing the name.
The Item list page
The Item list page is where you build the list.
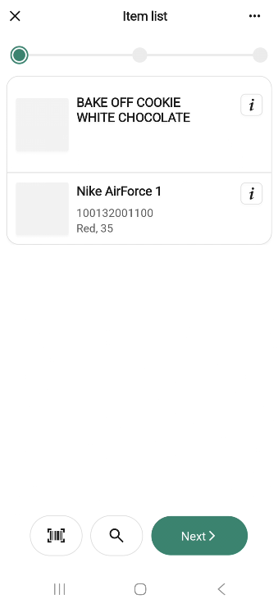
The page uses the standard transaction layout. The bottom bar has a scan icon, a search icon, and a Next button. Next is disabled until at least one item is on the list; tap it to move to the Finish page.
Adding items works the same as in other transactions — see Adding items by scanning and Adding items by searching.
Item rows
Item-list rows are different from other transactions: there is no quantity field, so the row itself is not focusable. Each row shows the item’s thumbnail, name, item number, and variant details, with an info (i) icon on the right that opens the item’s Item details page.
Tap the body of a row to open an action sheet with these options:
View item details — opens the item’s Item details page.
Remove item — opens a confirmation popup (see below).
Removing an item
After you choose Remove item, a confirmation popup reads “‘<item name>’ will be removed from the item list.”
Tap Remove item to confirm or Cancel to go back. Removed items disappear from the list immediately.
The more menu
The “More (… )“ button in the header opens the Item list options bottom sheet.
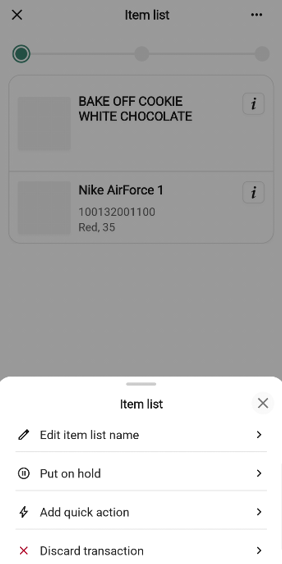
The menu lists the common transaction options — Add quick action, Put on hold, and Discard transaction — plus one option specific to item list:
Edit item list name - opens the Edit name sheet to rename the list.
The finish page
When at least one item is on the list, tap Next on the Item list page to open the finish page.
The summary has two rows:
Name — the list’s current name, with a chevron. Tap the row to open the Edit name sheet and rename the list before submitting.
No. of items — read-only count.
The free-text field is labelled Description with the placeholder “Add description”. Tap Submit to create the list, or Back to return to the Item list page.
The done page
After you submit, the done page confirms the list was created. The message reads “The item list was created”.
How the submission is processed
When you tap Submit, the list is saved directly to the Item Service — the system that owns the master list of items for your store chain. The app waits for the service to confirm before the done page appears, so the list is available elsewhere as soon as you see “The item list was created”.