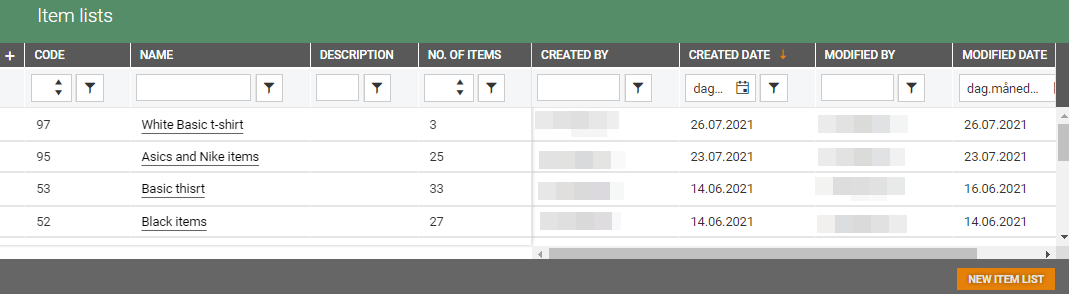
An item list can be used to do "actions" on multiple items. In the Item lists you find an overview of the saved item lists. From this view you can edit existing item lists, or you can add new item lists.
Create new item list
There are two ways to create a new item list.
You can use the function “New item list” in the Item overview when you are using the “Item view”.

Item lists can also be created form the Item lists view.
Click on the New item list button, and the “New item list” page opens.
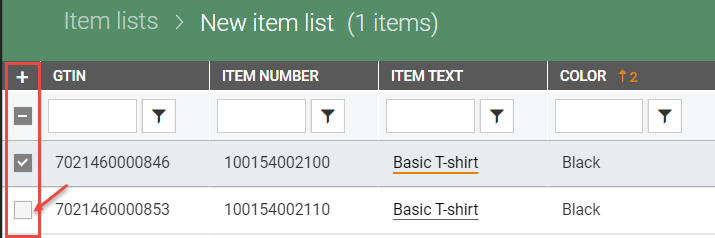
Select items by clicking in the + column on the items you want to add.
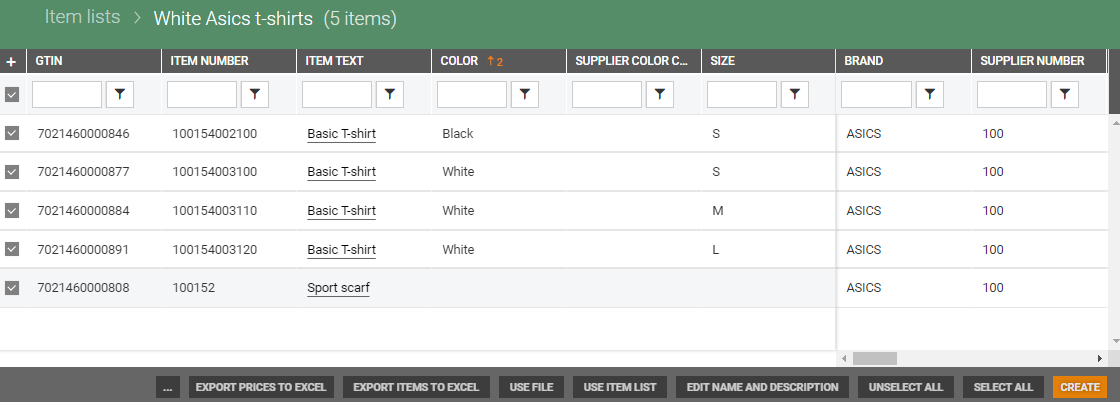
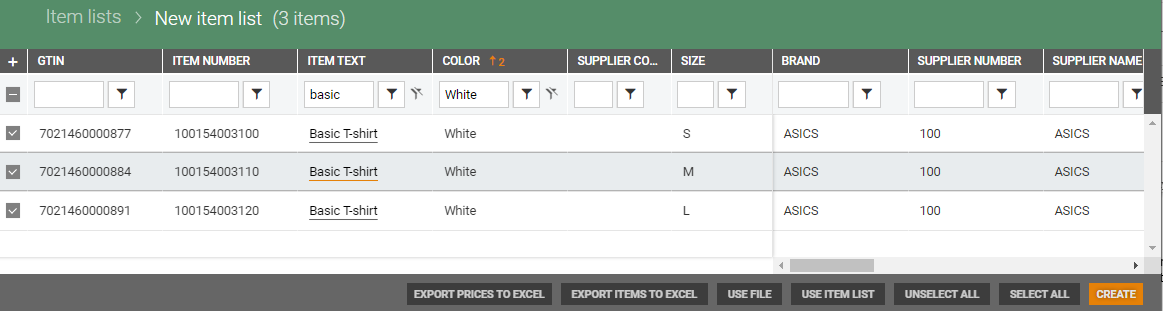
Use filter to filter the items you want to add to the item list. In the example bellow I have filtered on "Item text"- basic and "Color" - white, the result is all items with item text "Basic T--shirt" and color "White":

Click in the + column on the items you want to add to the item list or click on the Select all button to select all items in the filter.
If you want to select more items, you must remove the filter by clicking on the Clear filter  button next to the filter button. Then you can add more items, either by ticking one and one item, or by adding a new filter.
At the bottom of the view, you have functions that you can use to modify your selection. Some functions can be used on the new and existing item lists.
When you have added all the items you want in your item list, click on the Create button to create the item list. When you click Create you have two options: Item list or Promotion.

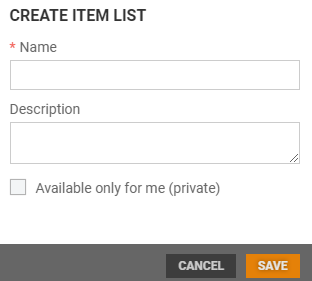
Click Create and select "Item list". The "Create item list" dialog opens.
Add a name to the item list. You can also add a description.
You can define if the list should be private or public. Tick "Available only for me (private)" if the list should be private.
Click Save to create the item list.
Item list detail's view opens, here you see all the items in the item list.
You can use the buttons at the bottom of the view to modify the item list.
Create new promotion
Click on the Create button and select "Promotion" to create a Promotion for the items in the item list.

The Promotion > New opens. Your offer will contain the items in the item list. Add the promotion details to create the promotion.
.png "image(130).png")
See Create new promotion for information on the promotion details.
Please note that this feature should not be used unless you are using the Promotion module.
Functions in item lists details view
At the bottom of the Item lists detail view there are buttons with functions you can use to modify the item list.
.png "image(59).png")
Select all
When you use Select all function, all items in the filter is selected.
To use the "Select all" function you need to use filter to select the items you want in your item list. If you don't use filter the selection will be too large. If you try to use the function without filtering, you get a warning.

Unselect all
You can use the Unselect all function if you want to unselect all the items that you have selected. The behavior of this function depends if the filter is used or not, and if you use the function on a new item list or on an existing item list.
Without filter on new item list
If you have selected items without using filter in a new item list, and select the Unselect all function, "Unselect all from item lists" warning dialog opens.

Click Unselect all to unselect the items.
With filter on new item list
If you select Unselect all when you have used filter in a new item list, only items in the filter are unselected.
On existing item list
If you select the Unselect all function on an existing item list, you unselect all items in the item list.
Edit name and description
You can edit the name and description on the item list.
Click on the Edit name and description button, "Edit name and description" dialog opens.
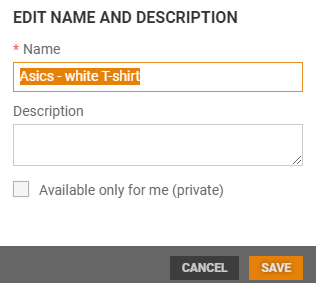
Edit name and/or description. You can define if the list should be private or public. Tick "Available only for me (private)" if the list should be private.
Click on the Save button to save the changes.
Use item list
You can update your selection with items from an existing item list.
Click on the Use item list button. "Use item list "view opens, it gives an overview of existing item lists.
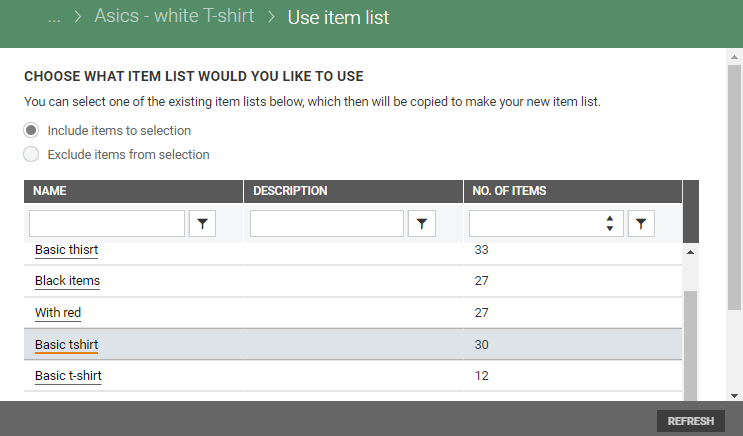
You can either Include or Exclude the items in the item list.
Click on the name of the list you want to use or use filter to find the item list. "Add items based on the item list" dialog opens. You must confirm that you want to use the item list by clicking Update selection.
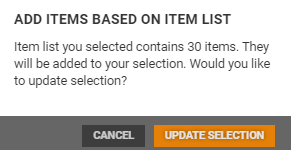
Items from the selected item list are updated.
Refresh
At the bottom of the "Use item view" you find a Refresh button. You can use this button to refresh the grid.
Use file
You can use an existing file to add items to the selection.
Click on the Use file button. The “Use file” dialog opens.
Select how the file should affect your item selection.
Default choice is "Include items to selection", but you can select "Exclude items from selection " instead.
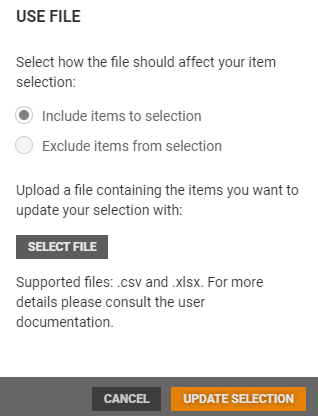
Click Select file to upload the items you want to update your selection with. Select the file you want to update; it must have .csv format.
Click Open to upload the file.
Click Update selection. Selection is updated.
To add items to the item list you must select a .csv file with an External item number (ExternalItemNo), GTIN (MainGtin), or SKU (Sku) identifier (columns names equal hidden key value from Excel files).
Only one identifier can be used at a time (one per file)!
Export items to Excel
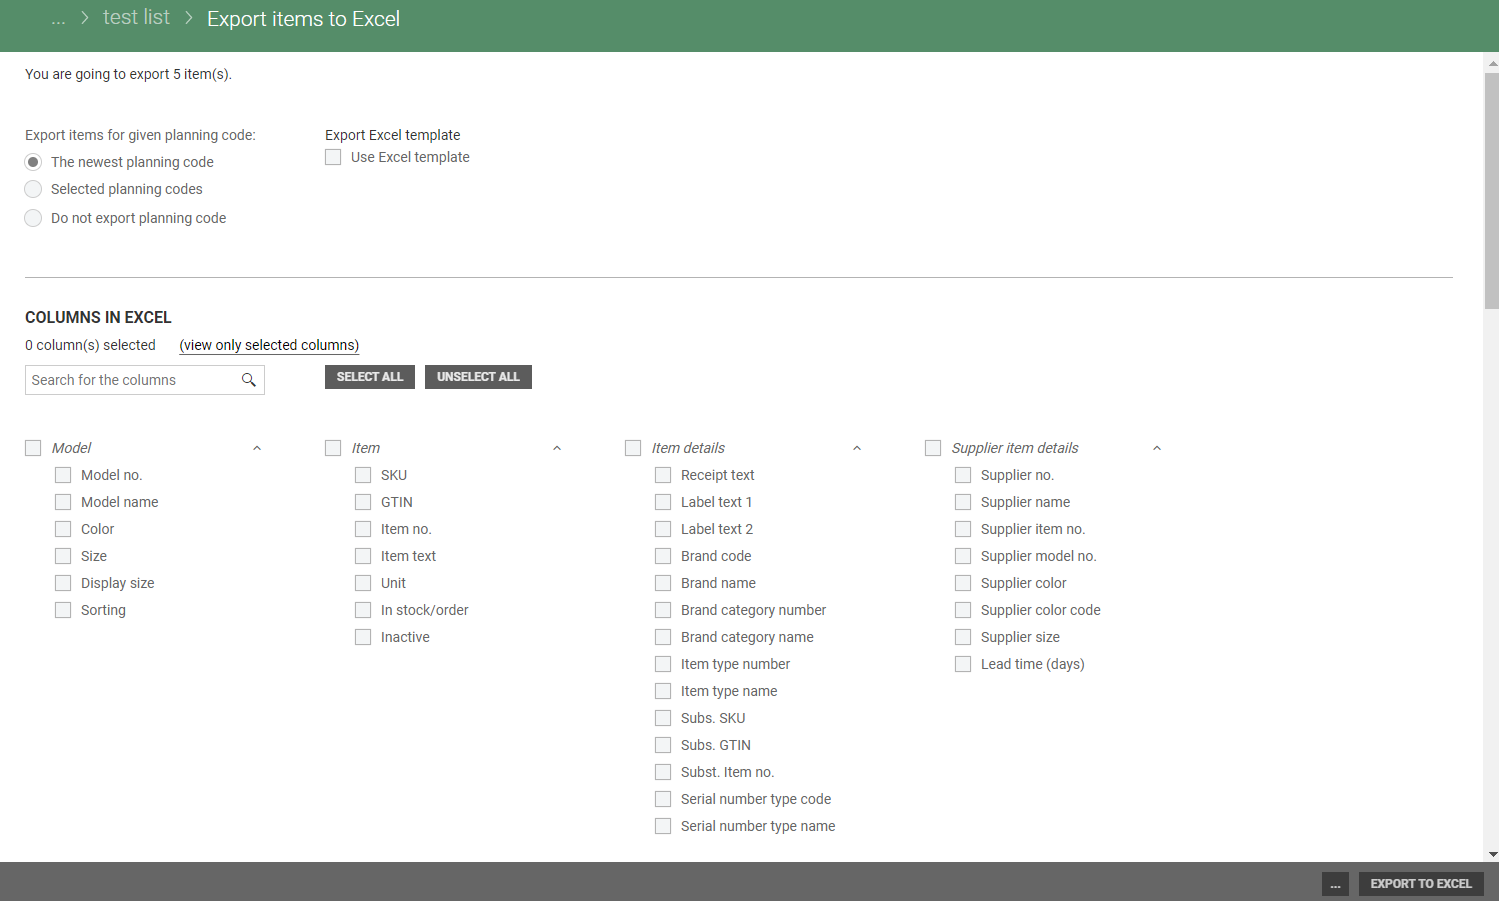
You can export items in the item list to Excel. Select "Export items to Excel". Export items to Excel view opens.
In top of the view, you see the number of items you are going to export. See description of Export items to Excel.
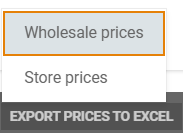
Export prices to Excel
You can export prices for the items in the item list to Excel. Select "Export prices to Excel". You get two options "Wholesales prices" or "Store prices". Select the price you want to export.
The selected price type is shown in the title of the Export to Excel view. In the example Store prices is selected. Which fields that are available depends on the selected price type. See description of Export items to Excel.
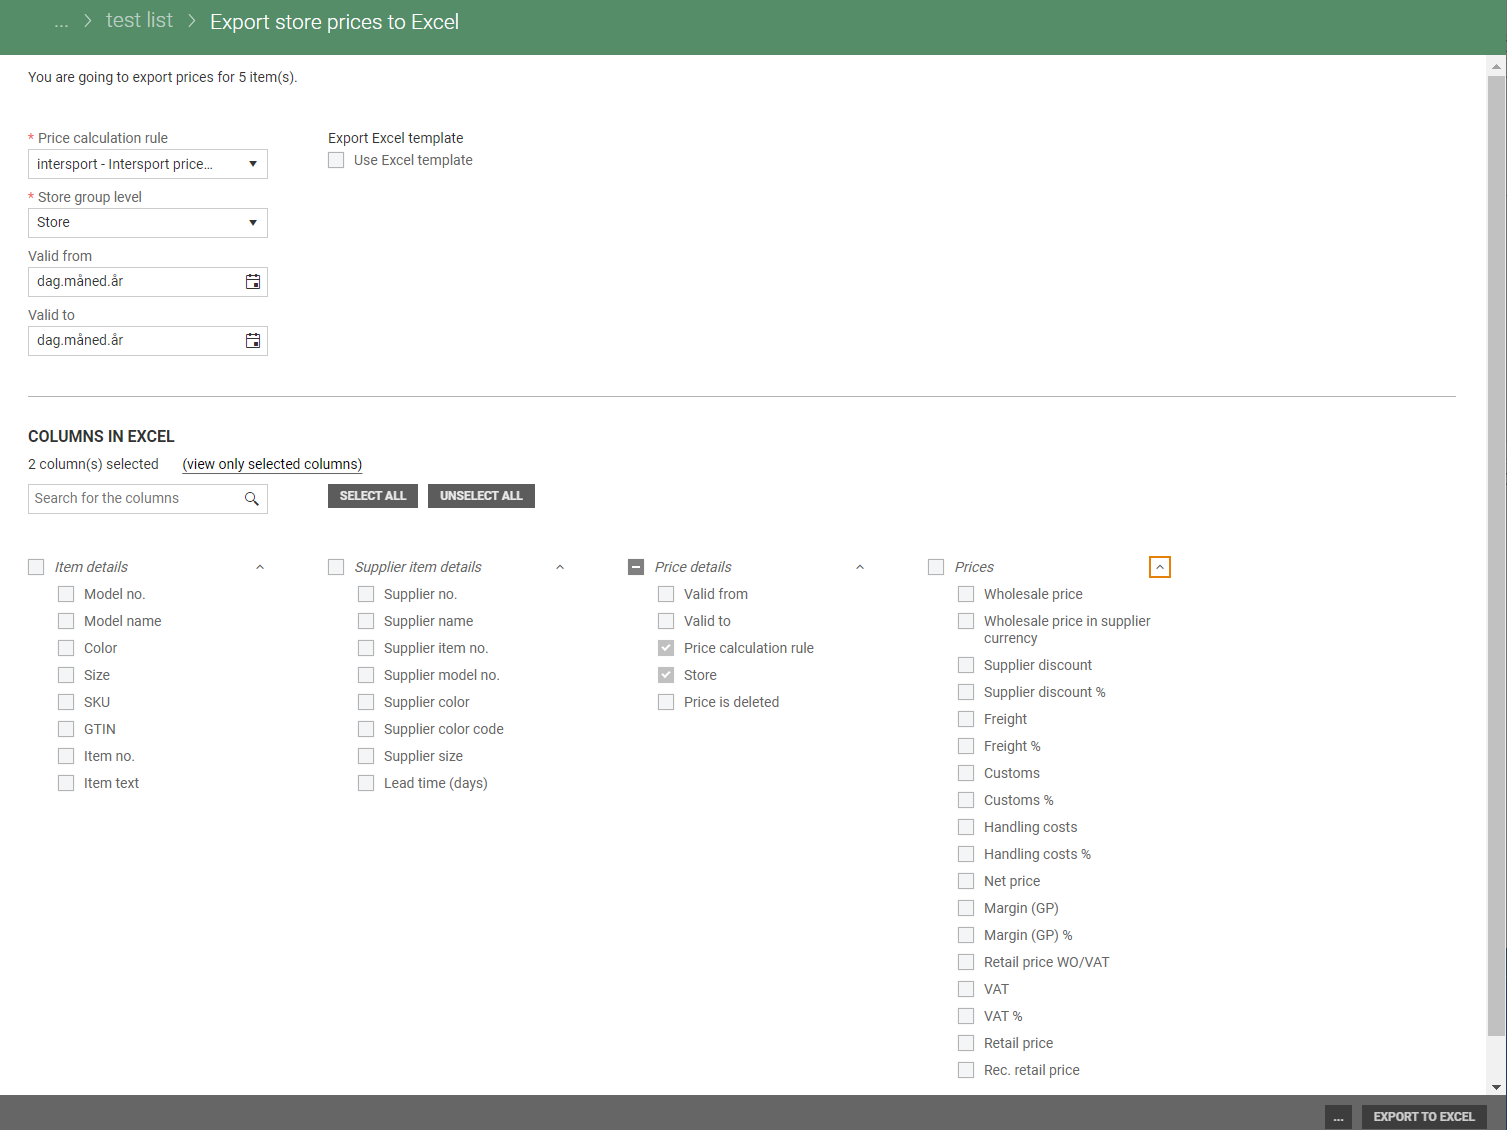
Click Export to Excel when you are finished selecting the content of the export. Items in the item list are exported to Excel.
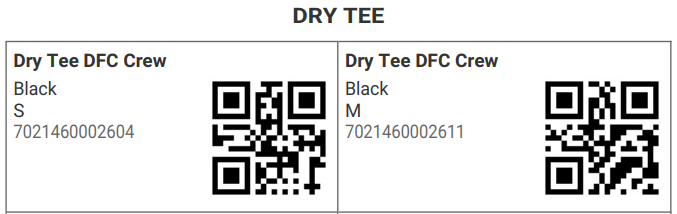
Print QR codes
It is possible to print QR codes for items in the item list. You can the filter function to select the items you want to print QR code for. You can tick off the items you do not want to print.
Click on the Print QR codes button, a Pdf-file with QR codes for the selected items are downloaded. At the bottom left of the view you see the downloaded file. You can click on the file, a Pdf-file with the selected QR codes opens.
Print labels
It is possible to print labels from item lists details. You can tick off the items you do not want to print.
Click on the Print labels button at the bottom of the page. The "Print labels" dialog opens. Select Store, Label type and Quantity.
Store - Select Store, you can only select the stores you have permission to.
Label type - Select "Label type" from the drop-down list. Available label types are shown based on chosen store. You see a preview of the selected label type.
Quantity – Enter wanted quantity.
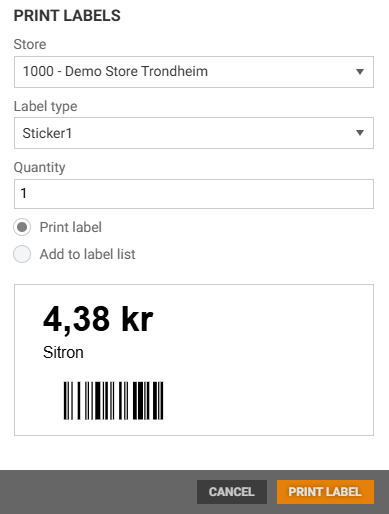
Label(s) can be printed in two ways, manually or add to a label list. Tick wanted option. The dialog accordingly to the selected option.
Print labels manually
Print label is the preselected option.
Click on the Print label button if you want to print labels manually. A print dialog opens, it displays a preview of the label(s). Printer options can be changed.
Click on the Print button to print the labels.
Add to label list
Tick Add to label list option if you want to print the label later.

Click on the Add to Label list button. Then a new label list is created and added to the Label lists menu. When you want to print the labels you go to the Label lists menu and print the label list.
Note:
If not all items within the item list have prices for the selected store, you will get a warning that X out of Y items do not prices for the selected store.
You can print/create max 1000 labels from one item list.
Only users with permission to print labels can print labels.
Only label types that are defined in the Label type register can be used.
Items that do not have a price for the store, their number is shown to the user in the notification. It is still possible to create/print labels for the remaining items.
Delete item list
It is possible to delete item lists.
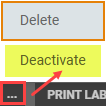
Click on the (…) "More-button" and select "Delete".

A warning dialog opens, you must confirm that you are sure you want to delete the item list.
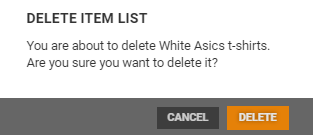
Click Delete to delete the item list.
Note: It is not possible to restore deleted item lists.
Deactivate/activate item list
Item lists can be deactivated.
Click on the (…) "More-button" and select "Deactivate". The item list is deactivated and marked as inactive item list at top of the screen.
You can activate an inactive item list by clicking on the (…) "More button" an select "Activated". The item list becomes active.
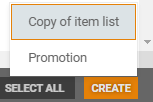
Create
You can create a "Copy of the item list" or create a "Promotion" with the items in the item list.
Copy of item list
You copy the item list and use the copy as basis for a new item list.
Click on the Create button and select "Copy of item list". The "Copy item list" dialog opens.
You can give the item list a name and add a description (optional).
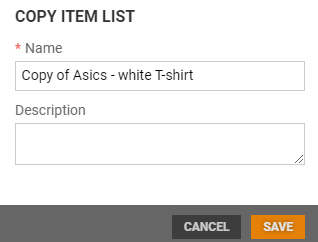
Click on the Save button to create a copy. A copy of the item list opens in a new view.
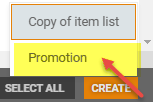
Create Promotion
You can create a Promotion for the items in the item list.
Click on the Create button and select "Promotion" to create a Promotion. The Promotion > New opens.
Your offer will contain the items in the item list. Add the promotion details to create the promotion.
Click on the Create button to create the promotion.
Please note that you should not use this feature unless you are using the Promotion module.
View existing item list
Click on the item list name (in the name column) on the Item list you want to open. The item list opens in a new view. In this view you see the items in the item list.