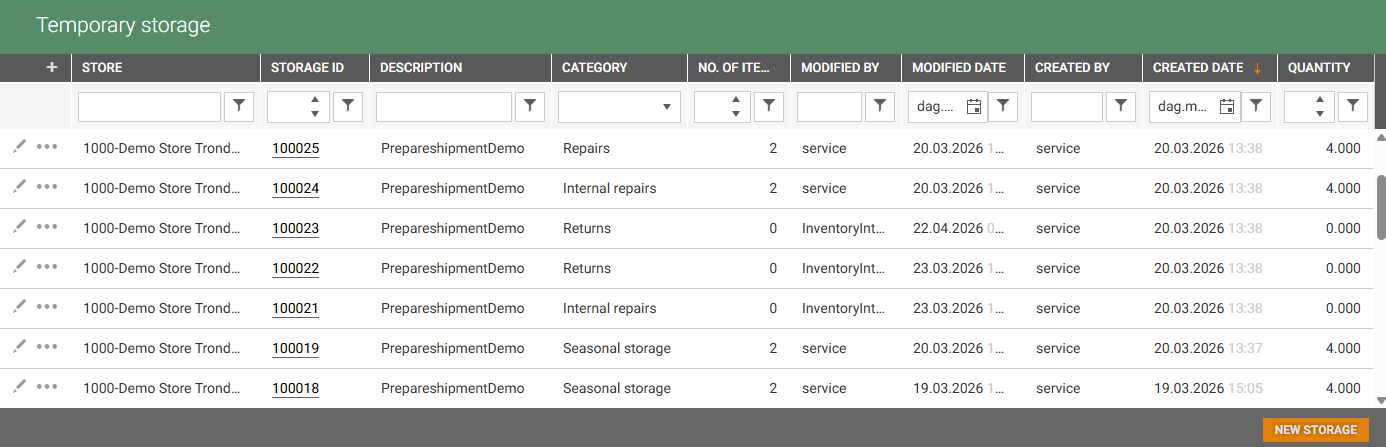
The Temporary storage overview displays an overview of Temporary storage.
Temporary storage enables store to register items that have been physically set aside or put away on a temporary basis. The items remain counted as part of the store's total stock, but are excluded from the immediately available stock until the storage is unpacked.
Temporary storage is sorted by create date, with the most recently at the top.
From this overview you can:
View an overview of active and unpacked storages. What you see is depending on your permissions.
Filter and sort by store, status, category, and other fields.
Print the content of a storage directly form the “More (…)” icon on a storage row, or by opening the storage and print form there.
Navigate into a storage to view its items and manage it.
It is possible to view details, edit storage details, print label/export PDF and create New storage.
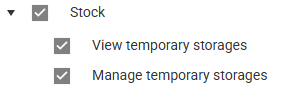
Temporary storage permissions:
View temporary storages - Allows viewing the Temporary storage overview, and Temporary storage details (without ability to edit).
Manage temporary storages - Allows creating and editing storages in the Inventory Management.
Printing and Labeling
Each Temporary storage can be printed as a label or Item list intended to be physically attached to the storage location in the store. The printout shows the storage’s contents and can be done form:
The “More (…)” icon in the Temporary storage overview.
The Item details, where you can find a button for each function at the bottom of the Item details.
Categories
Temporary storages can be organized using categories. It allows stores to group their storages by purpose. The available categories are: Seasonal storage, Repairs, Internal repairs, Returns and Display items.
New storage
New temporary storage is created by clicking the New storage button at the bottom of the page.
This will open the “New storage” dialog.
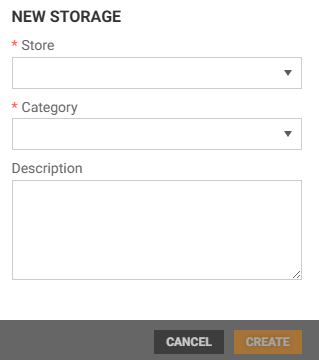
Select Store from the drop-down list.
Select Category from the drop-down list. Available options are: Seasonal storage, Repair, Internal repairs, Returns and Display items.
Optionally you can add a description.
Click Create to create the new storage.
More Temporary storage information
Temporary storage in InStore App Cloud
New Temporary storage via file import
New Temporary storage can be created via file import.
External systems (such as POS or third-party logistics systems) can create Temporary Storages by submitting an Inventory.SeasonalStorage.Import file through the File Service / InventoryIntegrationPackage.
When the file is processed:
A new storage is created with the next available storage number.
All items in the import file are added to the storage.
Put Away item transactions are created for the items.
The first Temporary storage in a system is assigned number 100000. Each subsequent storage is assigned the next consecutive number.
Edit storage
The storage description can be edited by clicking the “Pencil”
 icon on the relevant Temporary storage line.

This will open the “Edit storage” dialog.
Description can be added and edited.
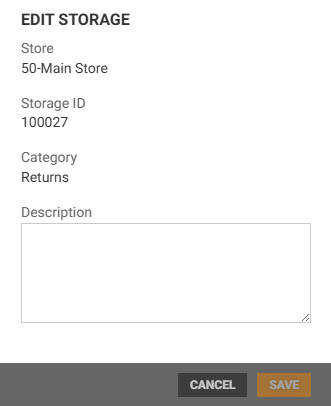
Click Save to apply changes.
More (…) icon
To the left on each Temporary storage line you find a “More (…)” menu. By clicking the More (…) icon on desired line. It has 3 options: Print label, Print item list and Export PDF.
Print label
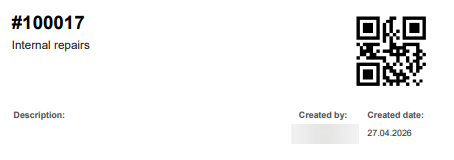
The Print label option can be used to print a label of the Temporary storage.
Click the “More (…)” icon on desired storage line.
A preview of the Temporary storage and a printer dialog open.
It displays the storage header, and a QR code.
The label can be saved as an PDF or be printed. Printer settings can be changed before you print the temporary storage.
Print item list
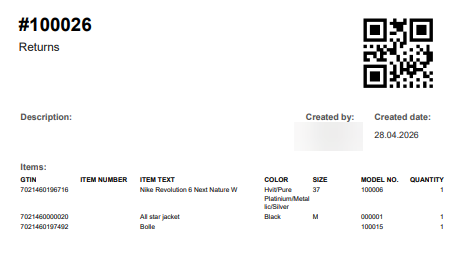
The Print label option can be used to print a item list of the items in a Temporary storage.
Click the “More (…)” icon on desired Temporary storage line.
A preview of the Temporary storage and a printer dialog open.
At the top of the preview you find the storage header, and a QR code. Bellow this you see a list of the items, and some details about the item.
The label can be saved as an PDF or be printed. Printer settings can be changed before you print the temporary storage.
Export PDF
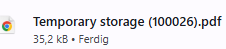
The Export PDF option can be used to export a PDF of he temporary storage.
Click the “More (…)” icon on desired temporary storage line.
A PDF file with the selected temporary storage will directly be loaded. You will see it at the top right of your screen. You can click on it to open the PDF or download it. You can also find the file on the Downloaded area on you PC.
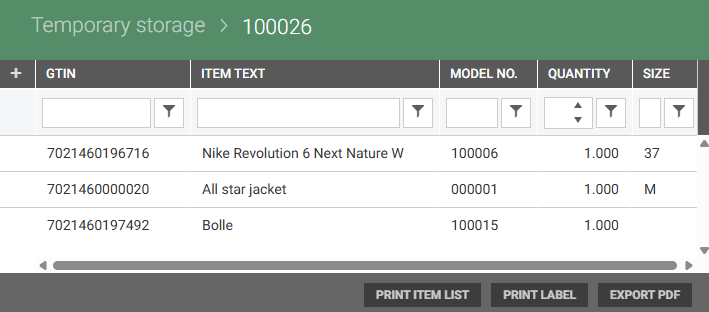
Temporary storage details
You can view temporary storage details by clicking the Storage ID in the “Storage ID” column on the desired temporary storage.

This will open the selected Temporary storage in a new page.
In the Temporary storage details page you can view the item that are stored and counted. To the bottom of the page you will find the same functions as in the “More (…)” icon: Print item list, Print label and Export PDF.
See the “More (…)” icon for description.